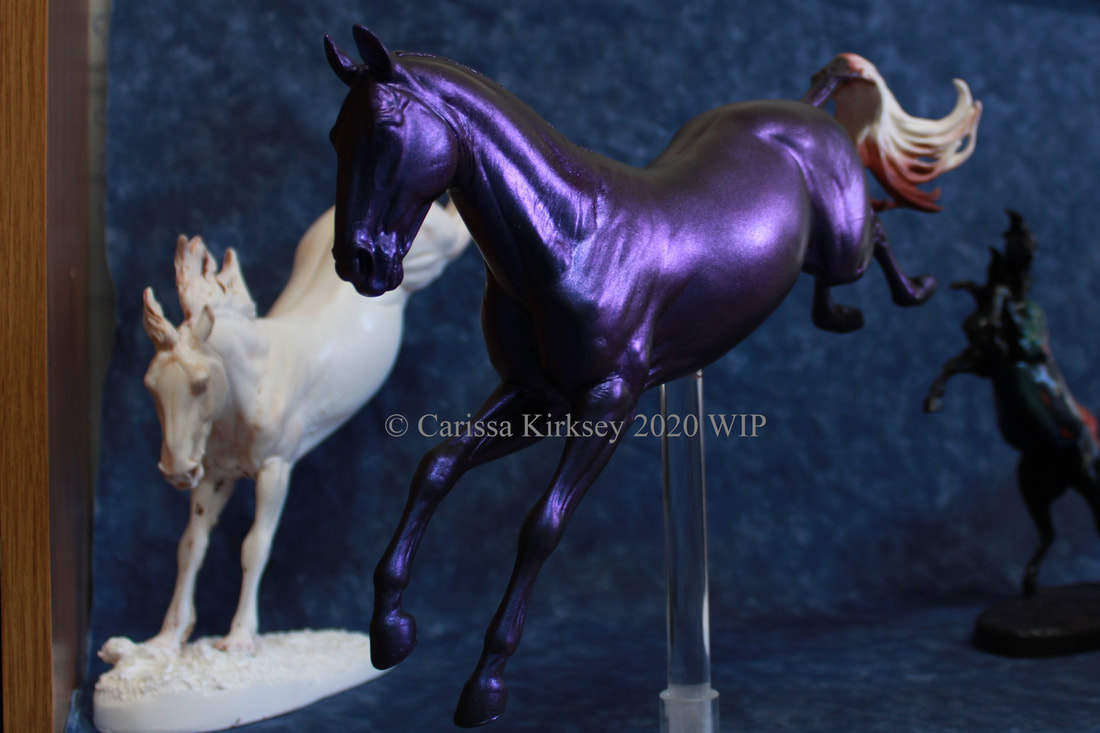
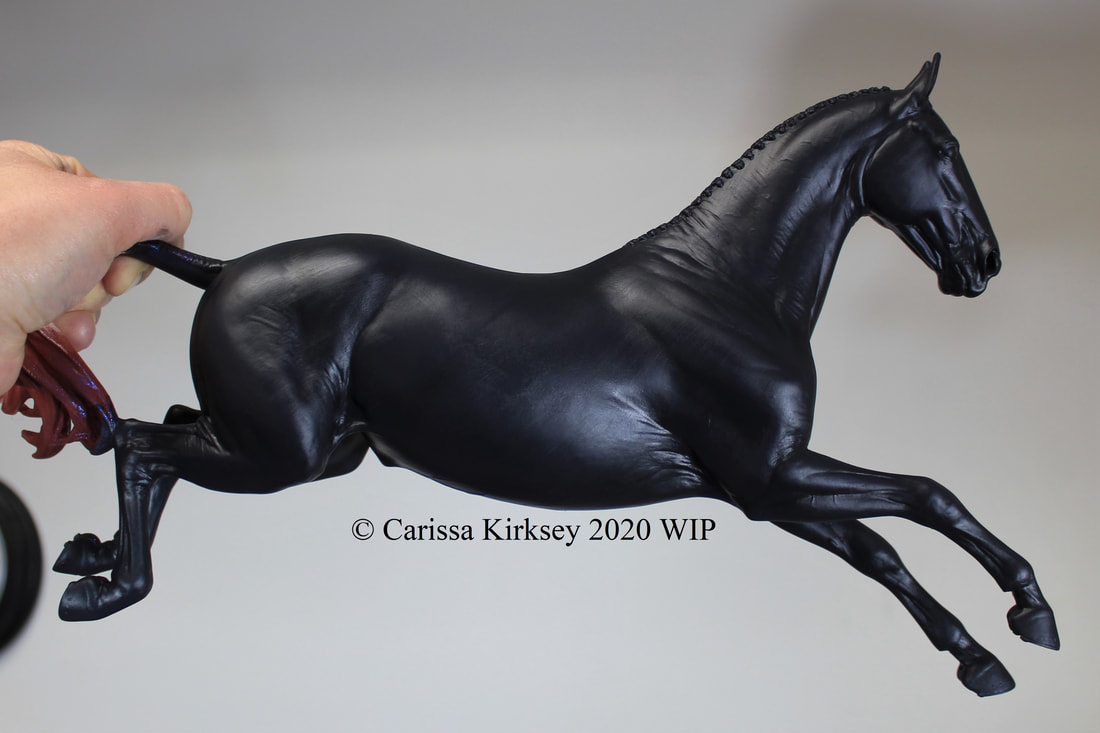
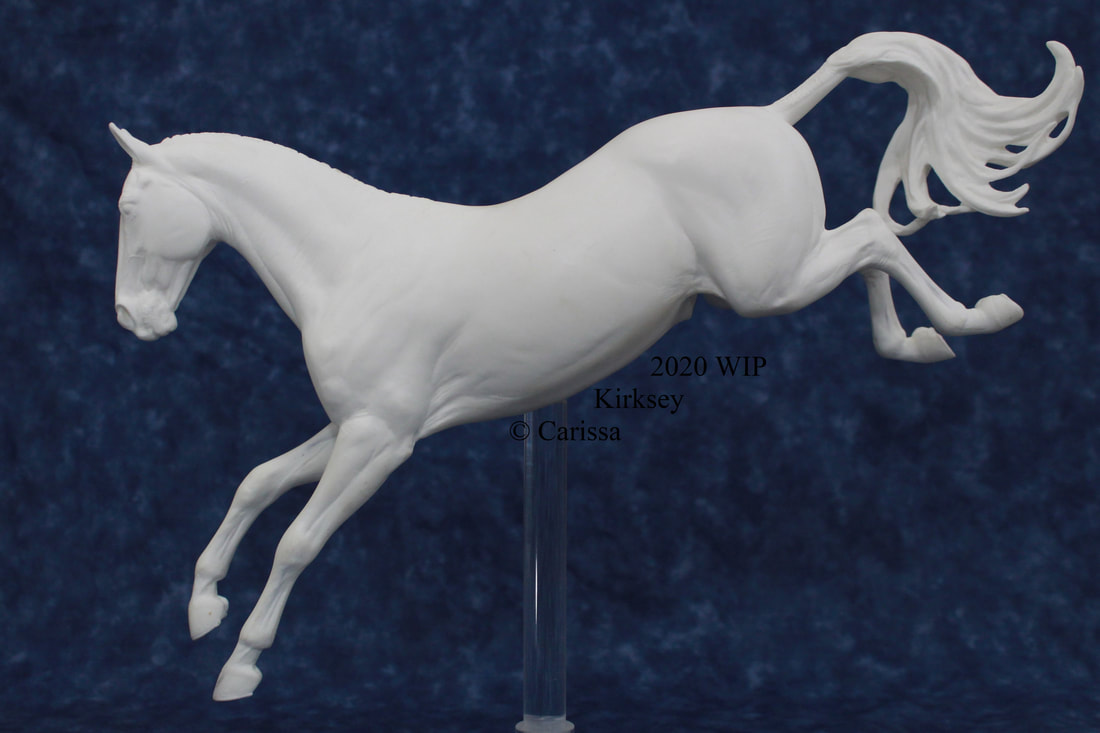
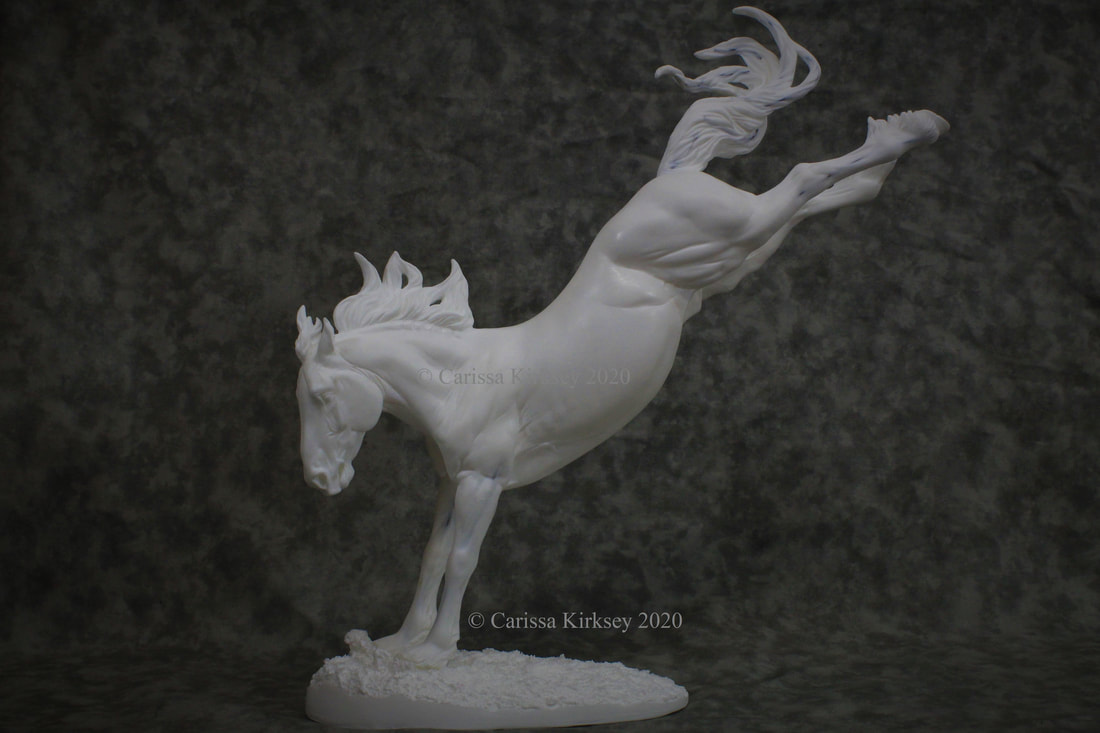
Since there is no way I am even going to TRY to do the HxH red roan I intend to paint my Juggy all in one week, I have decided to have a NaMoPai-NO, & unofficially paint my Upton a dapple black before month's end!
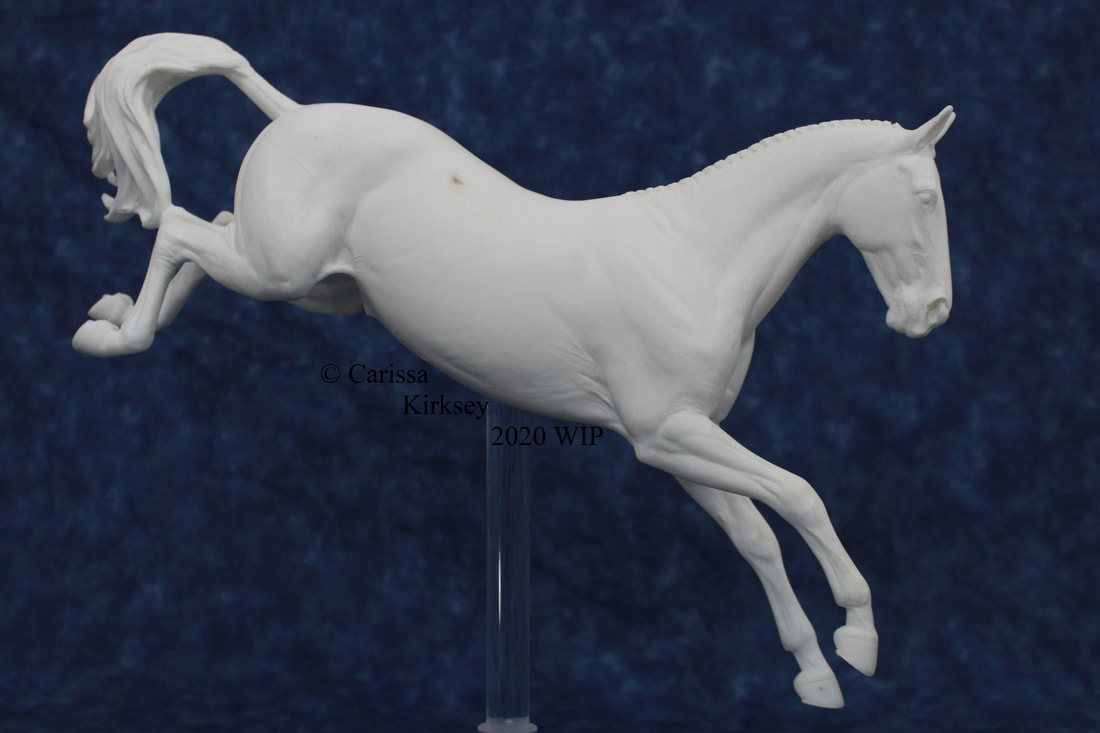
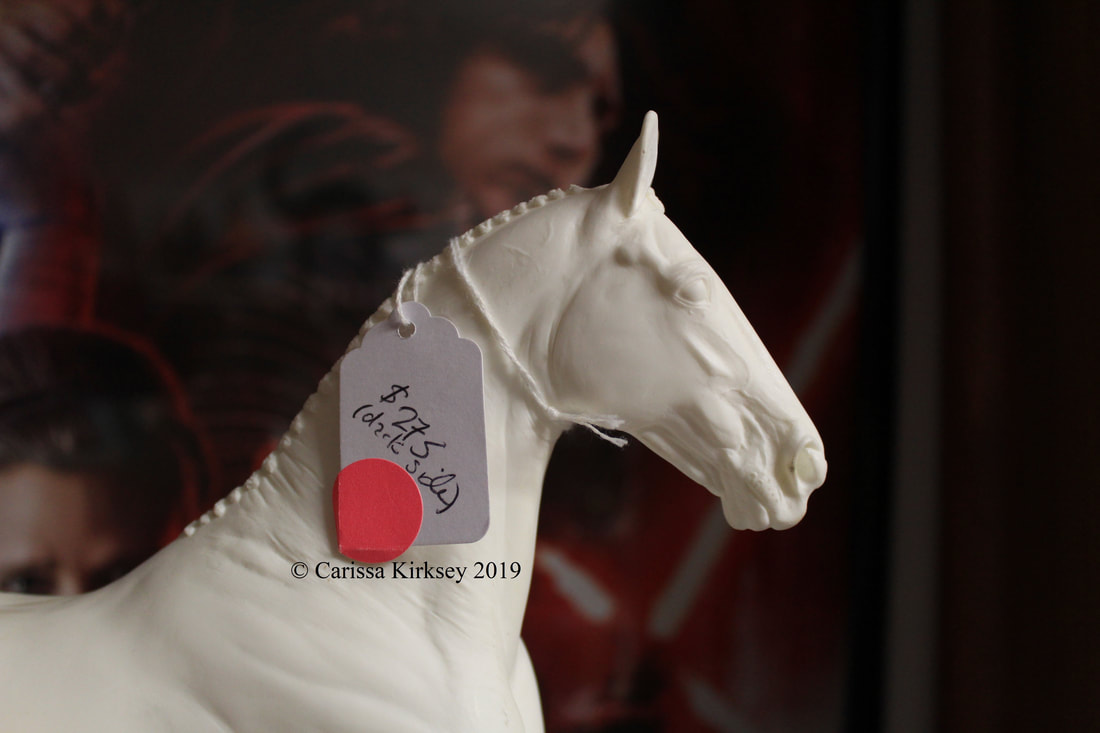
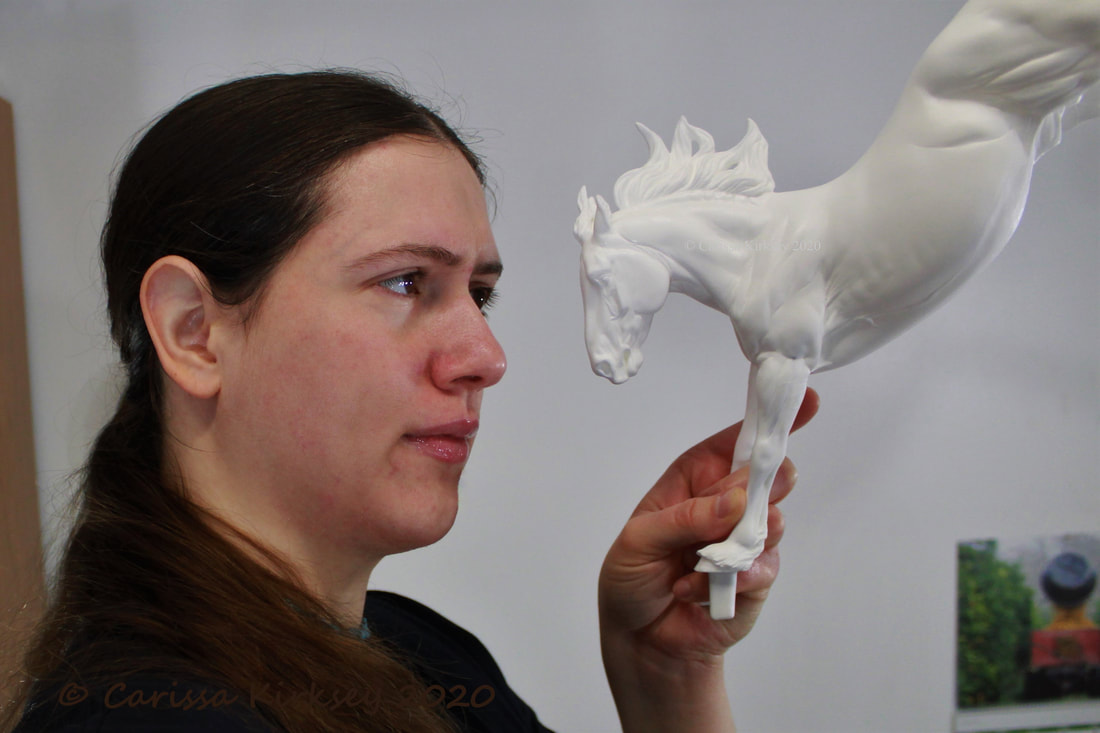
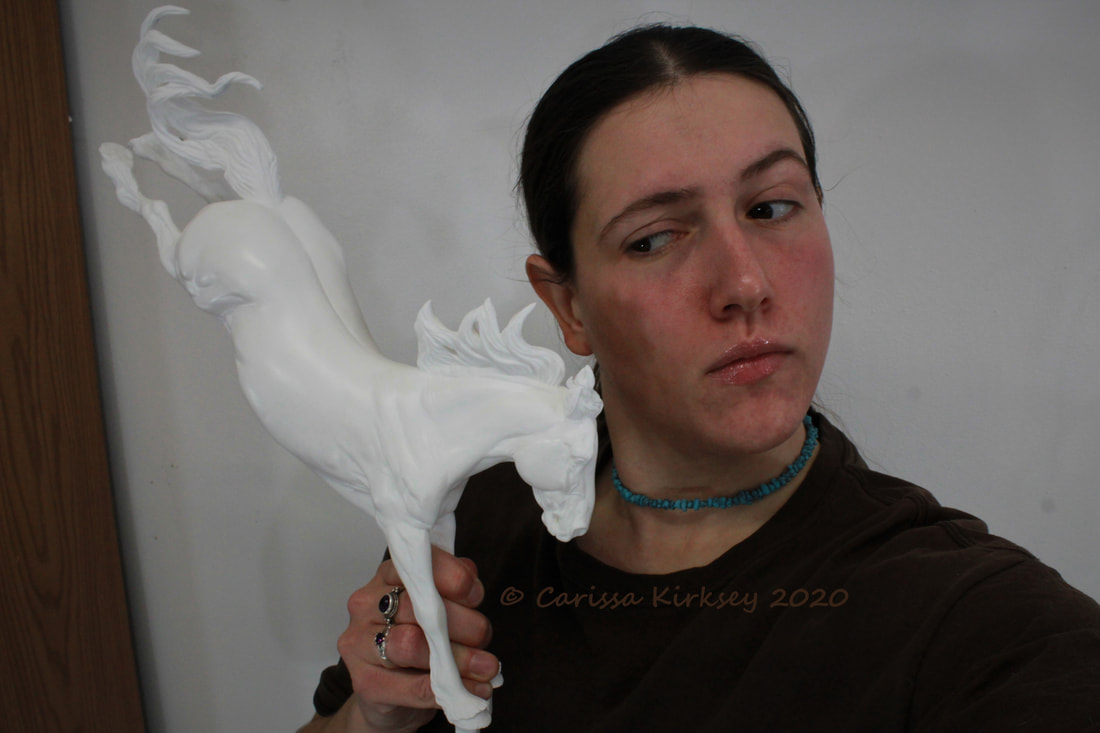
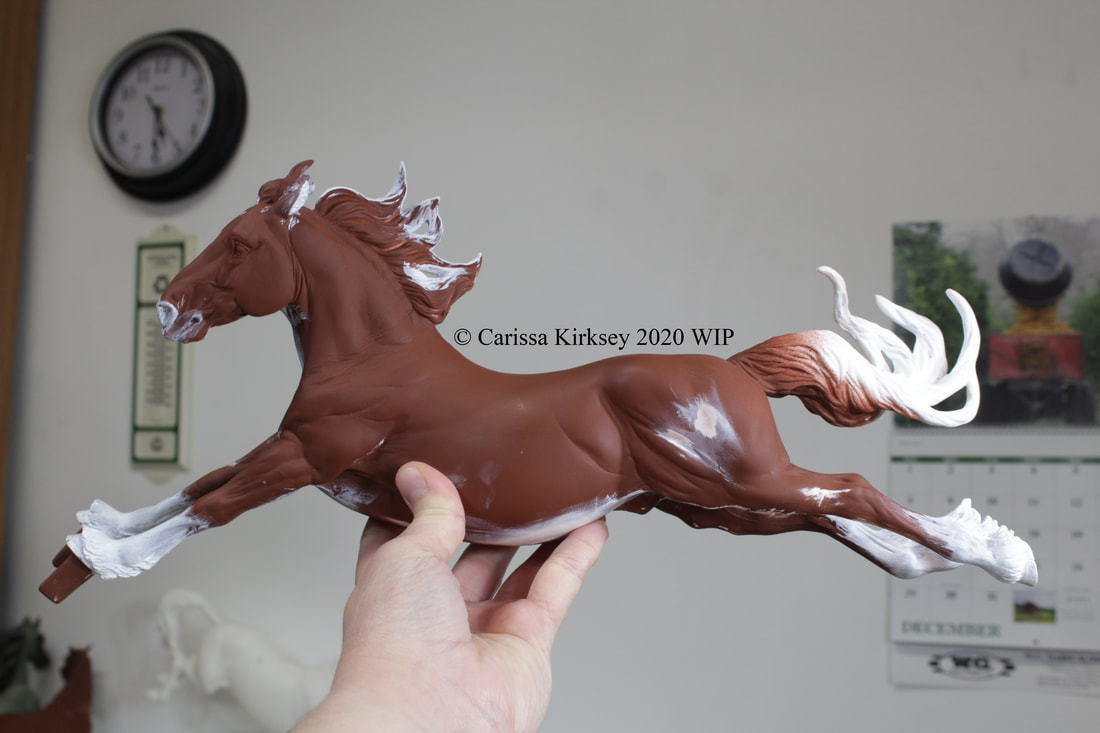
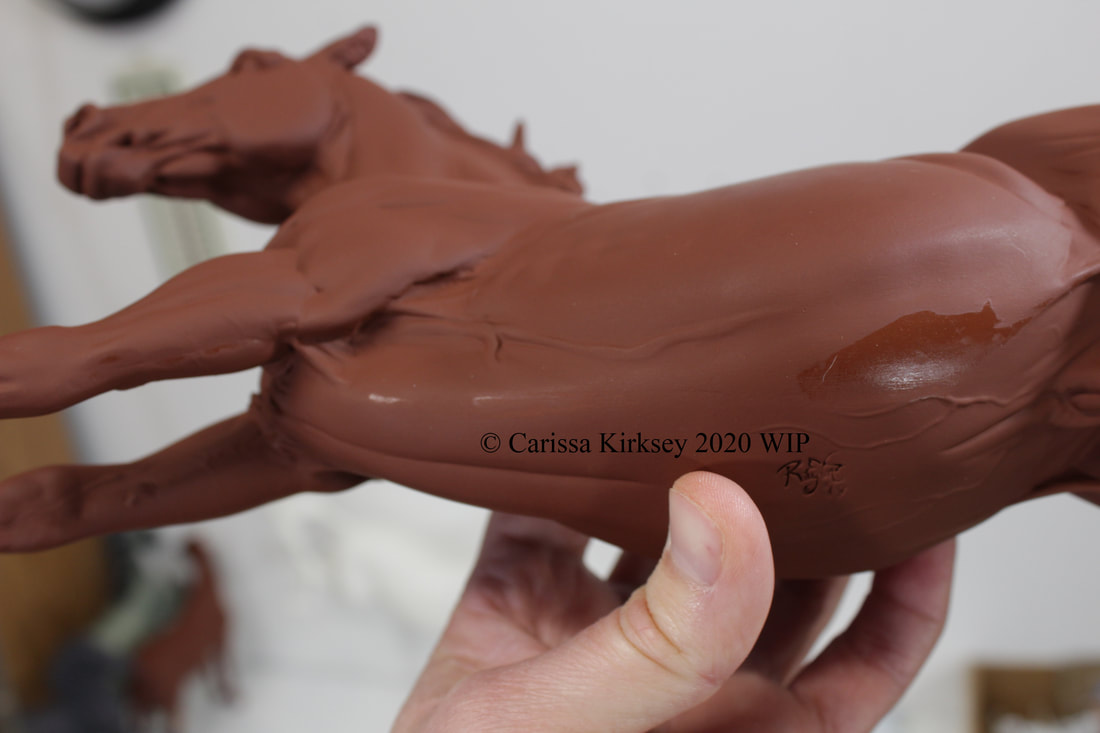
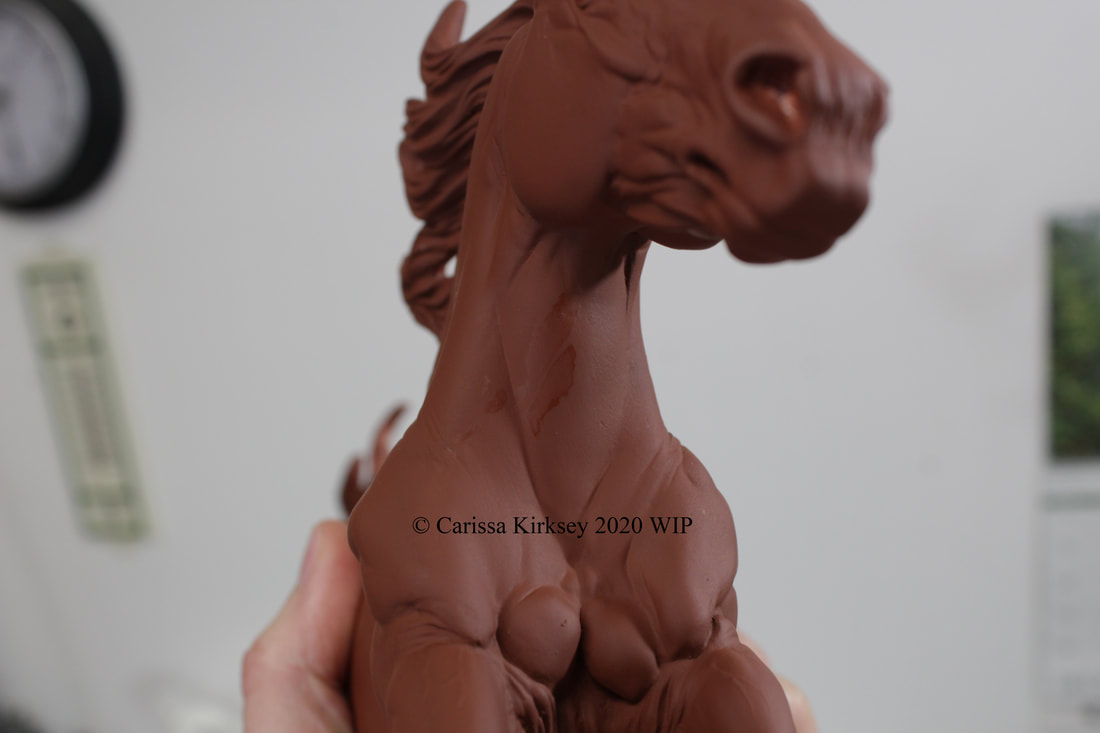
This guy has a fun story to him. My friend Laura & I went down to BF last summer, & in the AG, I was sorely tempted by an Upton second that Morgen Kilbourn had for sale. I've had my eye on Upton for a portrait of 2000 Olympic gold medalist Custom Made, but being the cheapskate that I am, I hadn't gotten a hold of one yet. Morgen had this one Upton on her table marked down simply because he had a dark stain on the resin. I was eyeballing him, & being the doll that she is, Morgen knocked off another $50 from his price. With the goading of Laura, I bought him. No regrets!
As the months went on, I knew I wasn't going to be able to resist the name that was right on his price tag. He had to be black, & he had to be named Come To The Dark Side! Custom Made will simply have to wait for another model.
As the months went on, I knew I wasn't going to be able to resist the name that was right on his price tag. He had to be black, & he had to be named Come To The Dark Side! Custom Made will simply have to wait for another model.
So, black he is, & replacement NaMo he will be!
Since I am pressed for time, this isn't going to be as in depth a NaMo tutorial as I usually write. But I have a few people interested in how I do a dapple black, so, even a less detailed tutorial has to be better than nothing! :)
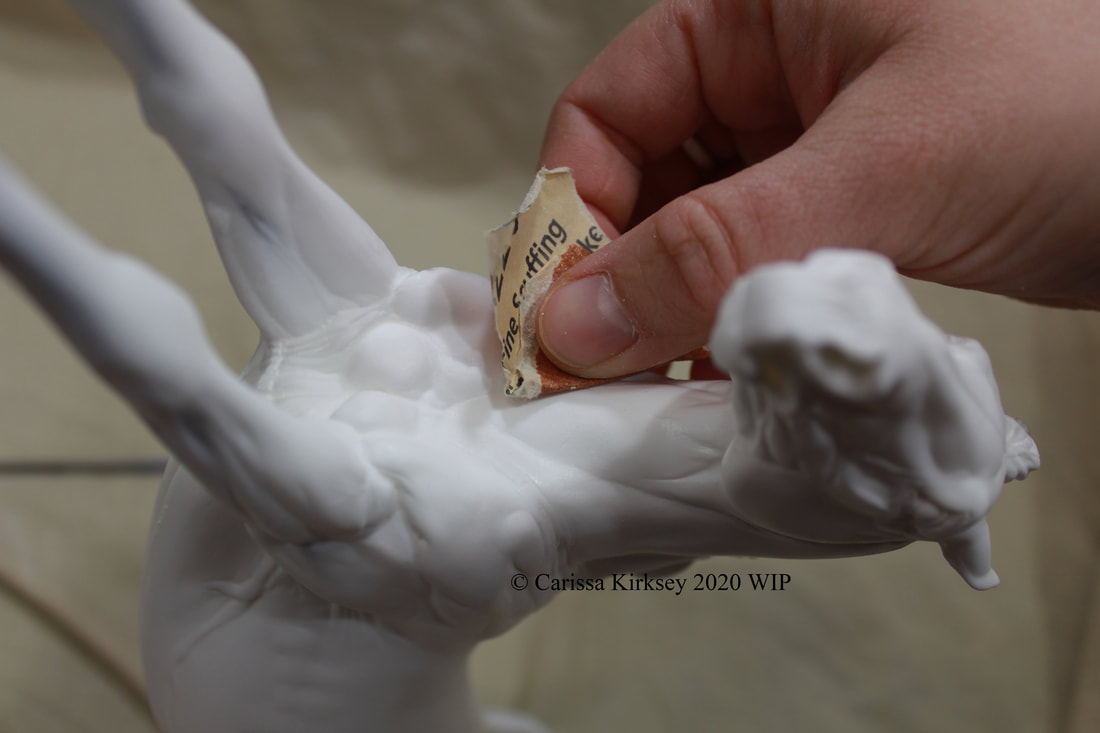
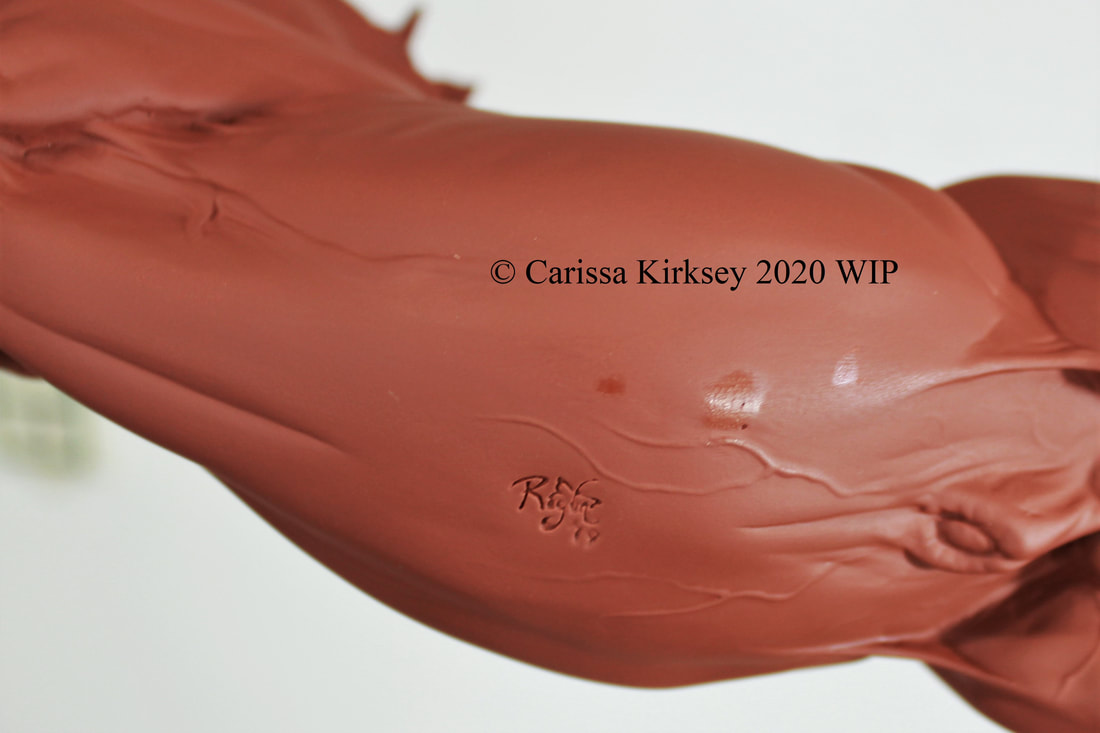
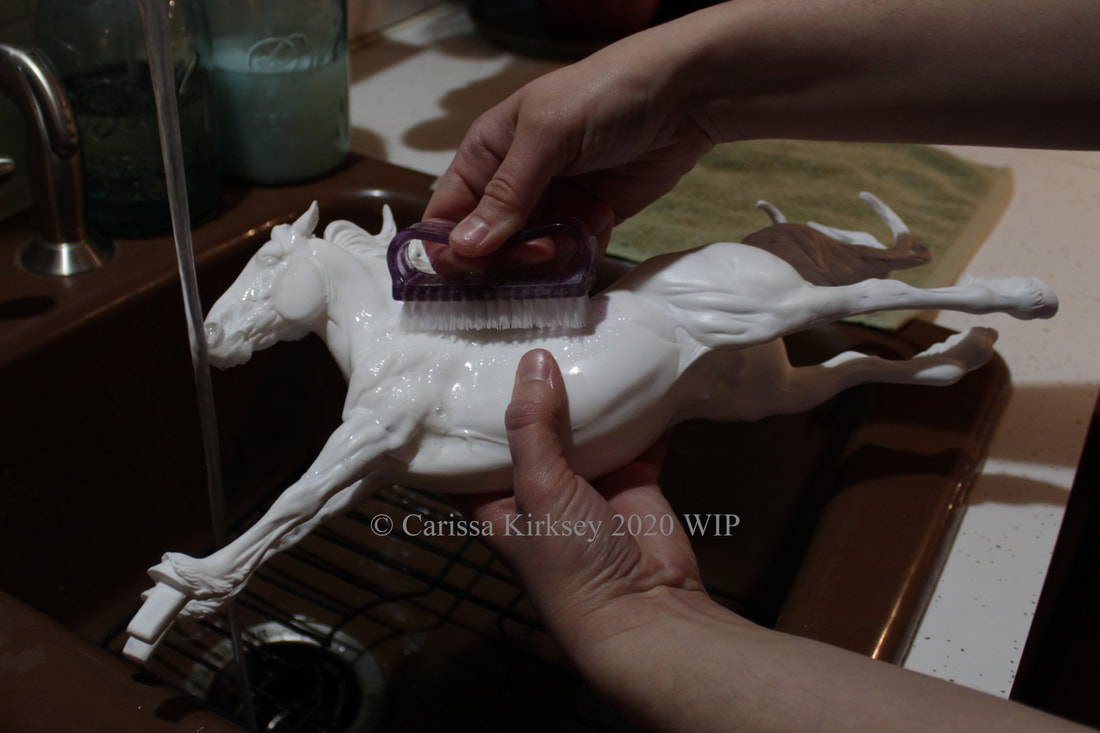
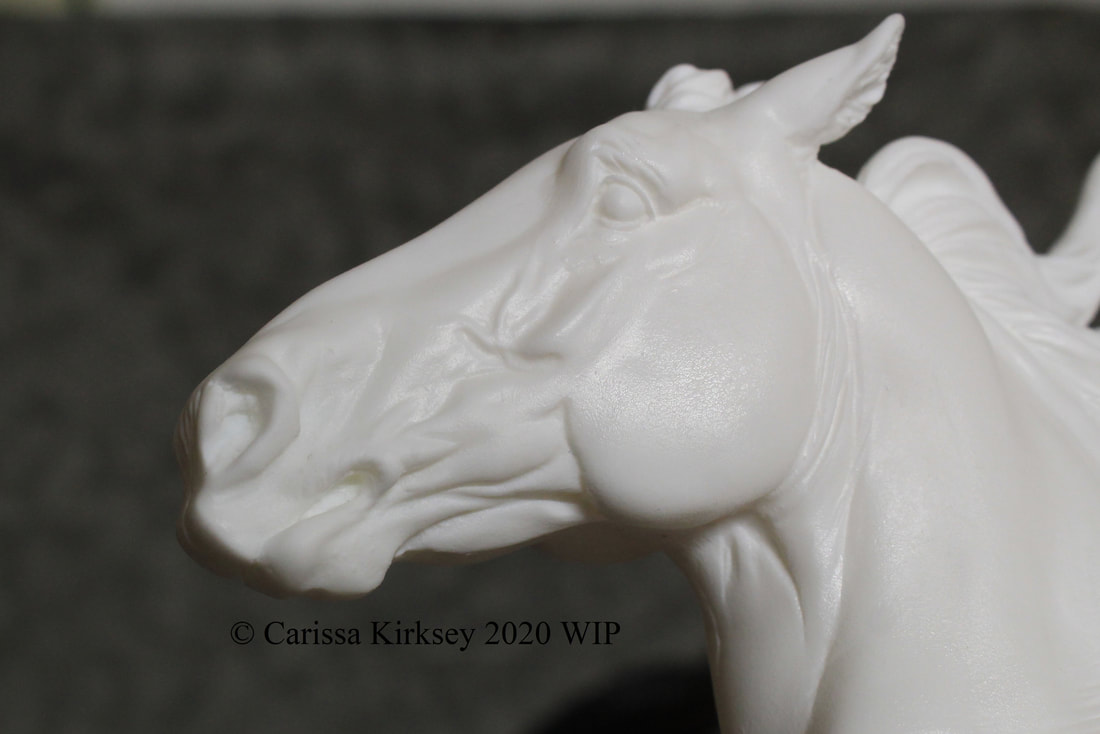
Of course I wash (in warm water with dishsoap & a nail & tooth brush to get any mold release off), prep (sand any seams, fill any holes, remove any blemishes), & prime (with red Dupli-Color sandable automotive primer) my model. All ready to paint now!
Since I am pressed for time, this isn't going to be as in depth a NaMo tutorial as I usually write. But I have a few people interested in how I do a dapple black, so, even a less detailed tutorial has to be better than nothing! :)
Of course I wash (in warm water with dishsoap & a nail & tooth brush to get any mold release off), prep (sand any seams, fill any holes, remove any blemishes), & prime (with red Dupli-Color sandable automotive primer) my model. All ready to paint now!

I'm sure I left an impression on the new neighbors as I stepped outside in shorts & tee to spray a toy horse on a 9 degree day as they went past...
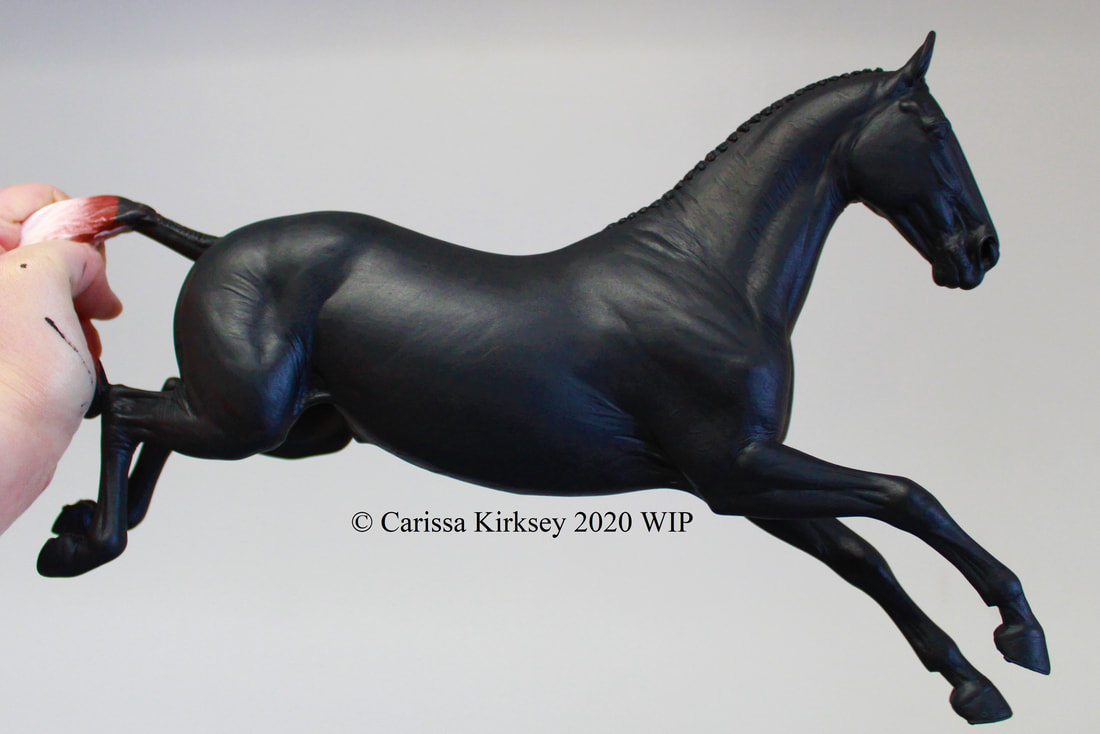
I then use a soft inch or half inch flat brush & smoothly paint a couple or three layers of black gesso; this one was Master's Touch, the Hobby Lobby brand, but I have also used Liquitex Professional as well. You can thin either with water & carefully brush on as many layers as are needed to keep brush strokes at bay.
Let the gesso fully dry, & then spray with Testor's colorshift paint. I have used Pink Champagne for sun bleached blacks, & Purple Mist, along with this Purple Sunrise, for true blue blacks. If you do not let the gesso dry thoroughly when you spray over it, it will 'craze' on you (raised crinkly texture). Also, at least with the Purple Mist, if you spray too many layers of it, it will lose its color & look more silver than purple-teal, so don't go too heavy if you use it. Pink Champagne, on the other hand, takes a few layers to actually cover. It is spray paint, so make sure to shake the can vigorously, & spray in a well ventilated area (like OUTside)! It stinks! Especially the Pink Champagne!
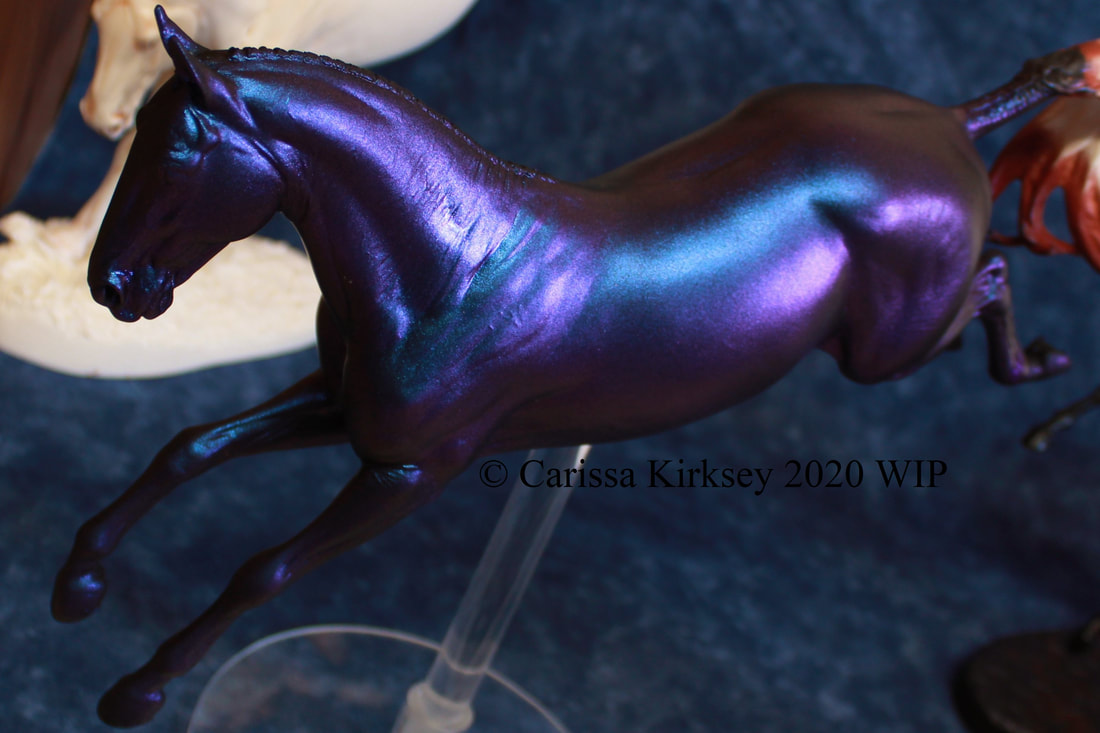
This stuff is soooooo much fun though!!!
I mean, LOOK at it!!
Enough playing with the colorshift!
Let it cure fully, & then spray it good with Testor's Dull Coat. The colorshift is glossy, & if you try to oil over it, the oil paint will not be happy about having to cover such a slick surface. Dull Coat is matte enough that it gives it a good 'tooth' to hold on to. I've never used it, but workable fixative *might* work for this as well.
Let it cure fully, & then spray it good with Testor's Dull Coat. The colorshift is glossy, & if you try to oil over it, the oil paint will not be happy about having to cover such a slick surface. Dull Coat is matte enough that it gives it a good 'tooth' to hold on to. I've never used it, but workable fixative *might* work for this as well.
I have several tutorials that show how I hand paint base coats (the black gesso is a base coat), & mix & paint with oils, so please do check them out under the Tutorials tag. They will show you how I go about doing them since I don't have the time to elaborate on it this year.
I had to mix a new batch of paint for Dark Side. My last black pallet dried up in Dec, but it was nearly three years old too, so I can't complain!
The colors I used were:
I had to mix a new batch of paint for Dark Side. My last black pallet dried up in Dec, but it was nearly three years old too, so I can't complain!
The colors I used were:
Body:
Oils-
Powders-
Shading:
Oils-
No powders.
Blue Shading:
Oils-
Powders-
Brown shading: (probably not going to be used on this guy)
Oils-
Powders-
Highlighting: (also probably not going to be used on him)
Oils-
Powders-
Many other Pearl-Ex powders can be added as well, blues, reds, browns, etc.
Fold a sheet of pallet paper in half (wax paper is, unfortunately, not a substitute for pallet paper, the oil just soaks through), & mix these colors on the seam & one half only; then you can fold it over & store in a Ziploc in the freezer to keep!
You can see below that the biggest blob of color is the Body blue-grey. It is what I use the most of.
Oils-
- Lamp black
- Titanium White
- Cobalt Blue
Powders-
- Pearl-Ex Carbon Black
- Black pastel chalk
- White pastel chalk
- Pure Carbon Soot*
Shading:
Oils-
- Lamp Black
No powders.
Blue Shading:
Oils-
- Cobalt Blue
Powders-
- Pearl-Ex Carbon Black
Brown shading: (probably not going to be used on this guy)
Oils-
- Burnt Umber
Powders-
- Pearl-Ex Carbon Black
Highlighting: (also probably not going to be used on him)
Oils-
- Titanium White
Powders-
- Pearl-Ex Micro Pearl, or Pearl White
Many other Pearl-Ex powders can be added as well, blues, reds, browns, etc.
Fold a sheet of pallet paper in half (wax paper is, unfortunately, not a substitute for pallet paper, the oil just soaks through), & mix these colors on the seam & one half only; then you can fold it over & store in a Ziploc in the freezer to keep!
You can see below that the biggest blob of color is the Body blue-grey. It is what I use the most of.
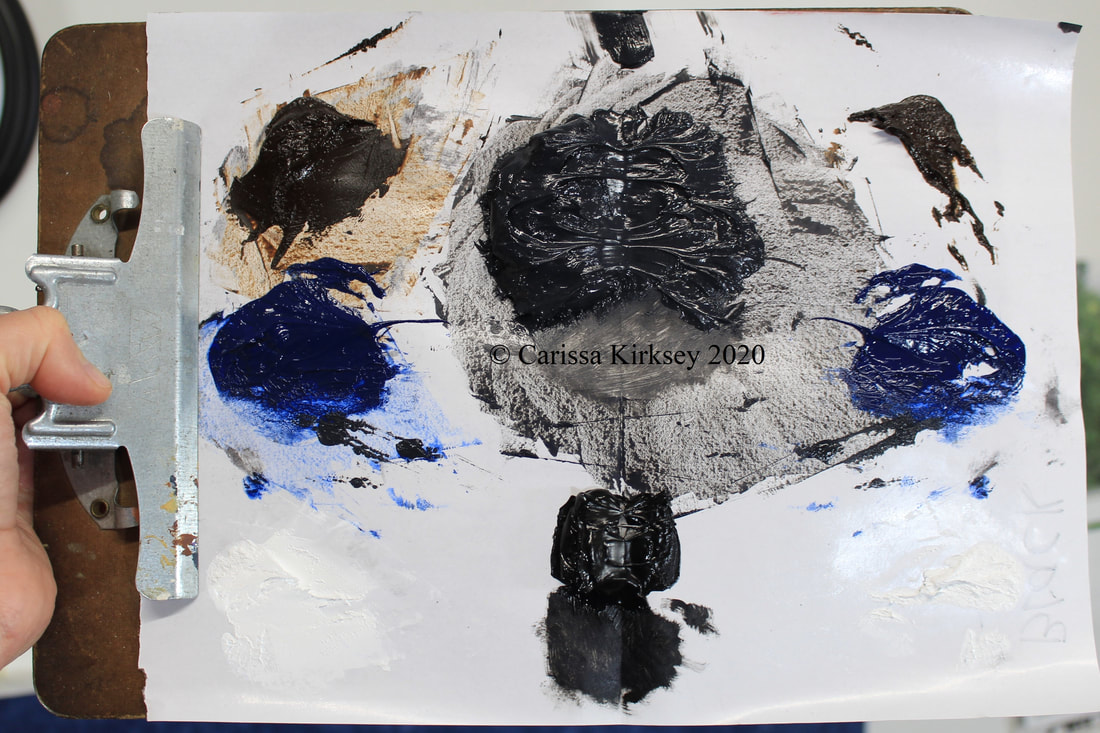
Clip your 'page' of pallet paper to a clipboard when you need to use it.
* Regarding the asterisk. Last February, the natural gas boiler needed cleaned (that's a story in & of itself!), & I discovered that the carbon soot is a STUNNING, light eating, BLACK. I am certain that the plumber thinks I am crazy, but I had him save me three containers of this beautiful black treasure! Carbon soot is actually what they use (or at least used to use) to make lamp/carbon black paint, so it is a legitimate pigment. I carefully shovel small amounts of it it into a paint pot with a pallet knife & try to mash the fragile chunks out of it. I then use it like pastel. So unfortunately, not many people are going to be able to attain this pigment. My apologies for that!!
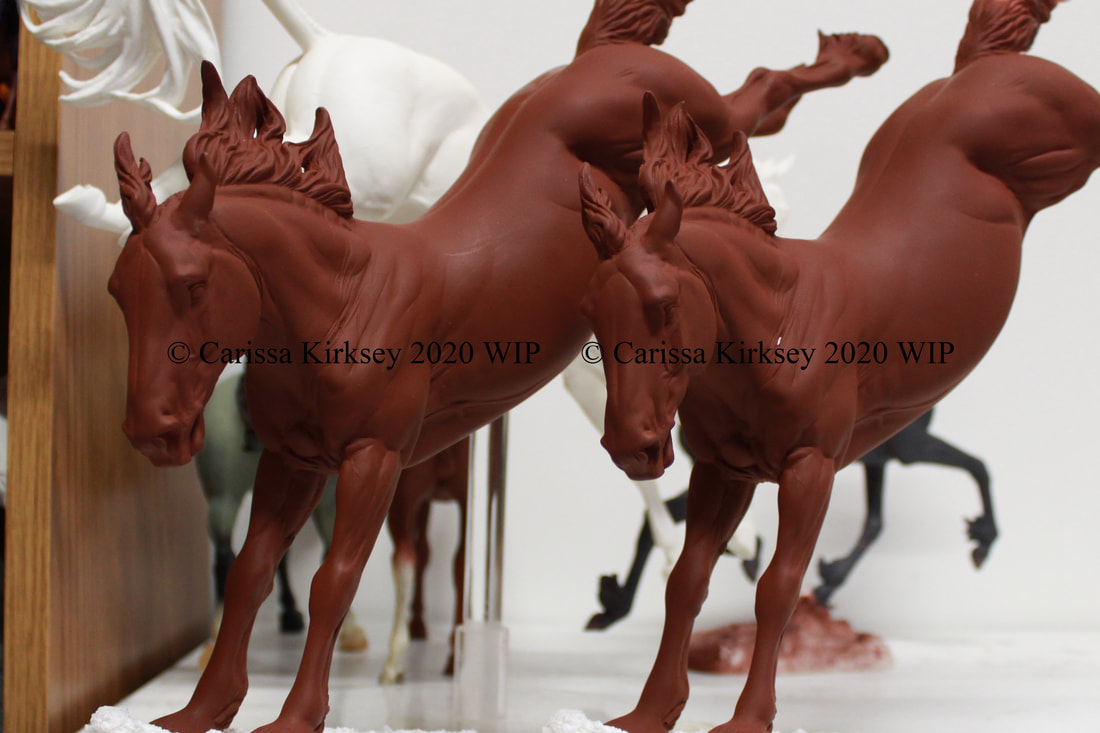
ANYWAY! Armed with my new pallet of black mix, & grab a faithful frizzy half inch flat & sort of thinly scrub it on. I do have videos of how I do this in other painting (NaMoPaiMo) tutorials, if you want to see the technique in action! You want only enough paint to cover, not so much that it will take forever to dry or get 'muddy' when blending.
About 98% of the splendor of the colorshift is lost when you oil over it, but it is still slightly there, especially in bight & sun light. & anything to add depth & dimension to black is worth it in my opinion!
About 98% of the splendor of the colorshift is lost when you oil over it, but it is still slightly there, especially in bight & sun light. & anything to add depth & dimension to black is worth it in my opinion!
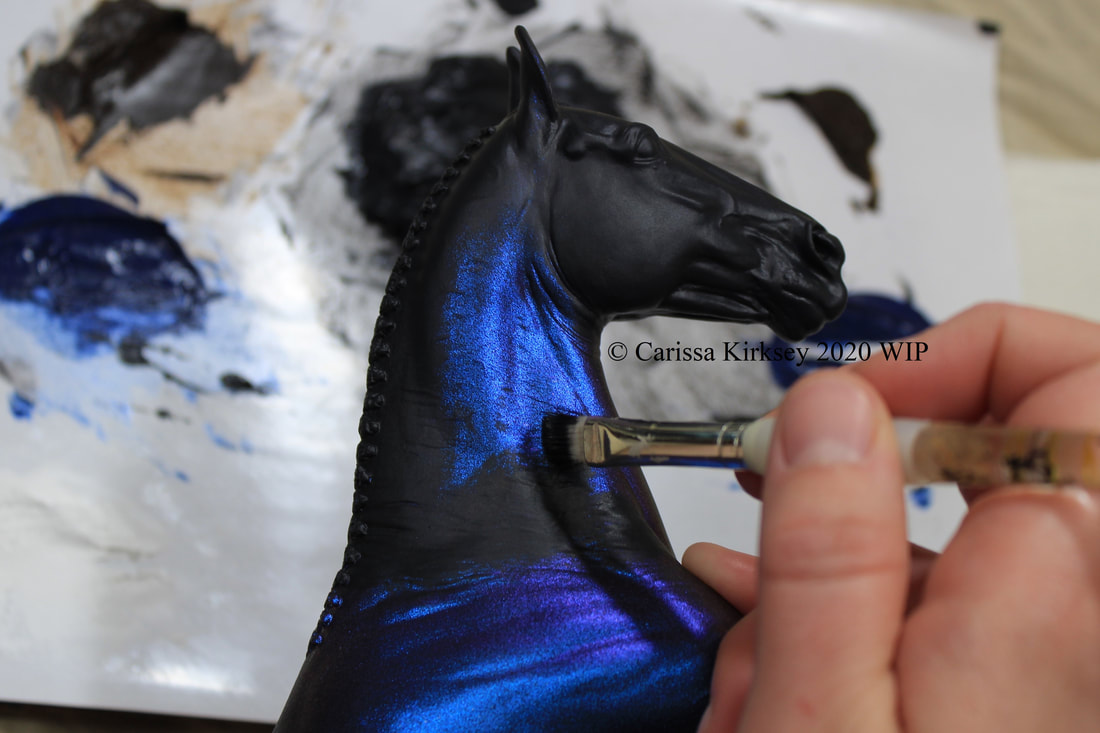
As I go, I will use a quarter inch angle or a small flat to add the black shading to the low areas, the muscle grooves & such (again, see past painting tutorials for a better description of this), & blend it in. I work in such a way, that every section is finished, & I always have a hand hold on the horse.

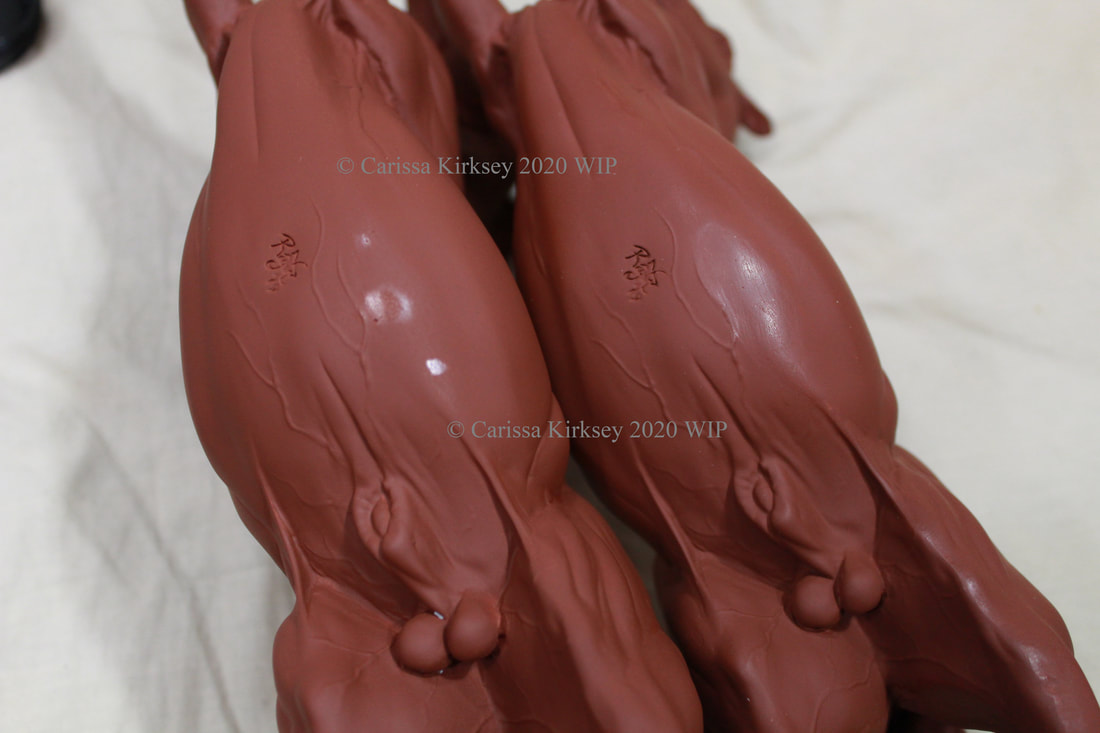
There isn't actually any black shading on him here yet, but it was where I stopped to add it. I just didn't get a picture afterwards!
Do this over the whole horse. I refrain from shading over the topline, since I want to add dapples & it will be easier to see what I am doing (& have them show up) if I haven't added the dark shading over his back/neck.
Once you have your whole horse painted, take a clean, big (I grabbed an inch) soft flat, & lightly stroke the paint in the hairgrowth direction to smooth any brush strokes that may have remained.
Set aside & let dry. Black can unfortunately take a long time to dry. The powders do help, but if you really want to speed it up, you will need to add dryer to your pallet, which I don't use since it's tricky.
& so that is where I have stopped for now! Waiting on my paint to dry! I will continue my tutorial once I move on with him!
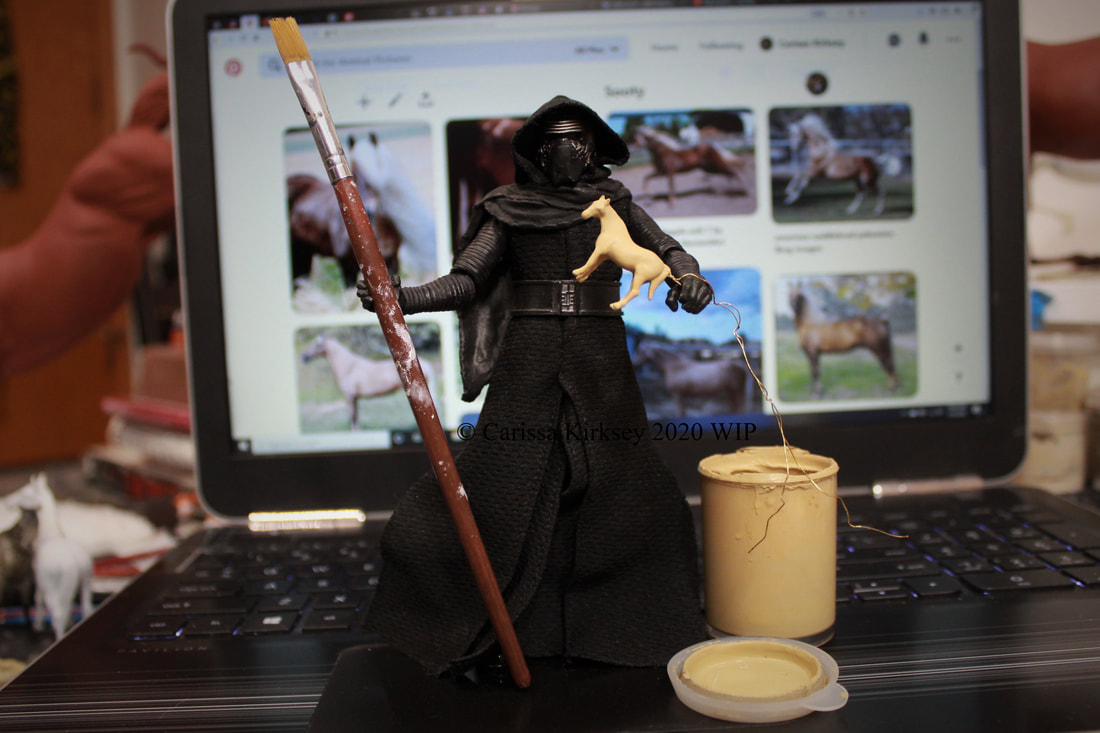
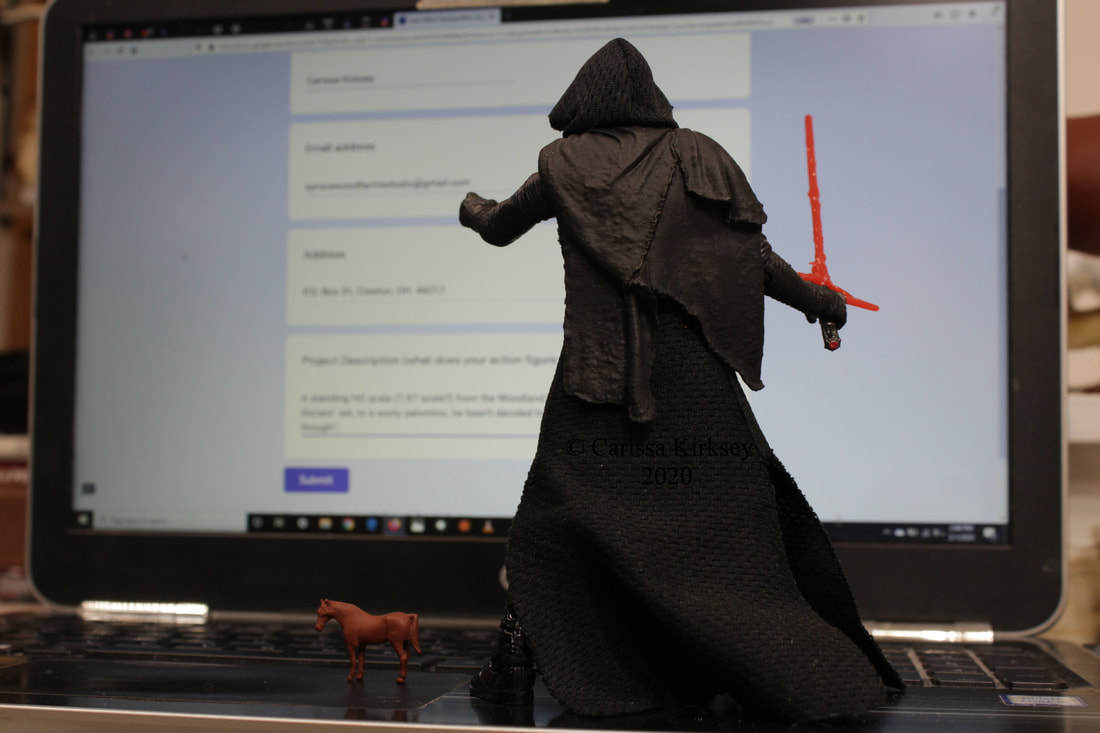
OH! Must not forget to report on Kylo's NaMo! He has gotten the oils down! He was painting along with me the other day as I tackled a couple of bays. I think it turned out well considering he's never painted before!
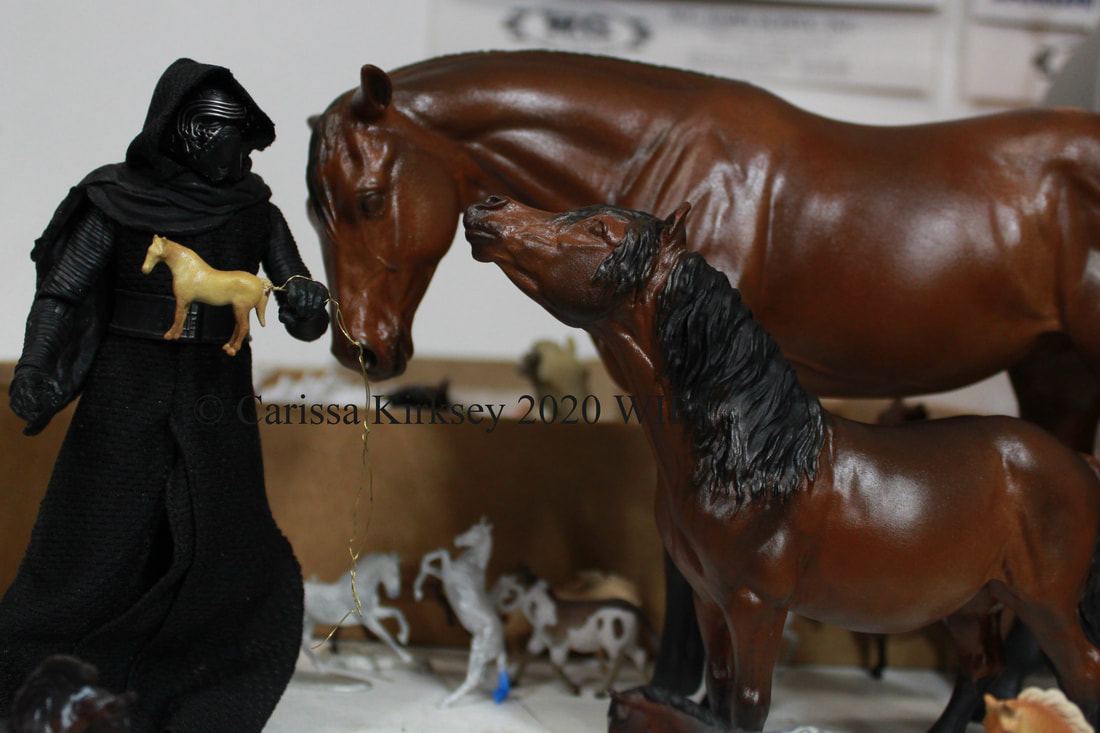
Kylo & I are looking forward to the NaMoPaiMo party my friend Laura & I are hosting on Saturday!! It should be a lot of fun to get together & art with others!!
Til next time! Happy painting all!!
Til next time! Happy painting all!!


 RSS Feed
