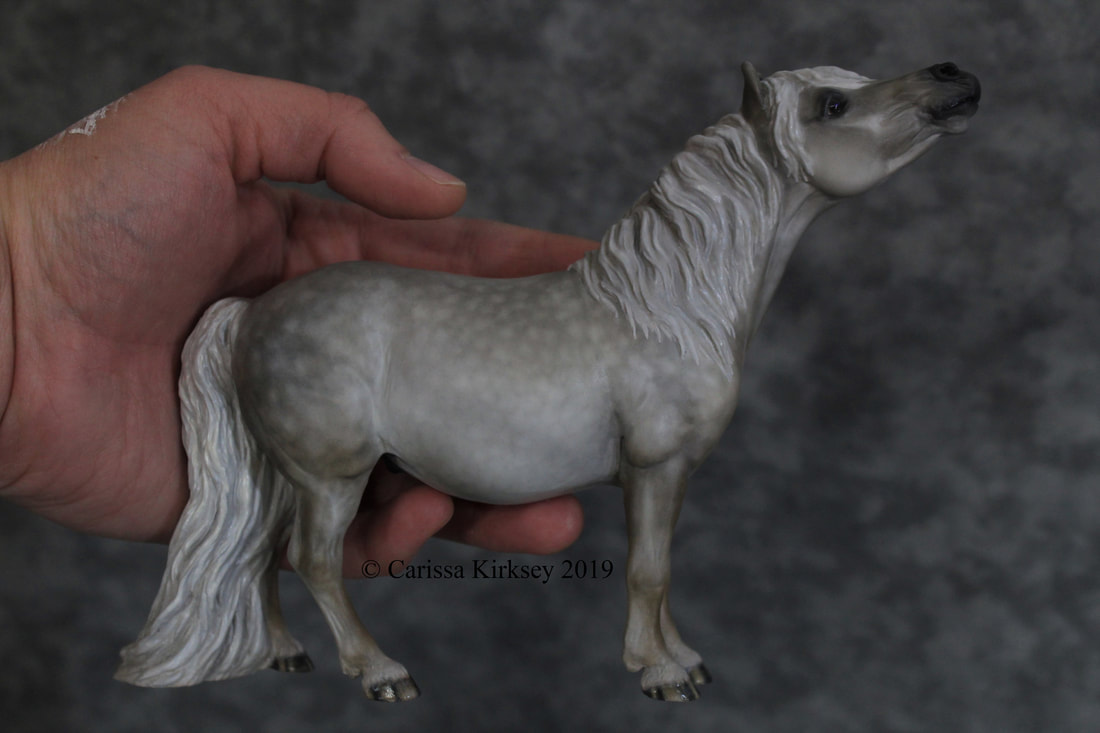
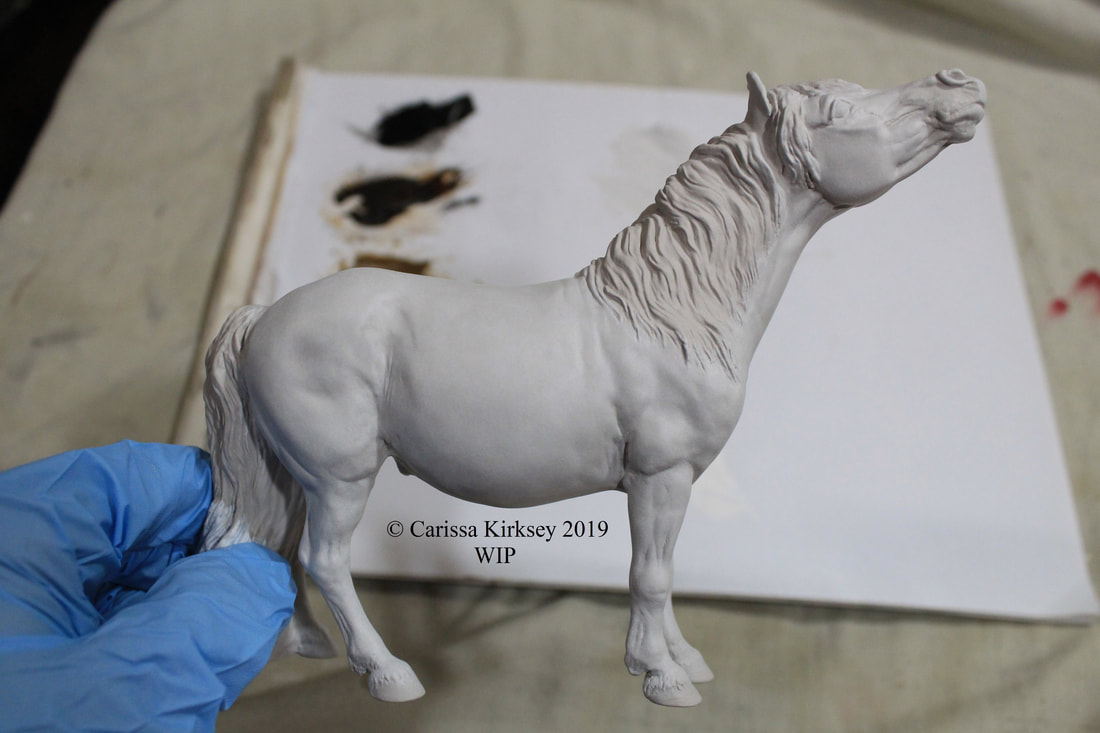
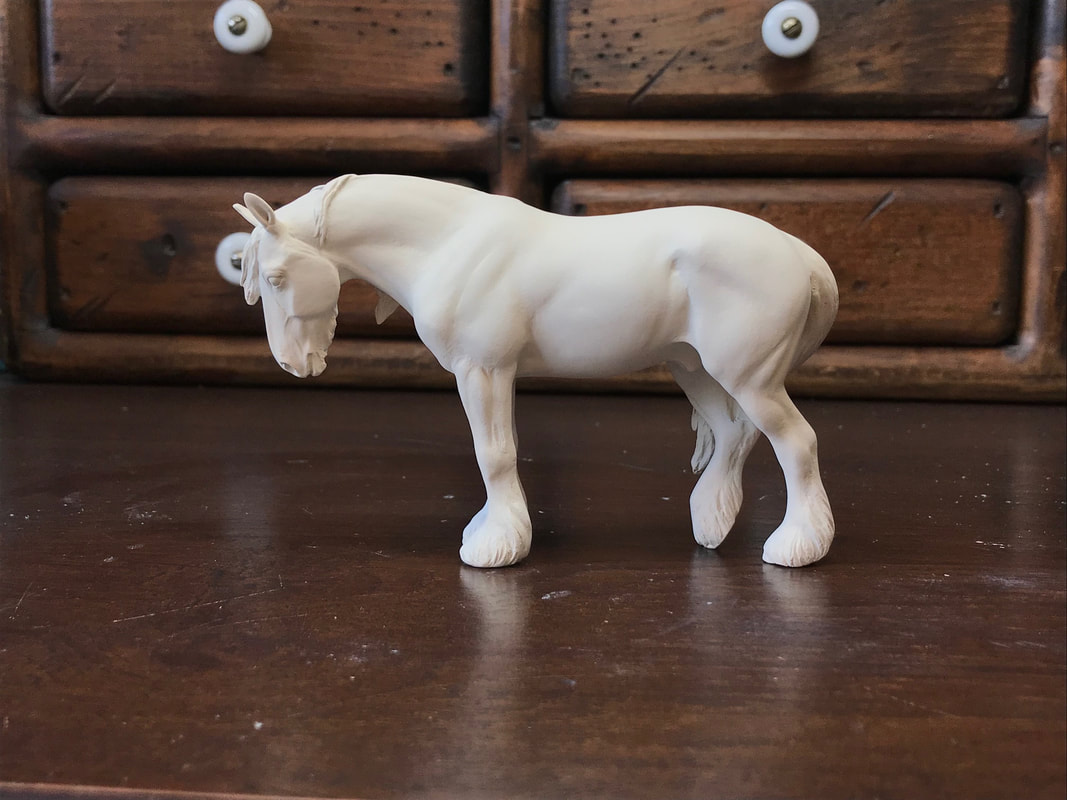
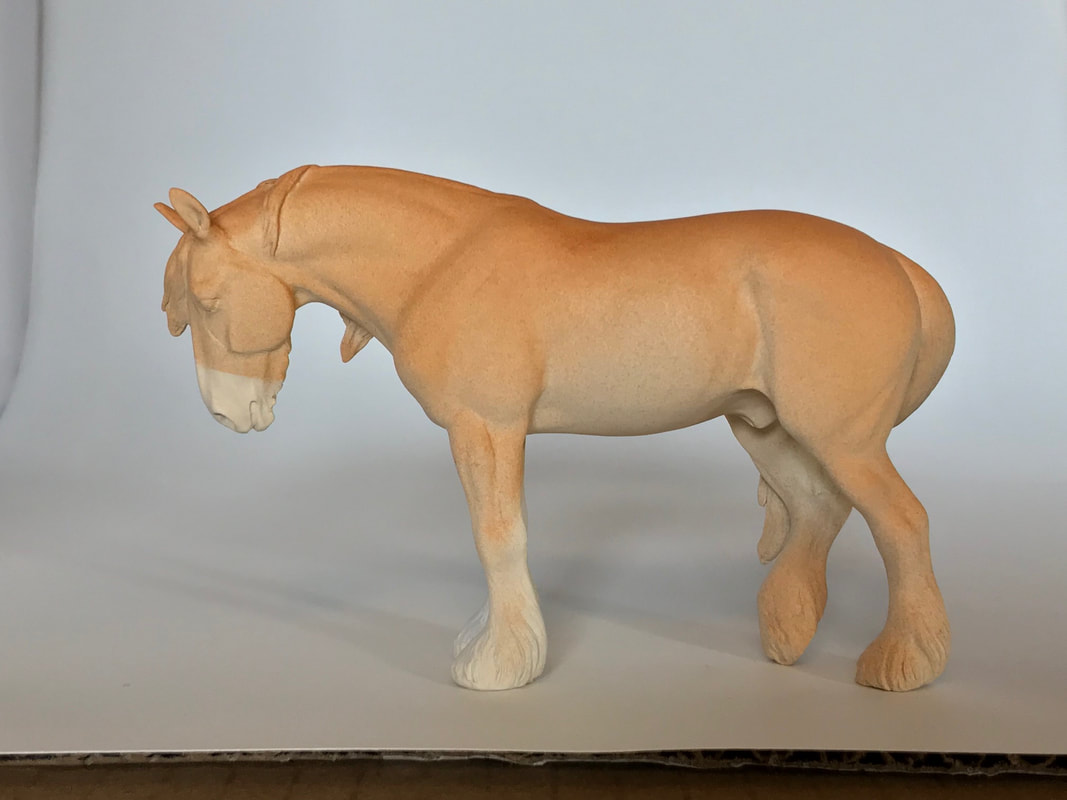
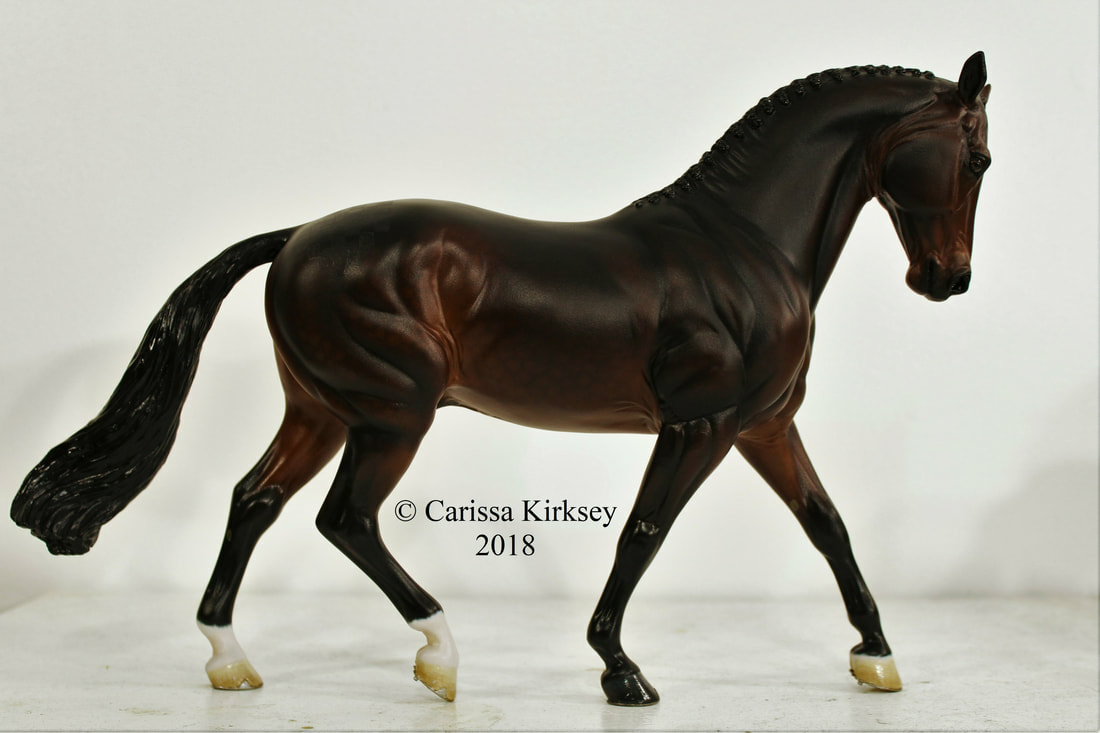
A quick victory shot of my NaMo! Better pictures (as well as the rest of his journey to this point) to come!
|
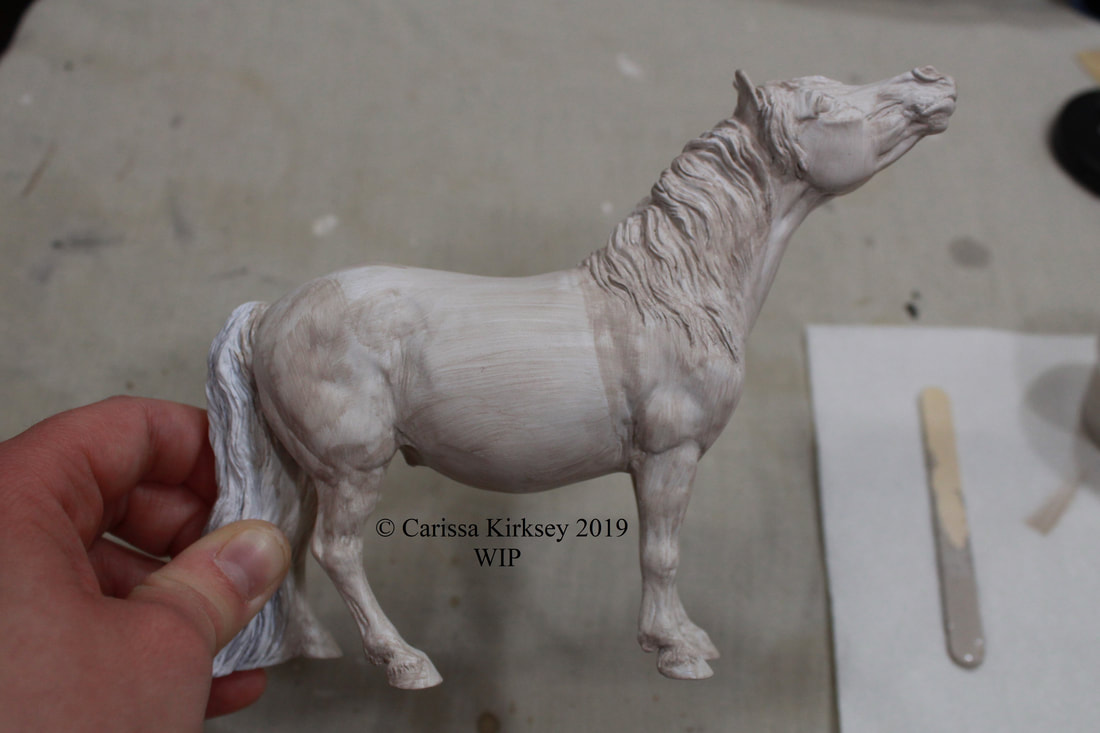
Even though I am running behind on my blog, that doesn't mean that the ponies have been neglected! A quick victory shot of my NaMo! Better pictures (as well as the rest of his journey to this point) to come! & Kim finished her fella over the weekend! Doesn't he look great??? Good luck to everyone still working to finish their NaMos!! You can do it!!!!!!
4 Comments
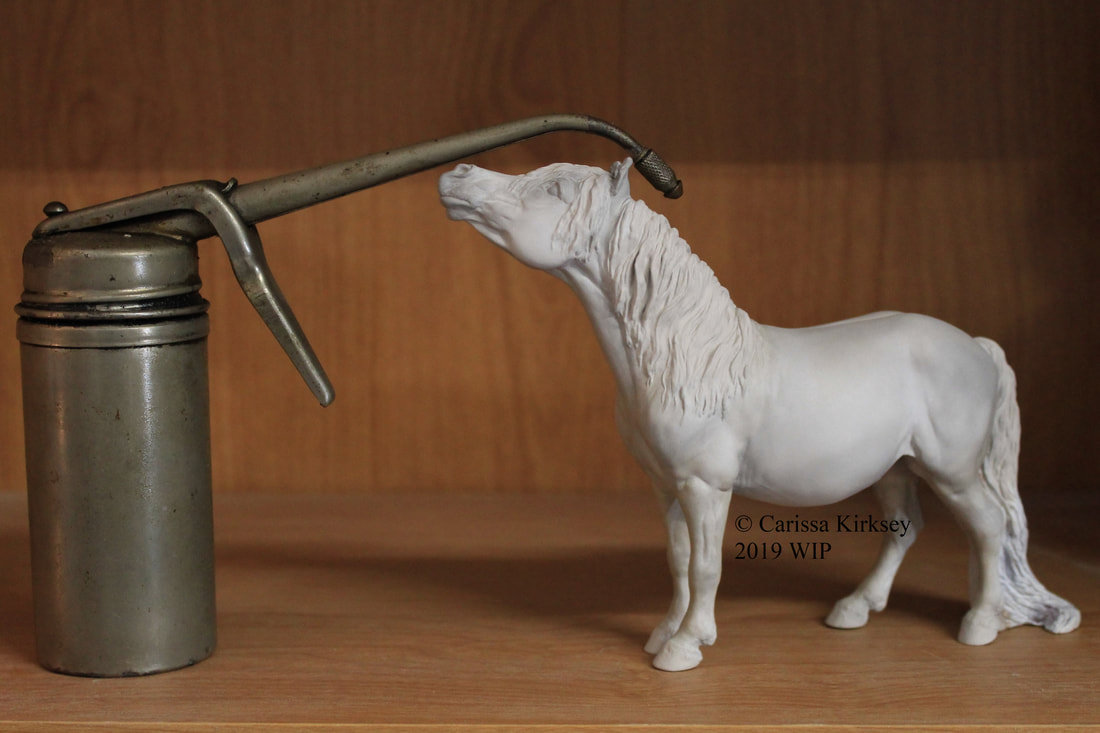
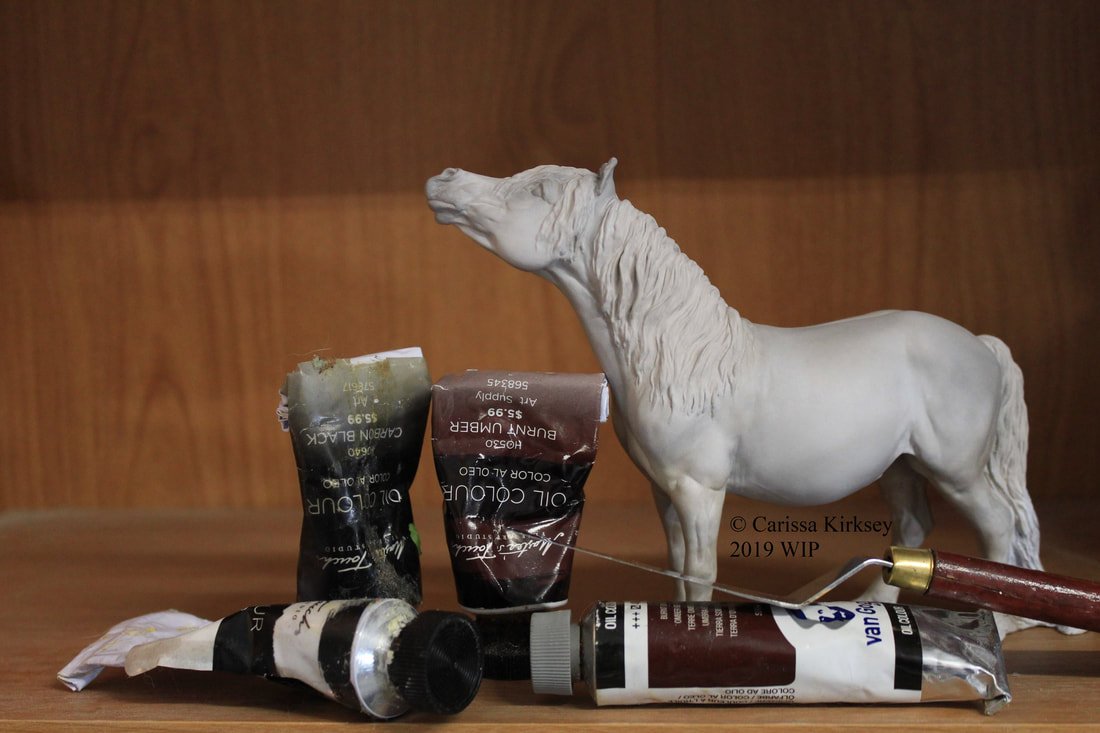
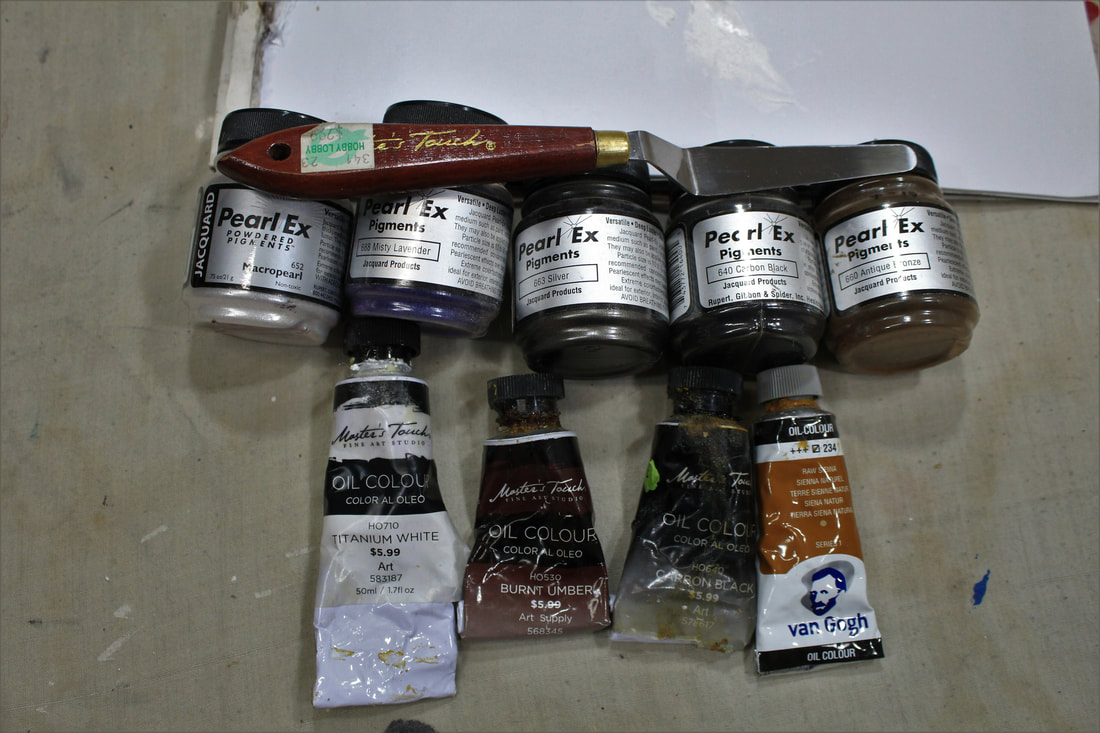
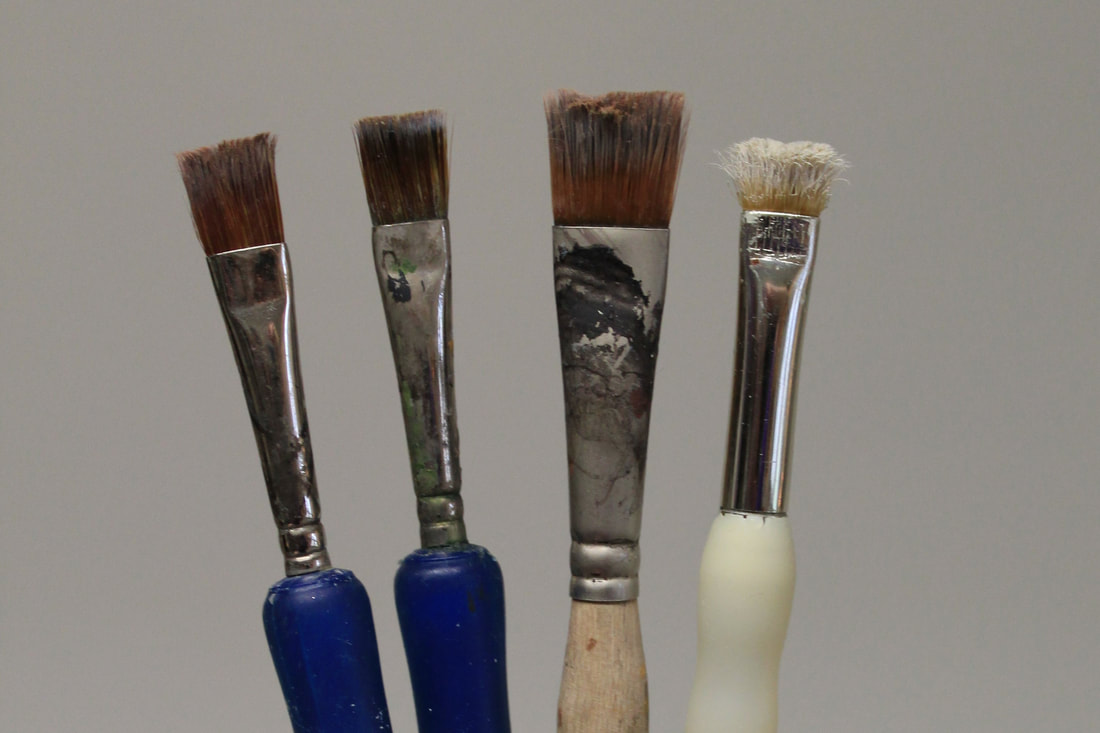
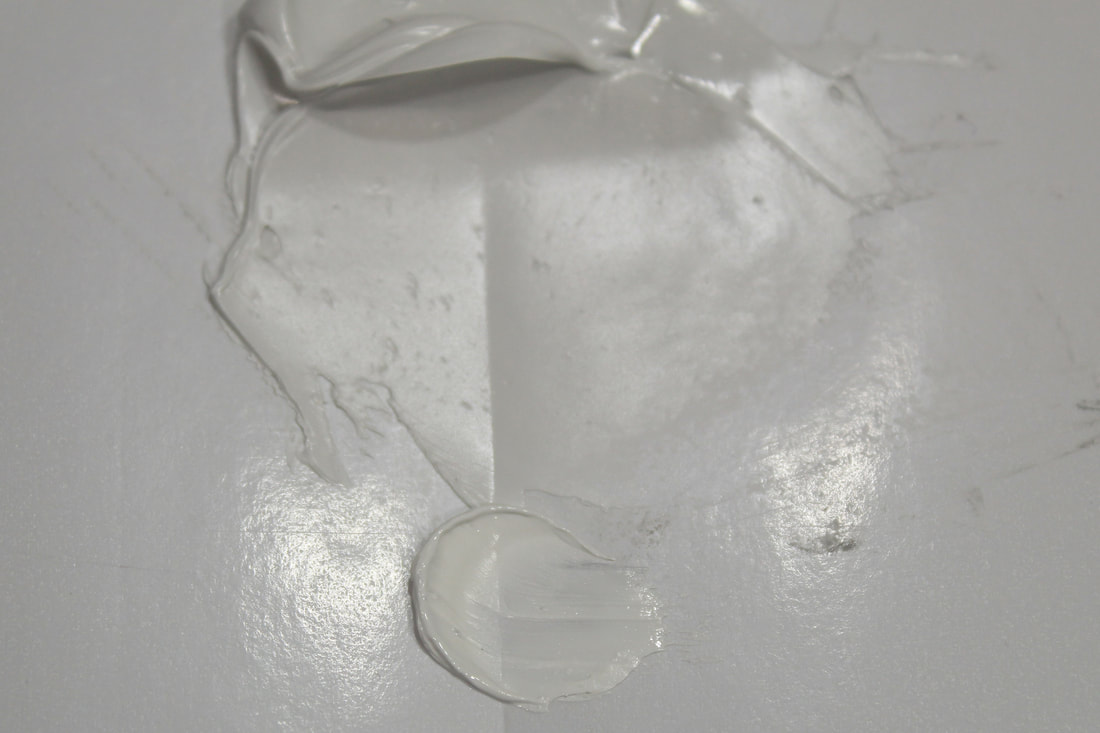
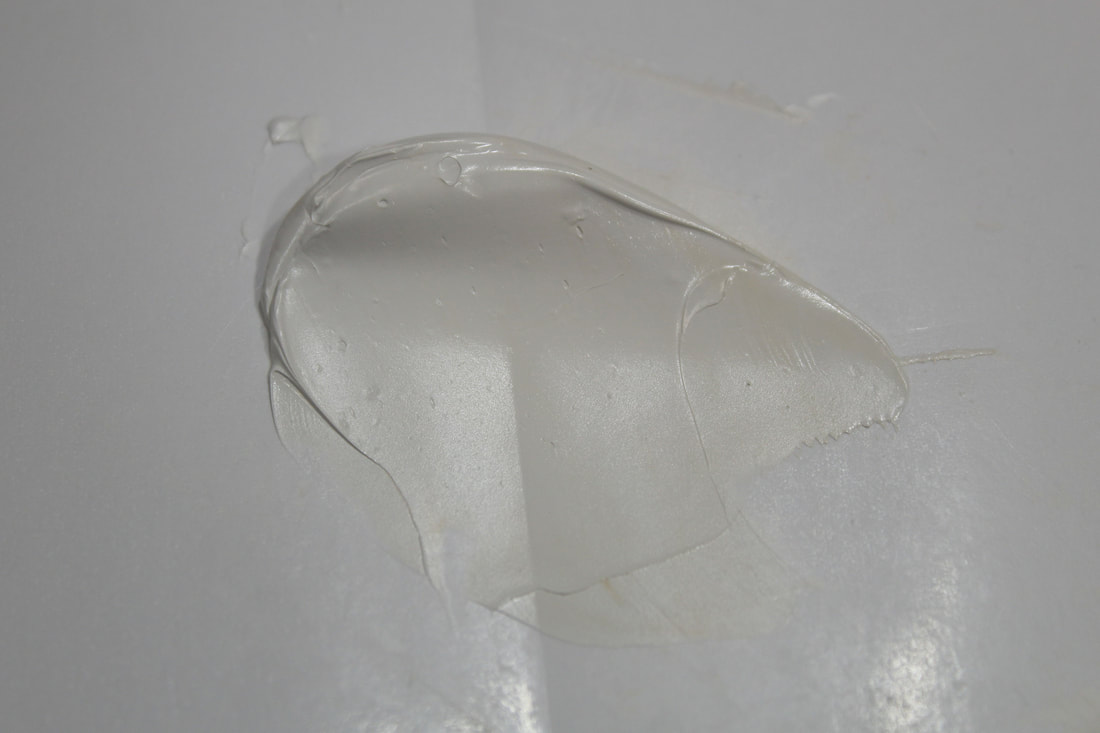
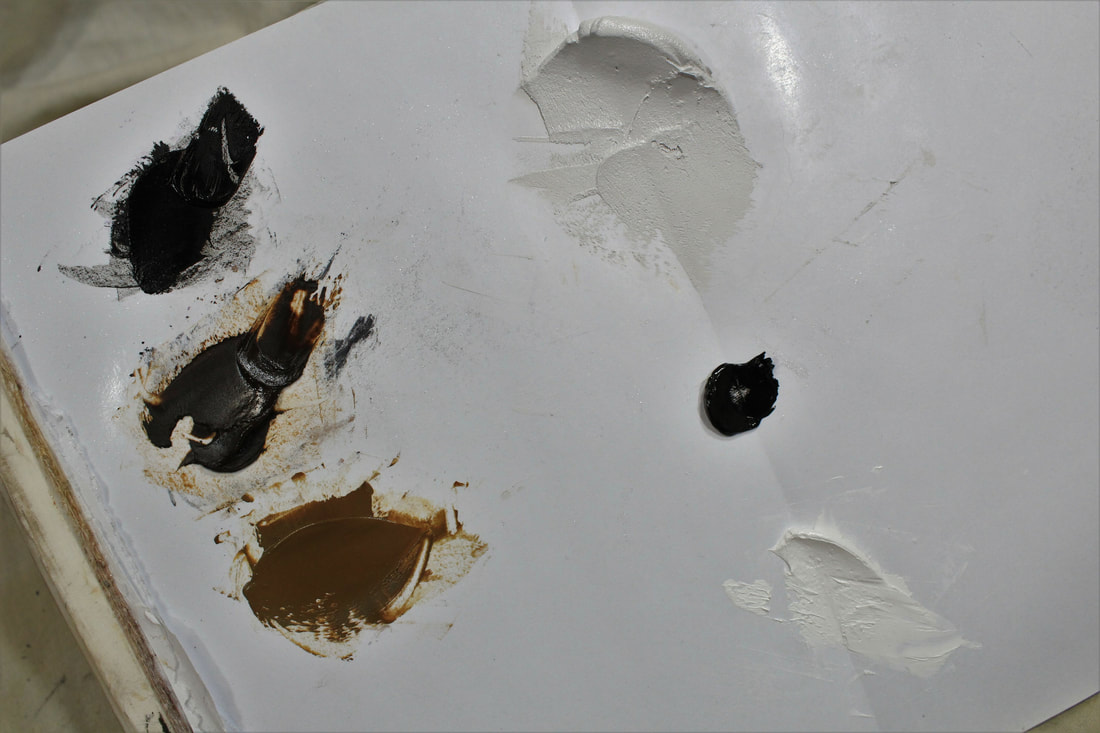
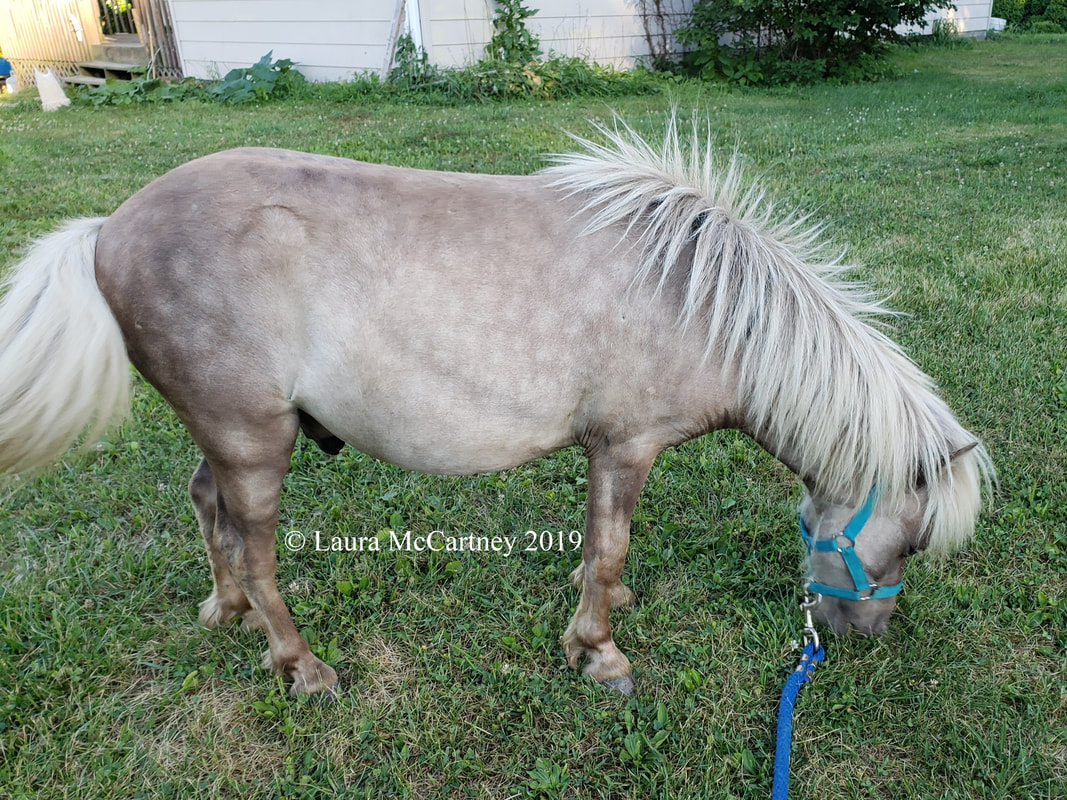
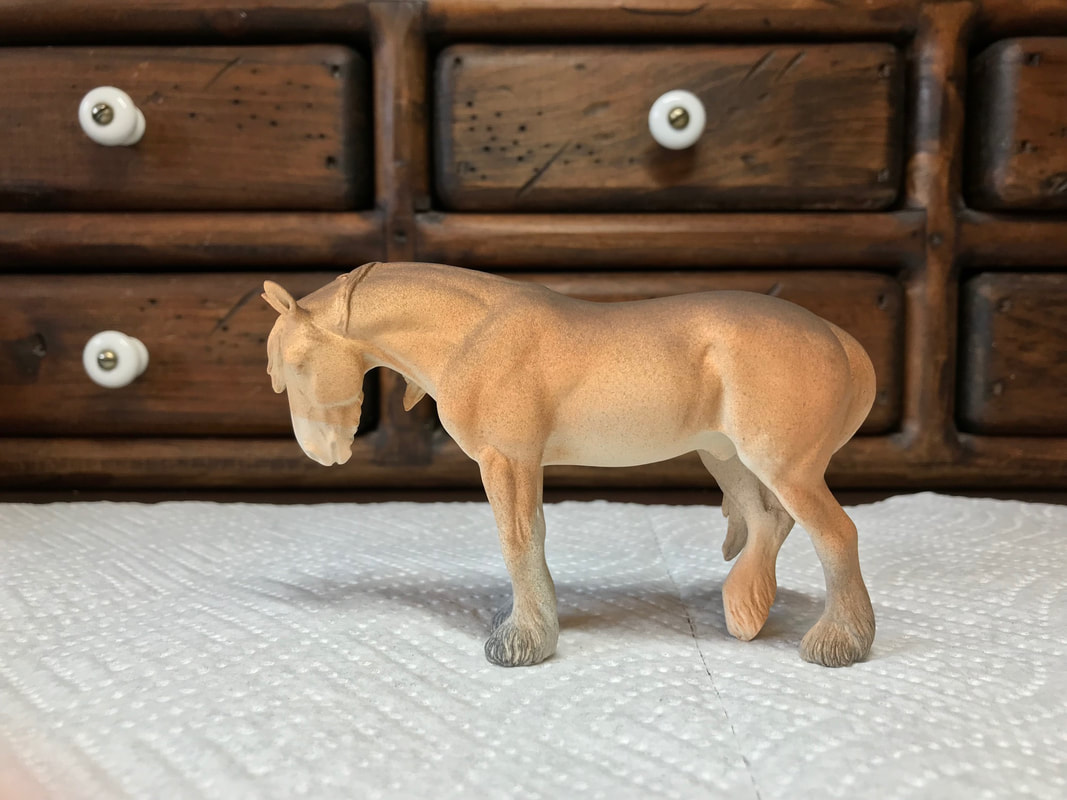
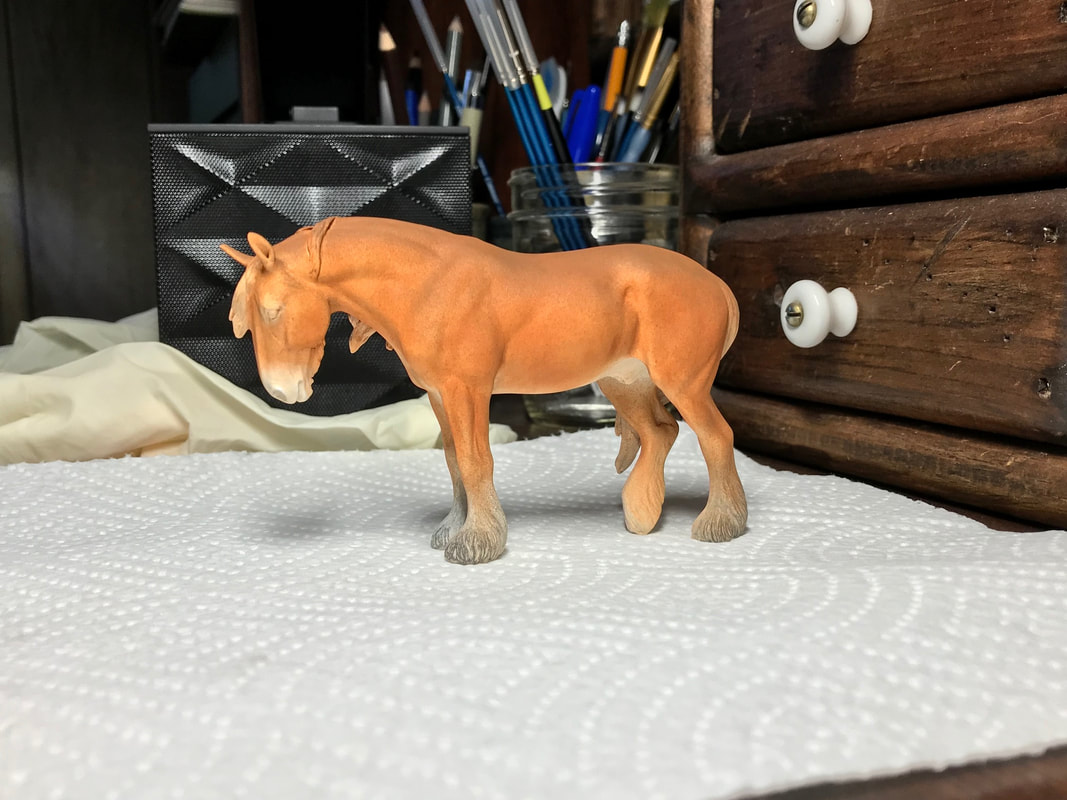
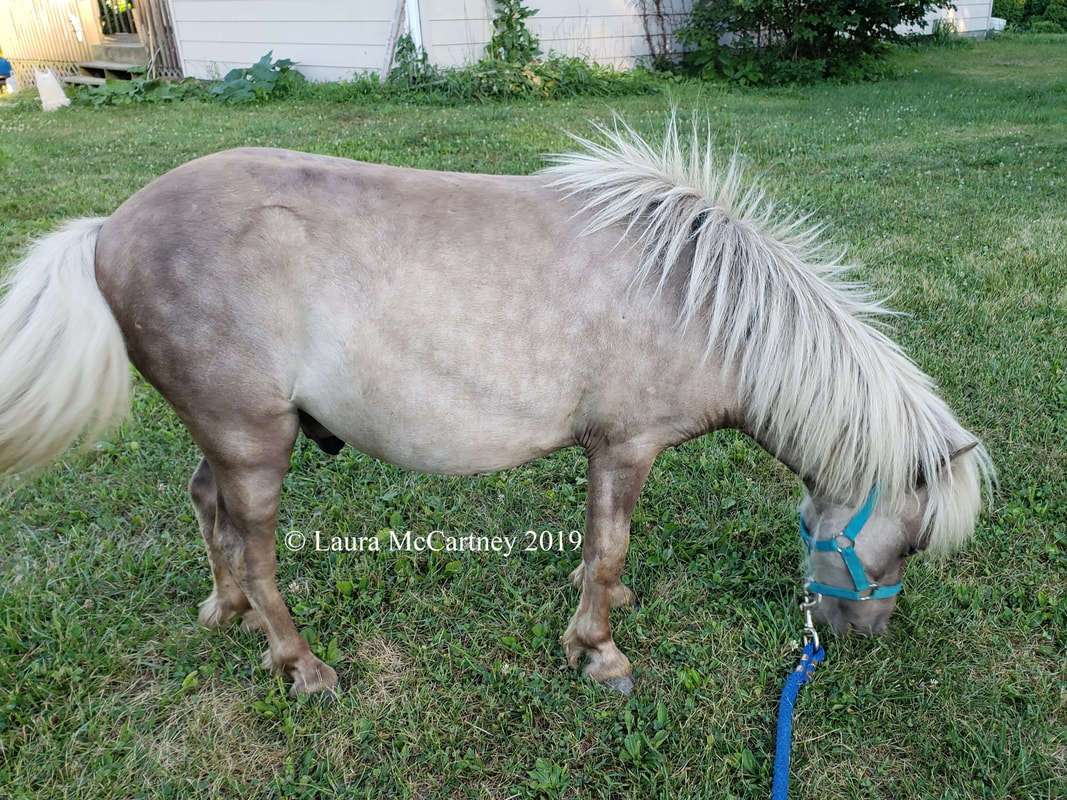
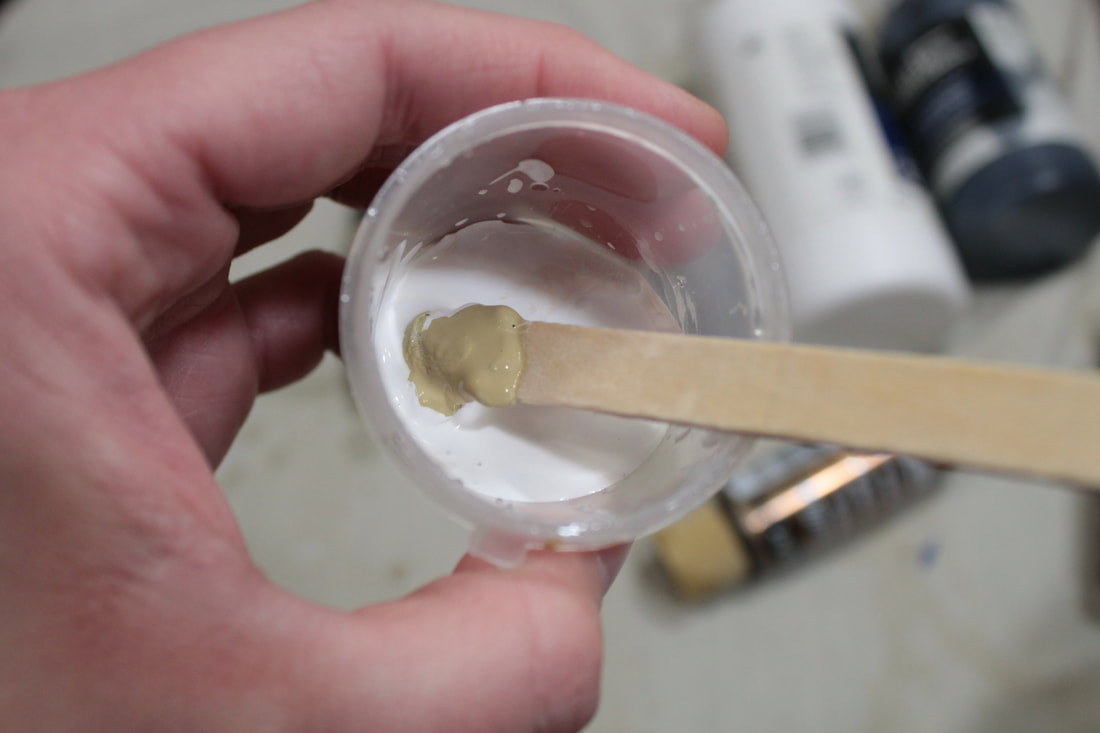
Alrighty, let's move on with oiling this poneh! No, not that kind!! This kind!! Since Kipling is on the road to being silver dapple grey, & that road will wind up taking many layers, he will not follow my typical oiling approach. That is, I usually go over the base acrylics with three colors/shades of oil: body, highlight, & shading, all done by section of the horse until the model is completely oiled. This guy, on the other hand, was oiled all in one session. This then will go on to be something of a base for the dappling that will go over it. Supplies for this first layer are: * Pallet paper. (Kind of like super wax paper, but it won't soak up the oil like wax paper would. ...Yes, I have tried wax paper before, it's a no go!) * A pallet knife. * Pearl-Ex Powders in: micro pearl, misty lavender, silver, carbon black, & antique bronze. * Oil paint in: titanium white, burnt umber, carbon black, & raw sienna. * There was also white pastel chalk that forgot to get in the family portrait here. & of course brushes. But I only used four of them. To start, fold the pallet paper in half; You'll mix your oil on one side & the crease only. This way you can fold it over & save your paint. 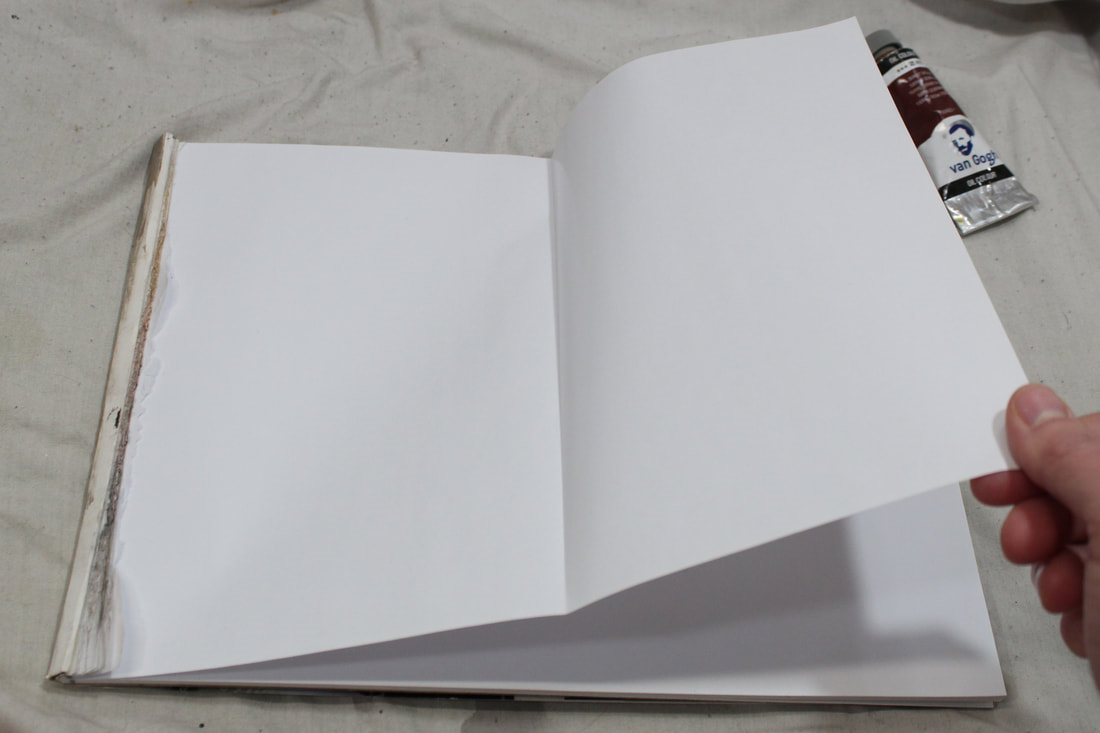 Your acrylic base should already fairly closely match your 'body' color of oils. With it being close, you will be able to keep your oil layers thin (not to be confused with thinned down). If it is not a close match, you will wind up fighting the base to get a good, solid covering of your base oils. That leads to your oil either being put down too thickly, or to your having to do two layers of body, letting them dry in between. Never a lost cause, but way more trouble than it needs to be. :) For this silver grey's body color, the base color of your oil painting, I picked out the light greyish-brown color on his coat. For the body mix, it is about 99% straight white! I'm not sure if you can see the comparison of the dab of white at the bottom to the started mix above it. Just like the acrylic base mix, the white is easily overwhelmed. I was adding color literally by the merest touch & building from there. & the result was this.
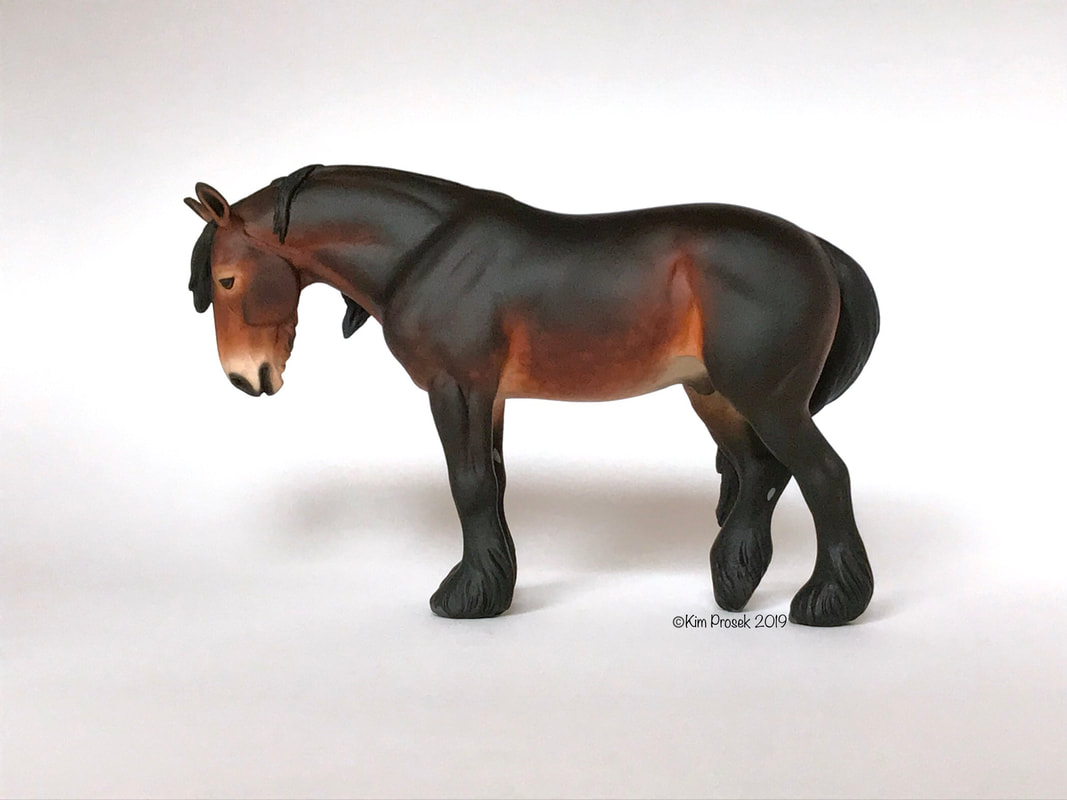
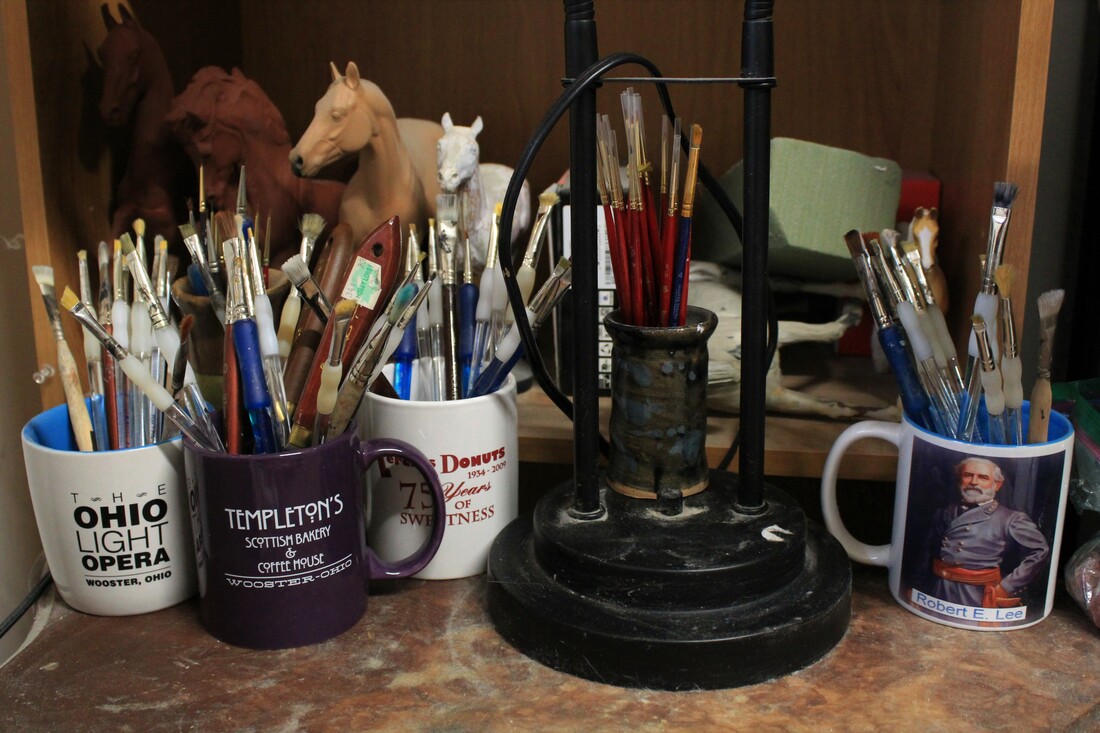
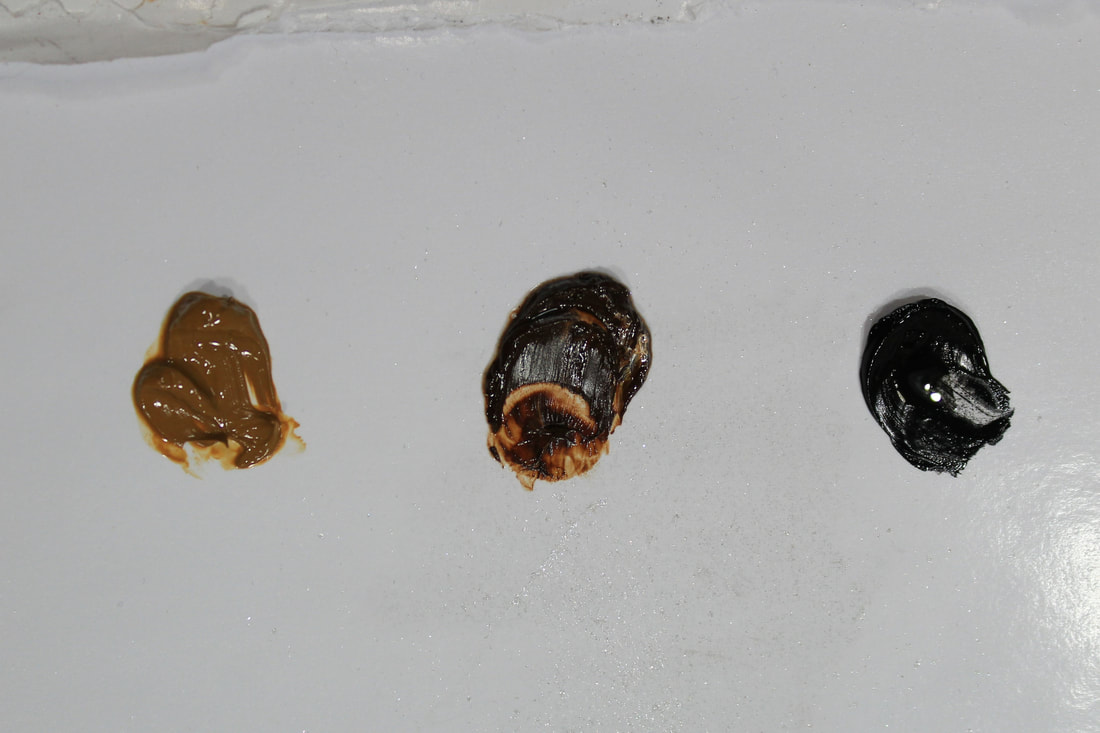
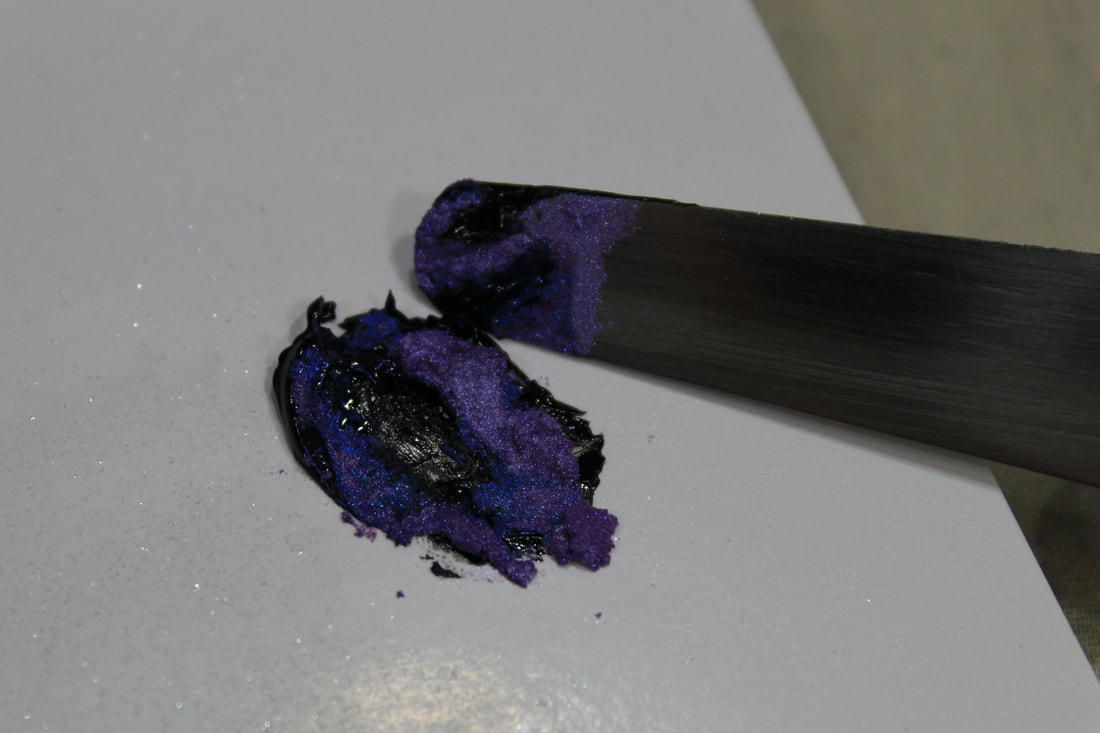
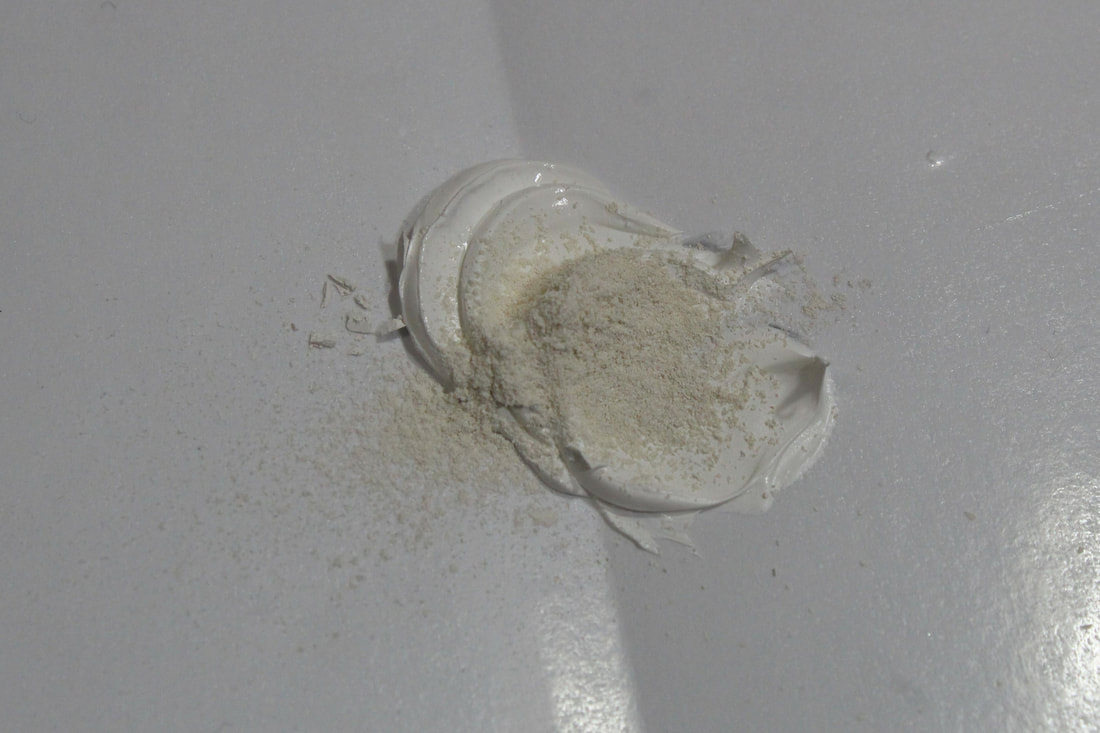
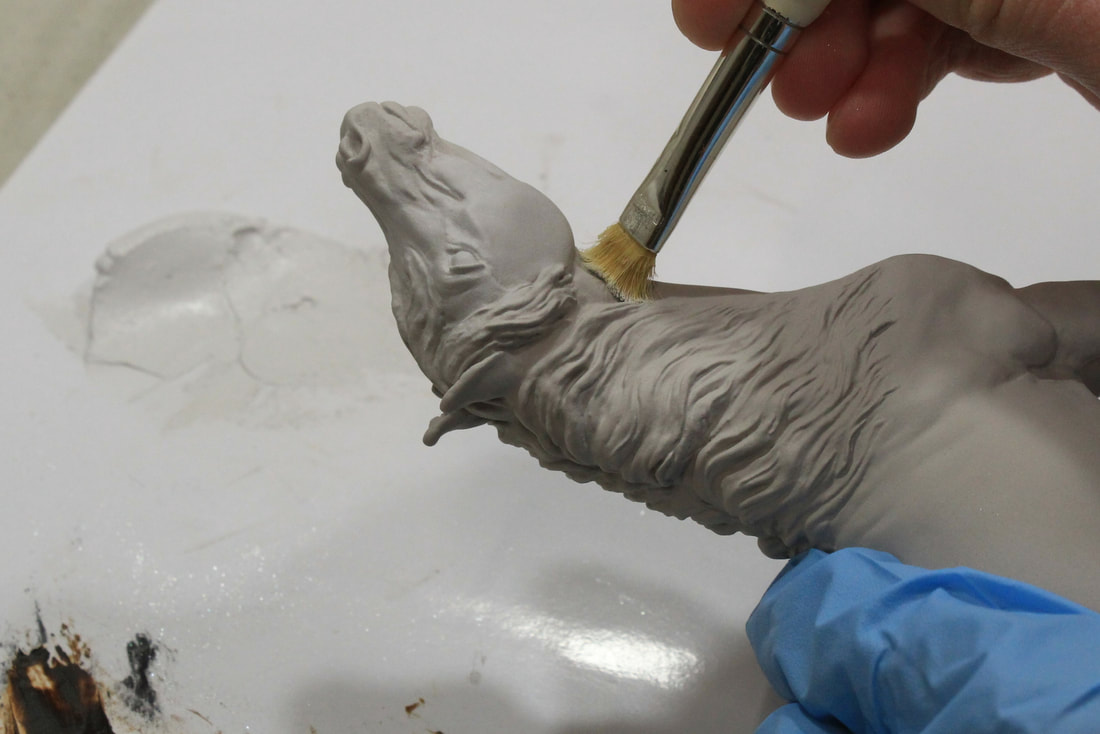
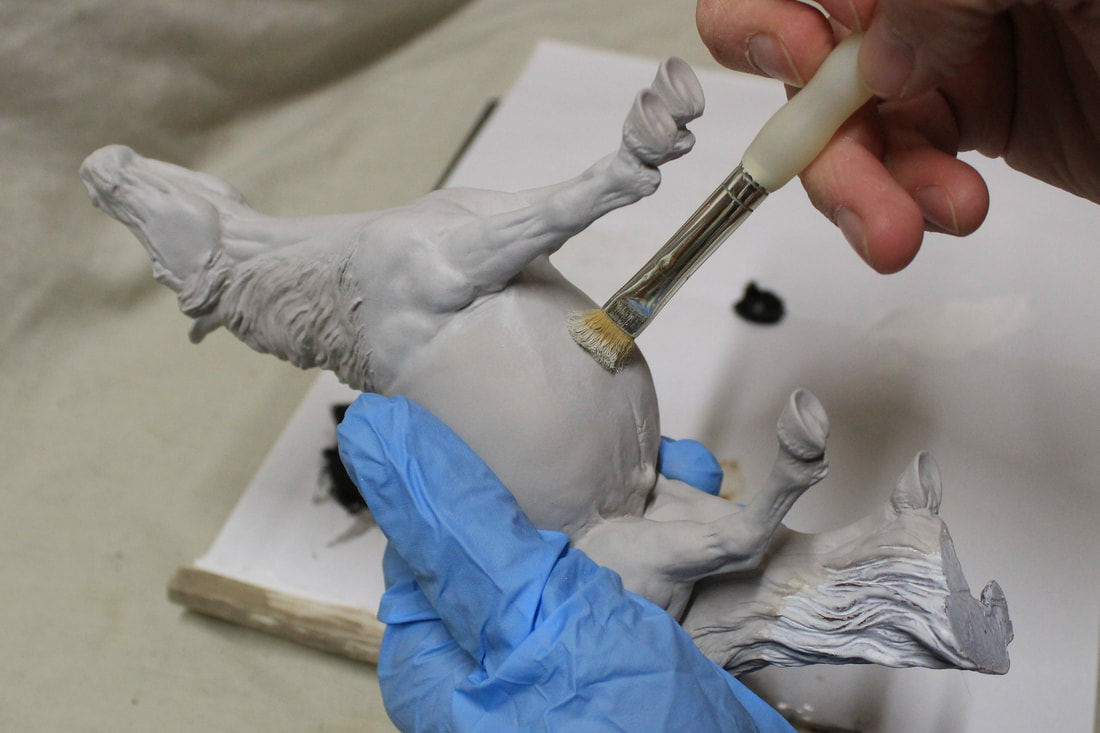
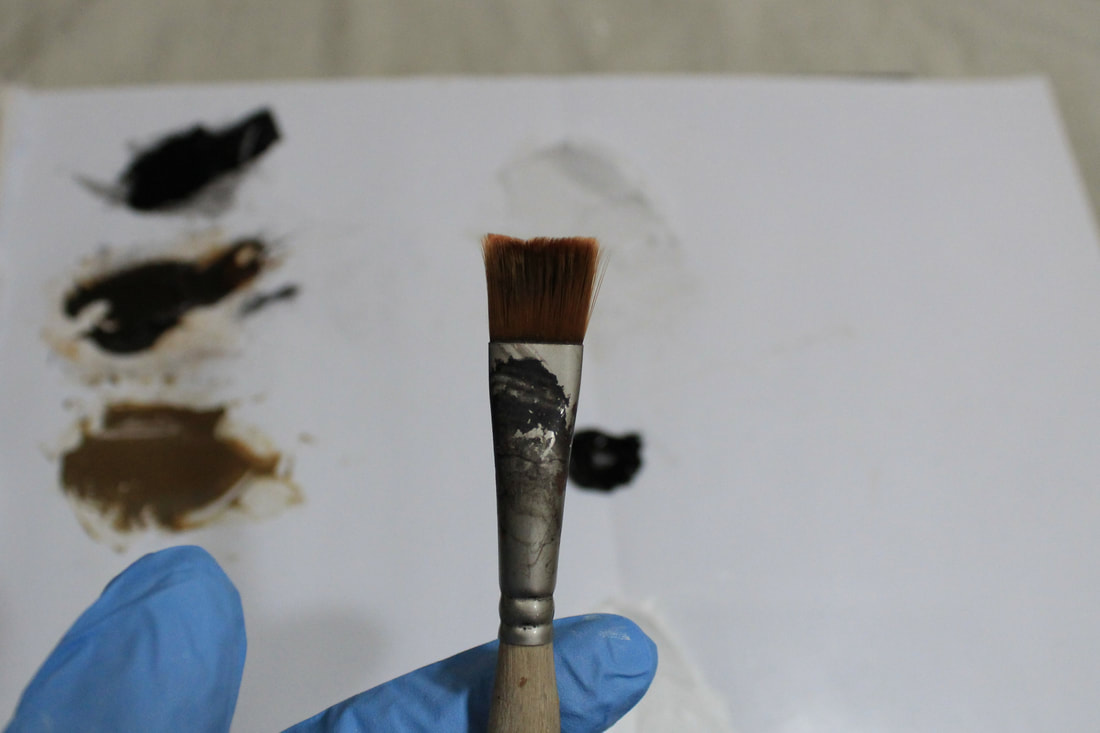
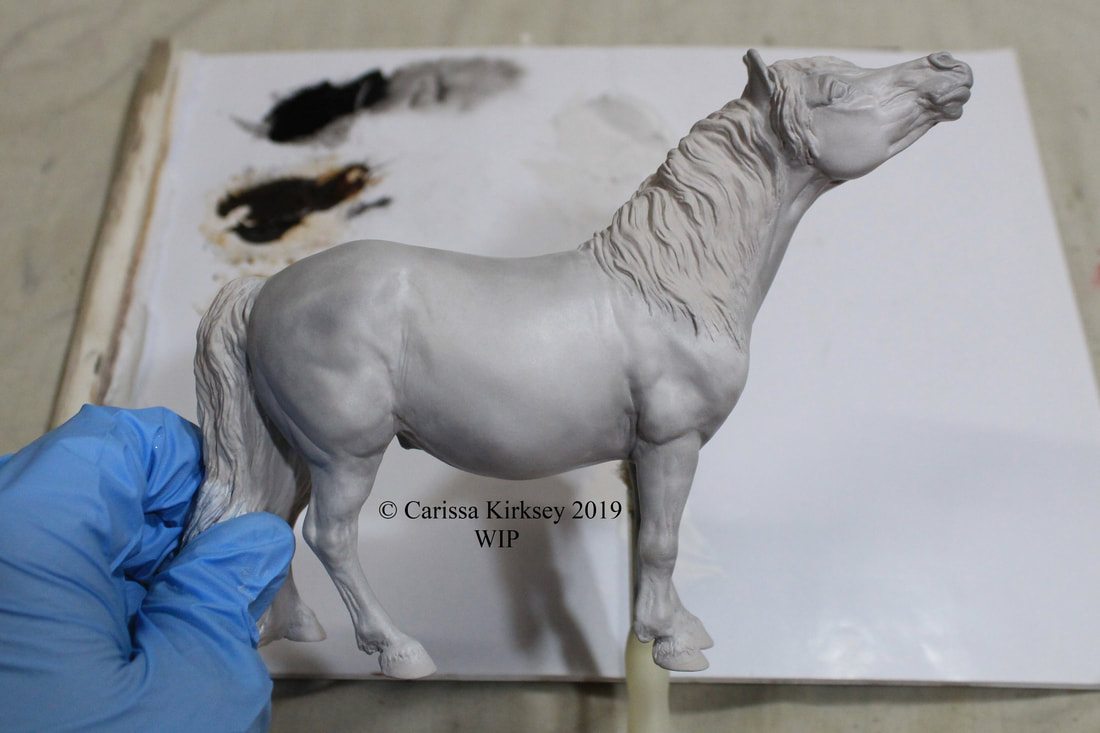
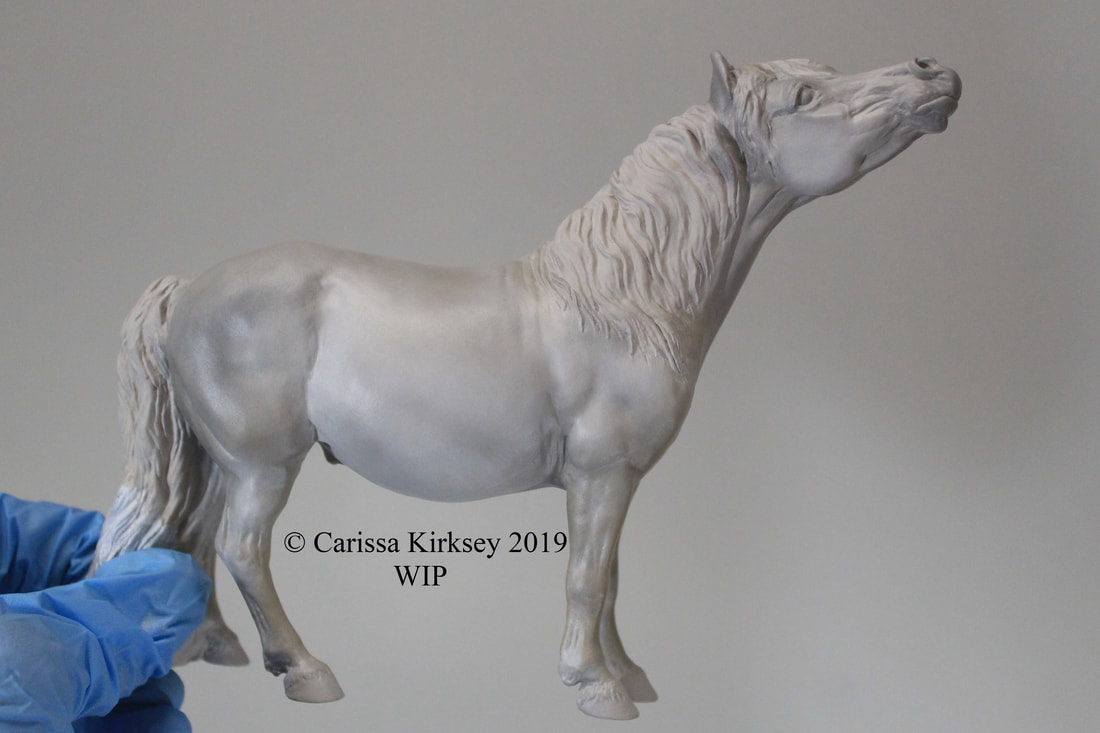
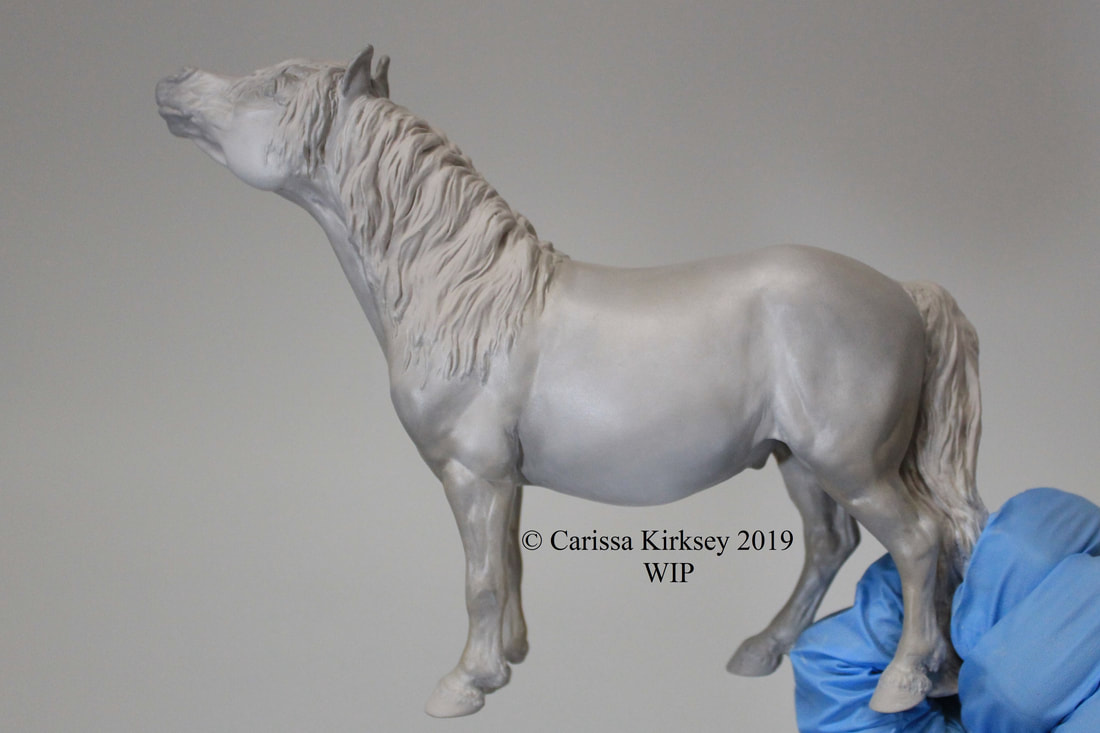
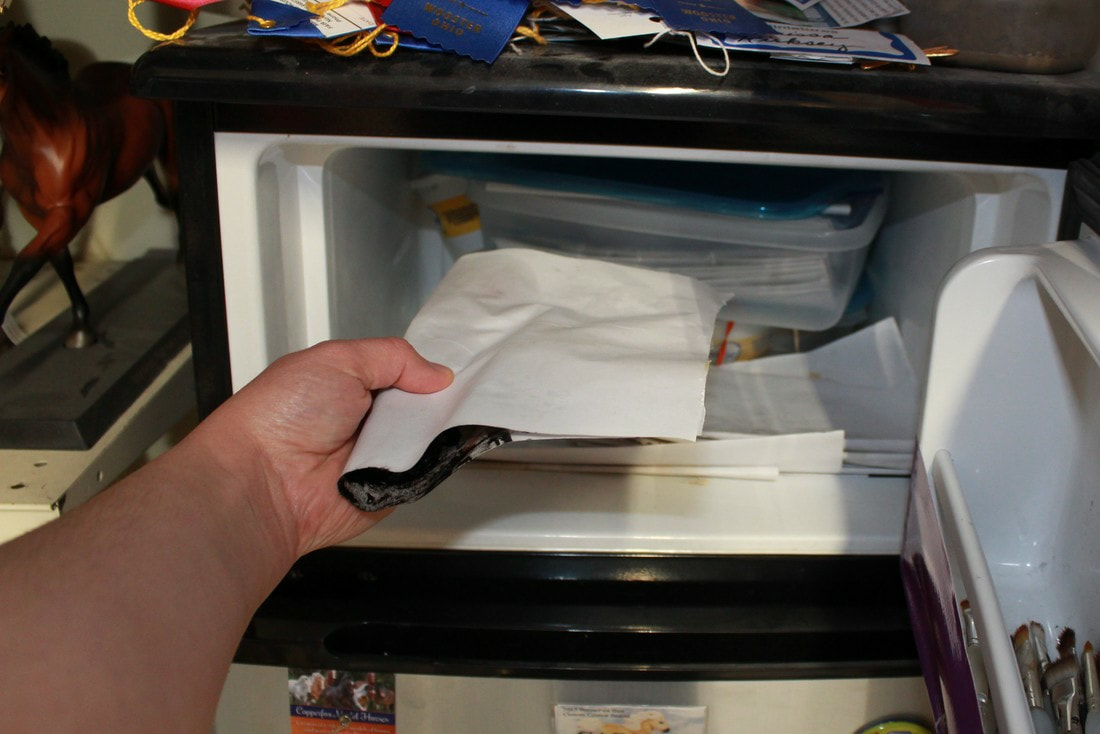
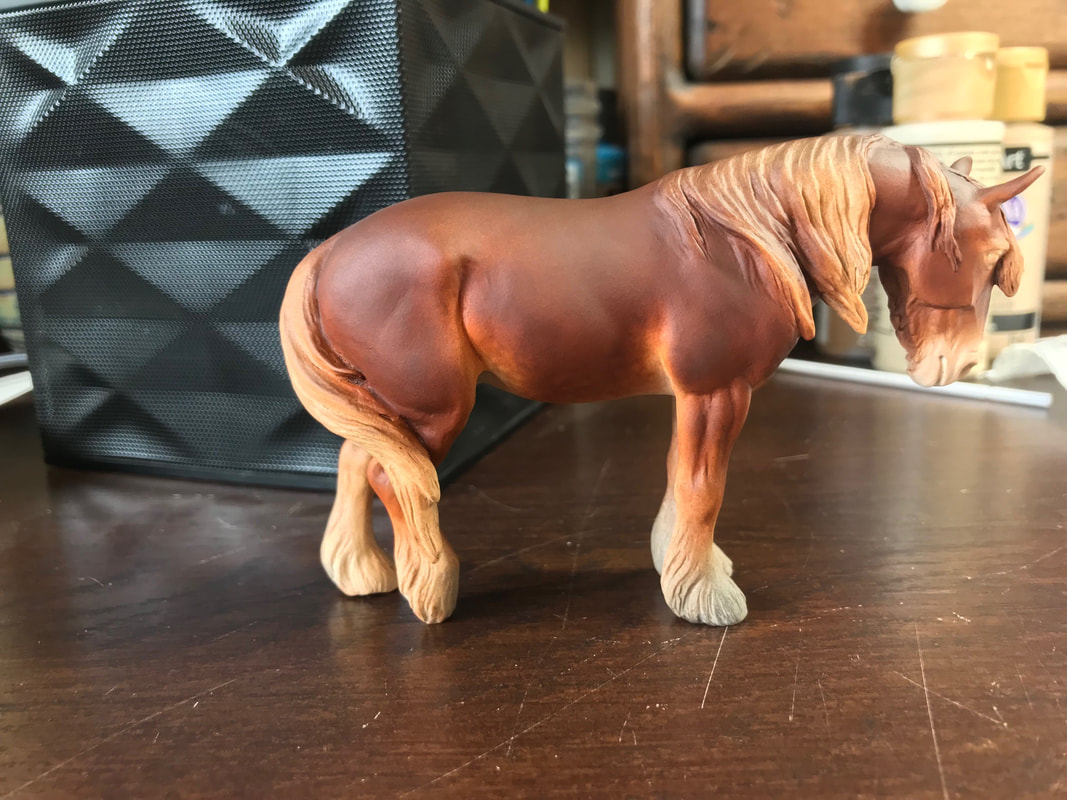
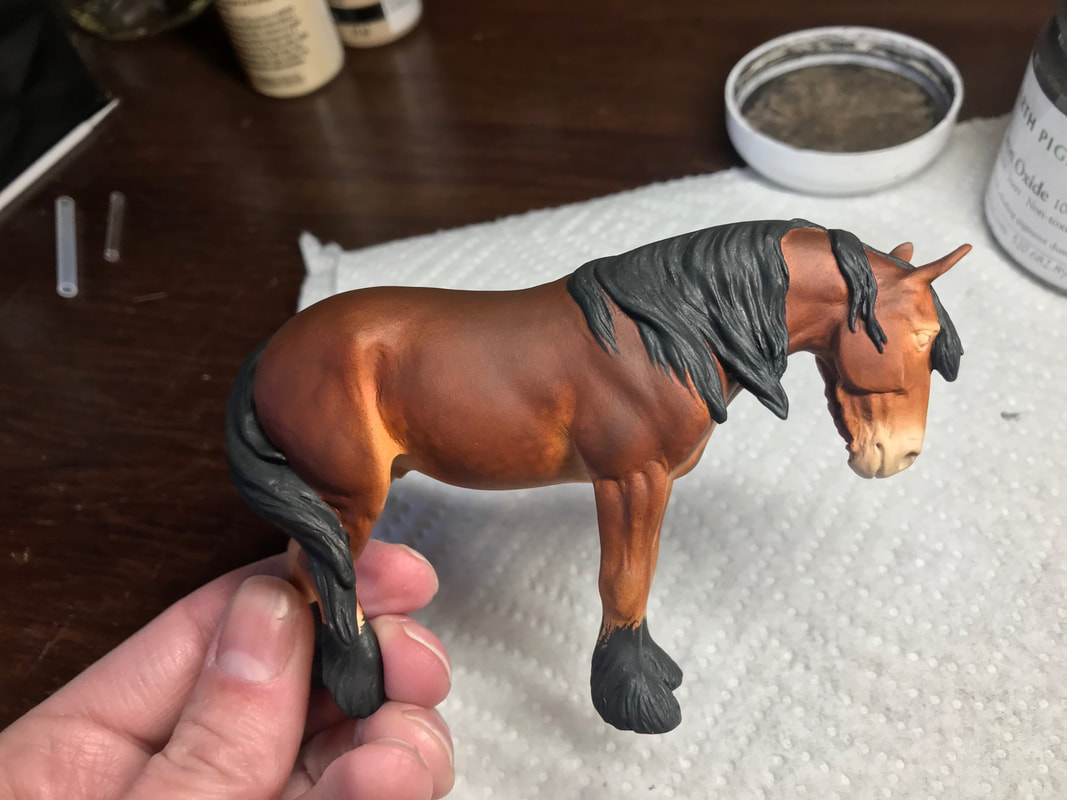
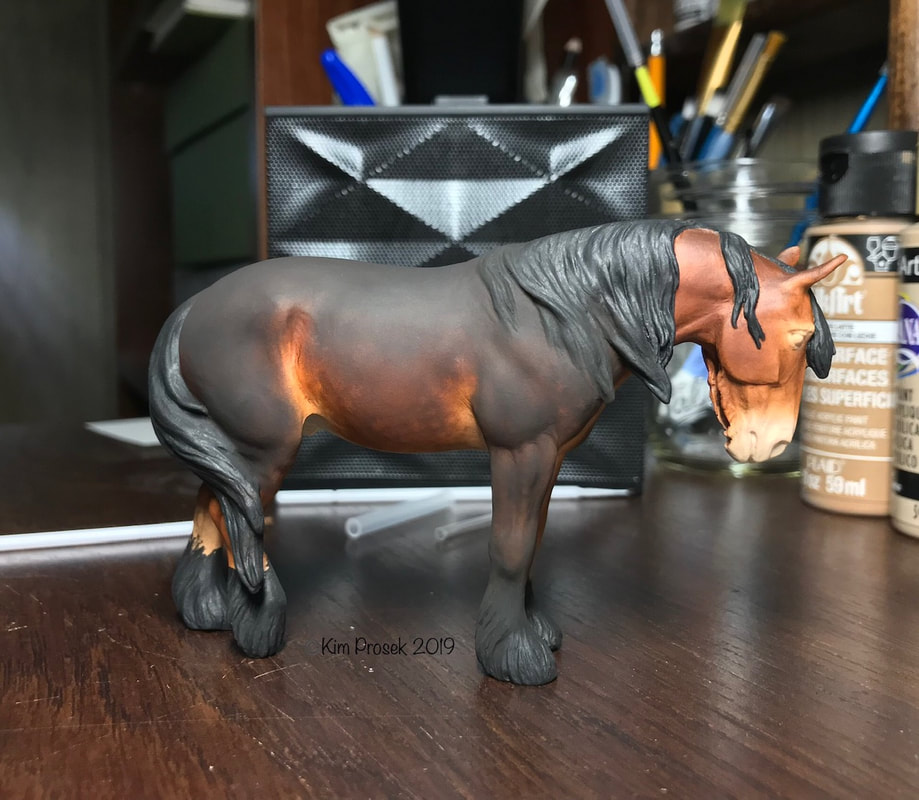
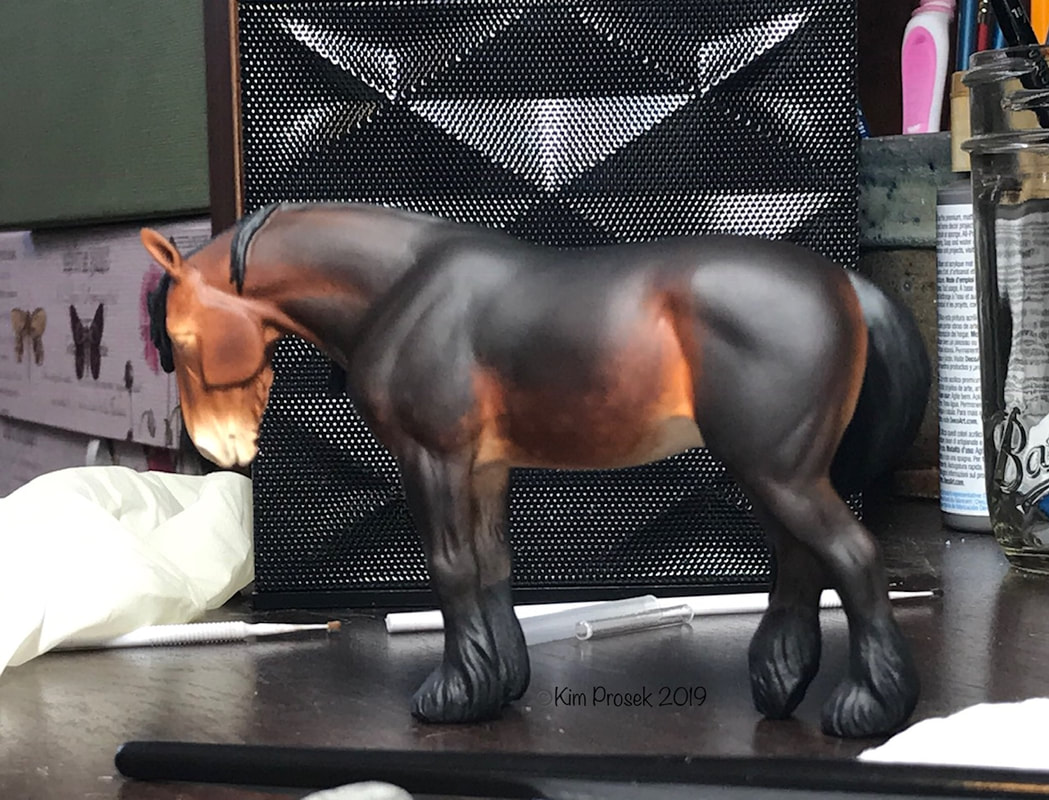
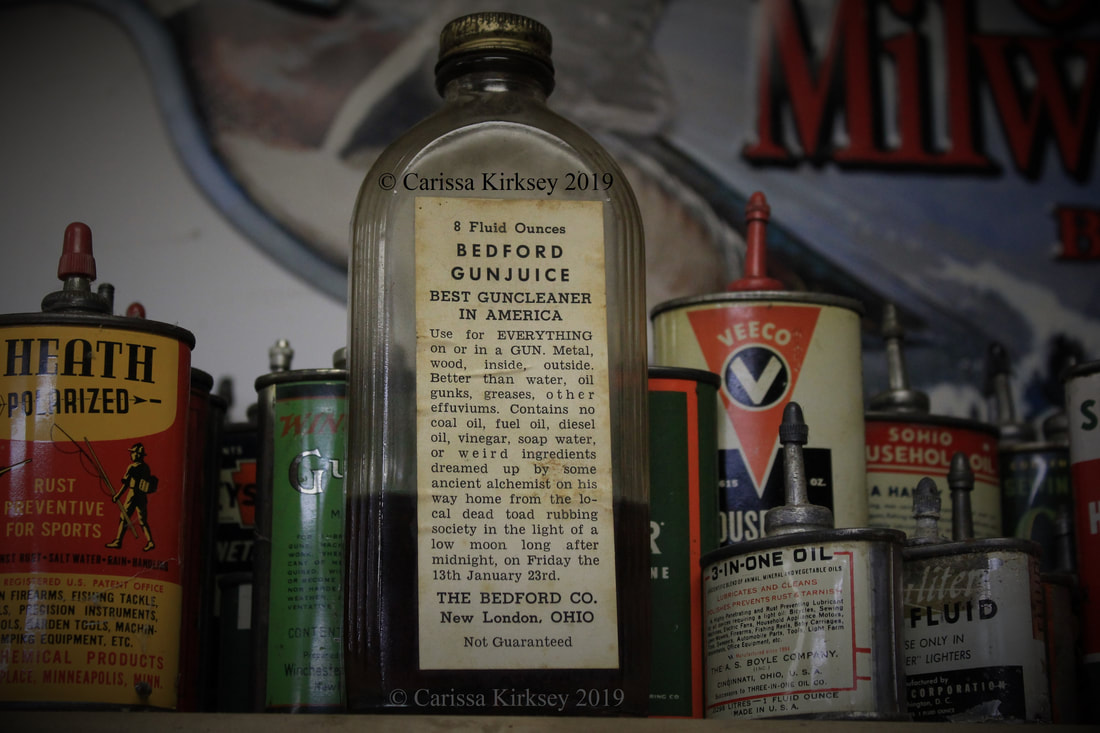
Other colors I mixed for Kipling were straight out of the tube: raw sienna, burnt umber, carbon black, & titainium white. There were no other oil colors added, but I did of course add Pearl-Ex to them as well. Misty lavender for the black. Antique bronze & carbon black to the burnt umber. Antique bronze & silver to the raw sienna. I randomly decided not to add Pearl-Ex to the white. But to help it dry, I did mix in some white pastel chalk. Here is the final pallet. There is some carbon black right out of the tube as well, nothing added. & with that, it's time to start painting! My very favorite brushes for adding body are a couple well loved, half inch(?) synthetic flats. They are over a decade old, & extremely frizzed! A, shall we say 'civilized' flat that is not all frizzied up works too of course, but that's how these poor things got this way! ;) Dab just the tip into of your brush into your chosen color; you want to have just enough to color the area you're working on & no more. Putting too much down at once just makes it more difficult to spread it out to keep it thin. Wipe it off on a paper towel if needed. Then using the tip, kind of scrub or stipple the color onto the horse. Here's what I mean: When I oil, I like to 'grid' off a horse & work in sections, & even though this guy doesn't follow my usual oiling method, I still pretty much worked by sections: Head, neck/chest, belly/inner thighs (leaving a firm hand hold over his back as seen below), barrel/back/haunches (leaving the legs to hold if they are sturdy enough), & finally the legs, which left me with a slightly precarious hand hold of part of his tail. Though since he has a double mane, I was able to cheat this time & hold him around his neck too. Completely painted in the body color. Next, with a much less frizzy natural half inch flat, I lightly added the black mix for shading. You want to go slowly with adding dark color. You can always add more, but you can't take it off if you add too much! I use much the same stippling motion for this, carefully watching my reference pictures to determine where it needs to go. Shaded! Just like the black mix, I added just a touch of the browns, mostly to his lower legs, but also to the stifle & elbow areas. I also hit a few areas such as his lower barrel with white to highlight. Ta-da! You'll probably get sick of seeing this reference picture, but it's going to keep popping up! Compare to the horse I am going by. There will be many more layers over this oil layer, so I am not too concerned of going too dark just yet; I'll need a lighter foundation to build up dappling over. When you are finished with your oil session, fold over the pallet paper & pop it in the fridge or freezer! It can keep exceptionally well this way; I am still working off last year's NaMoPaiMo bay/red pallet as a matter of fact, & it is still perfectly good. You can also cheat a bit with your brushes if you don't feel like cleaning them right away by also sticking them in the freezer. ;) They will need cleaned soon though; I simply use dish soap in warm water, no need for anything fancier. WHEW!! Sorry it took so long to get this posted!! I've really been struggling to write this NaMo! Kip is quite a bit further than this now. Hopefully I'll be able to be a bit more timely with the next posts!! I'm not the only one making headway on their NaMo pony! My friend Kim Prosek of Longwing Studio has been busy at it too with her Sleepy Shire! Kim airbrushes her acrylic base, & then works her magic with powder pigments. "He isn’t just white in this first picture; It’s actually a light fawn color." "And then milk chocolate." "Next is burnt umber mixed with burnt sienna." "And then a light dusting of black." "Then I decided I didn’t want to mess anything else up and went with my trusty pigments. So one layer of pigment & there he is for his first weekend's work!" Then this past weekend she continued to bring him to life! "I added a few more layers of pigment, sketching in the dapples." "Then painted the m/t to get an idea of where I was." "And then onto black pigment." He looks soooo good Kim!! I hope he continues to play nice with you!! Just for a laugh, as it pertains to the joke at the beginning of my post, read the label on this old gun oil bottle. Someone had a sense of humor! Until next time! Happy painting all!!
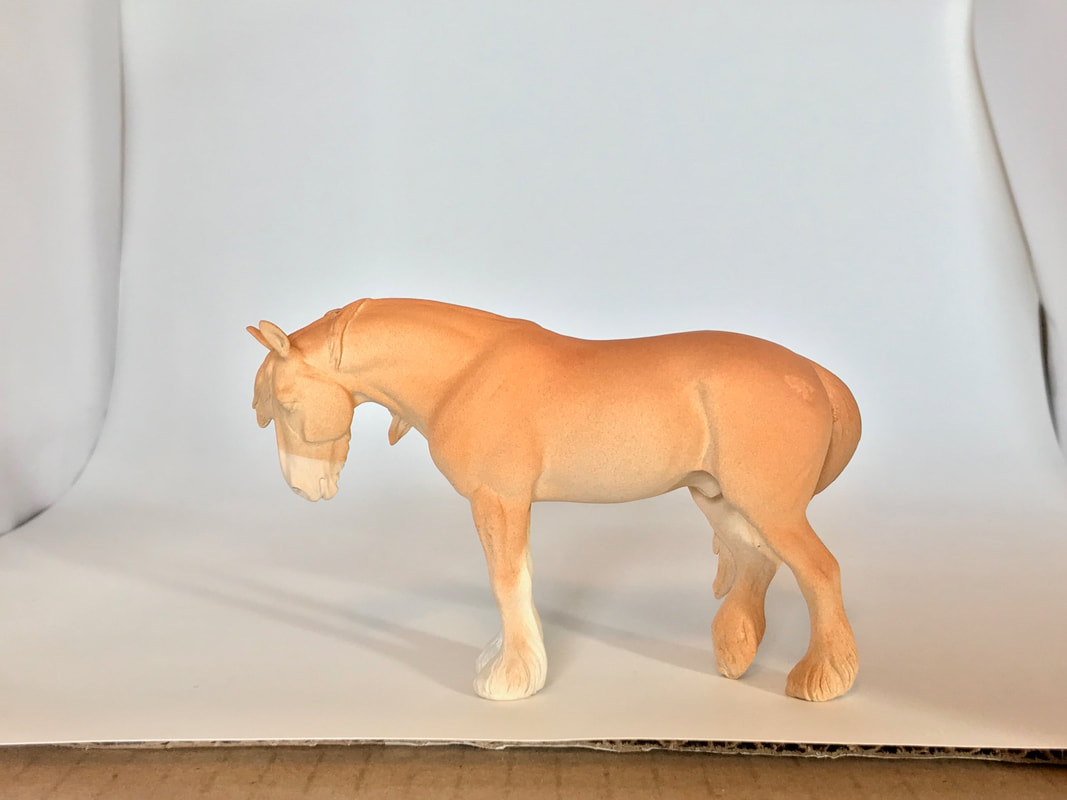
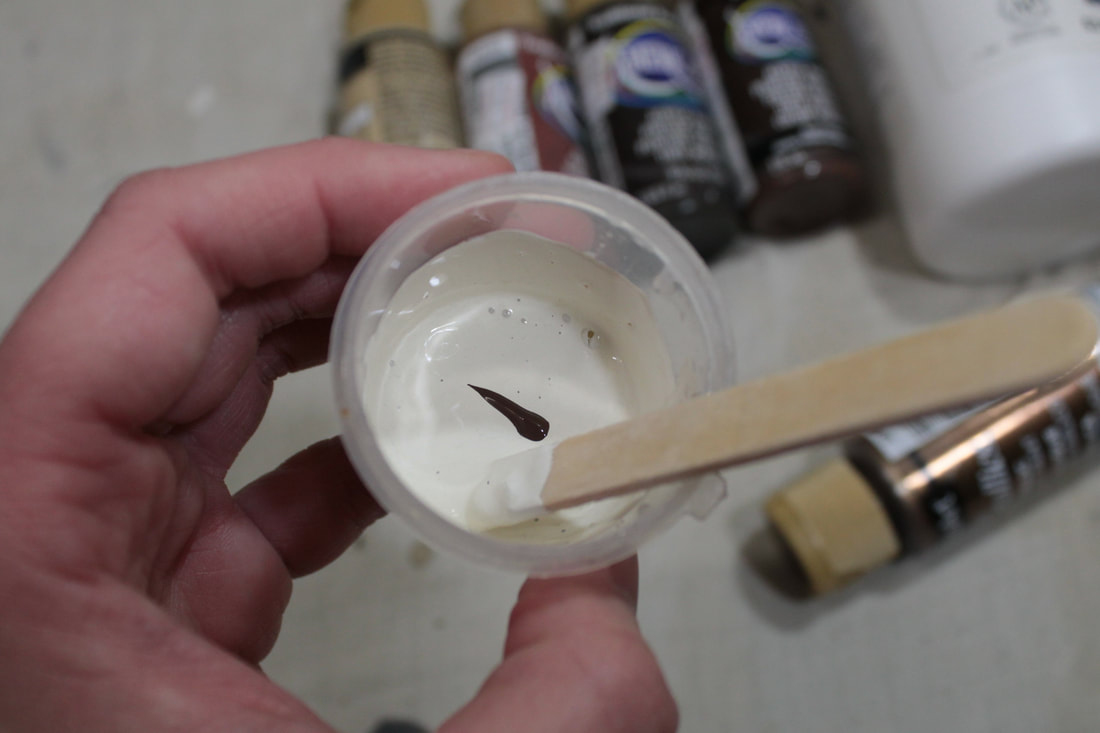
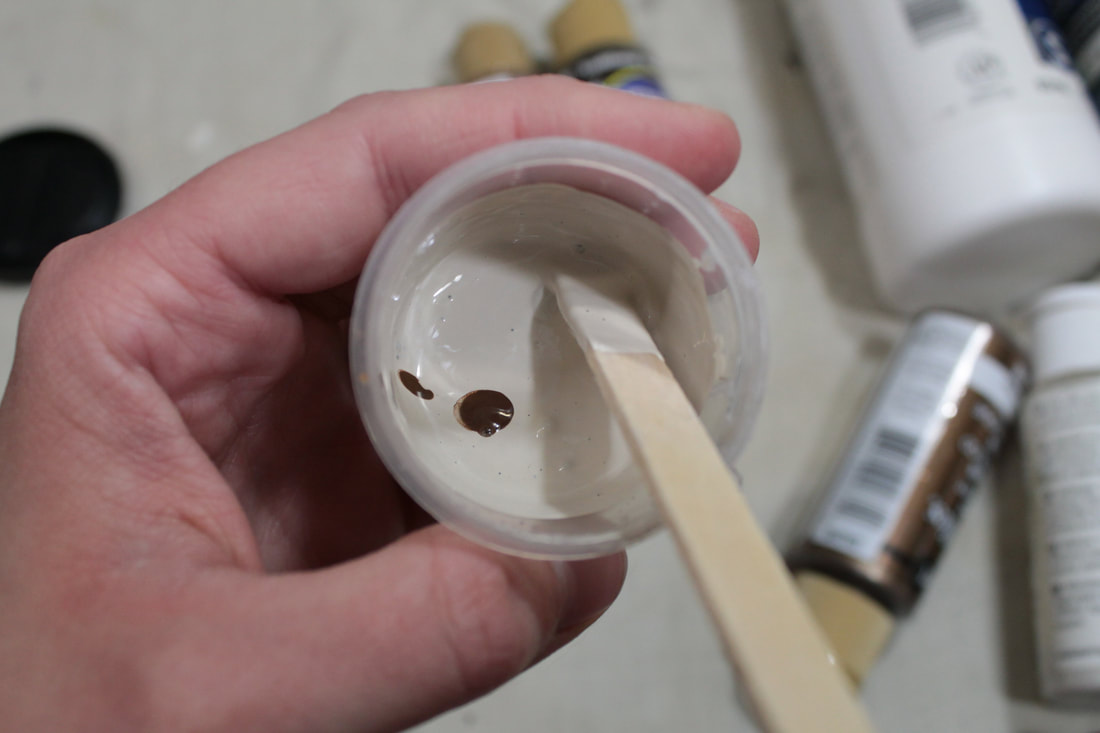
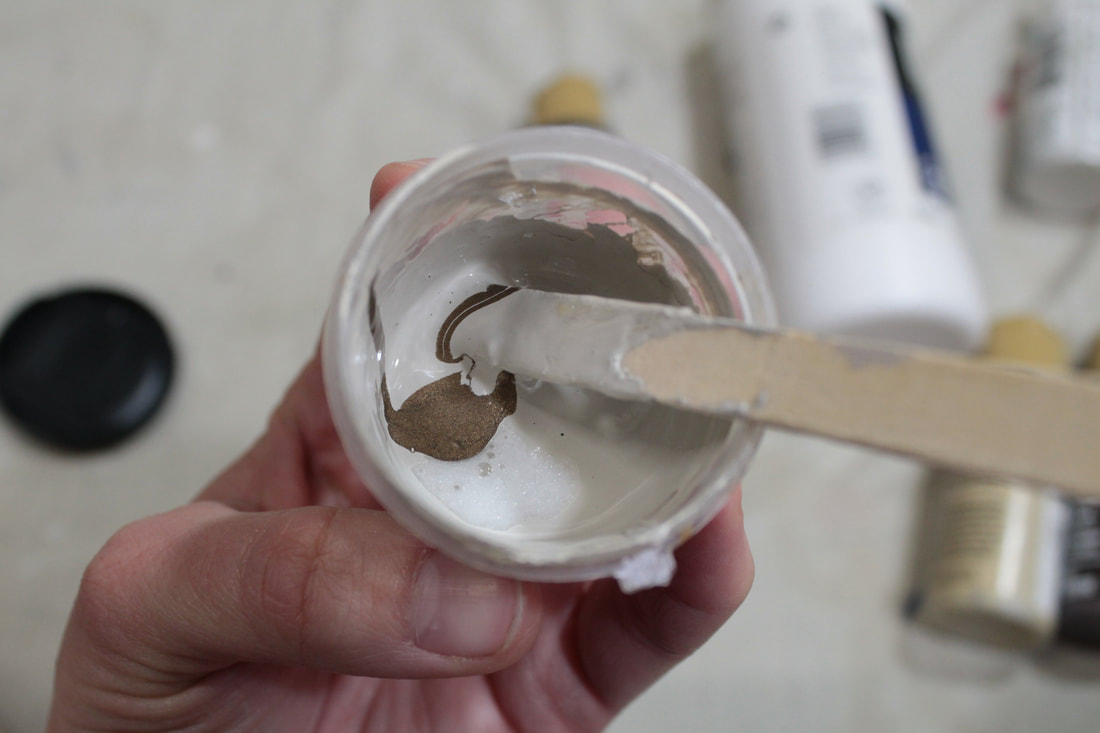
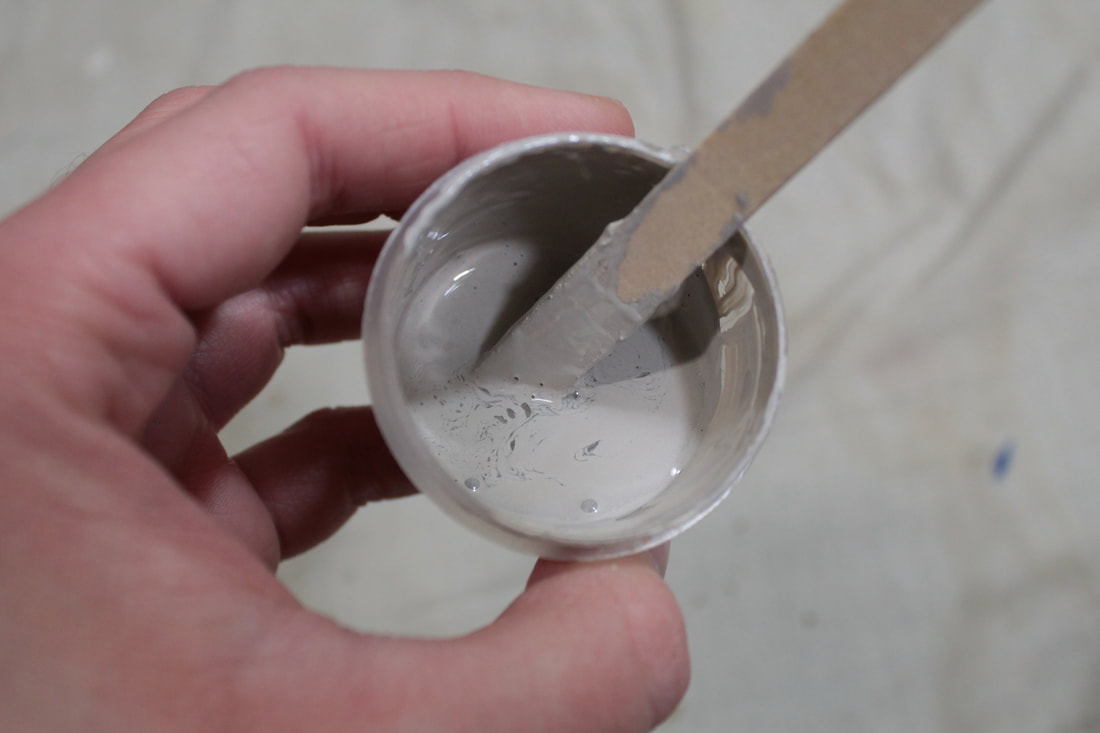
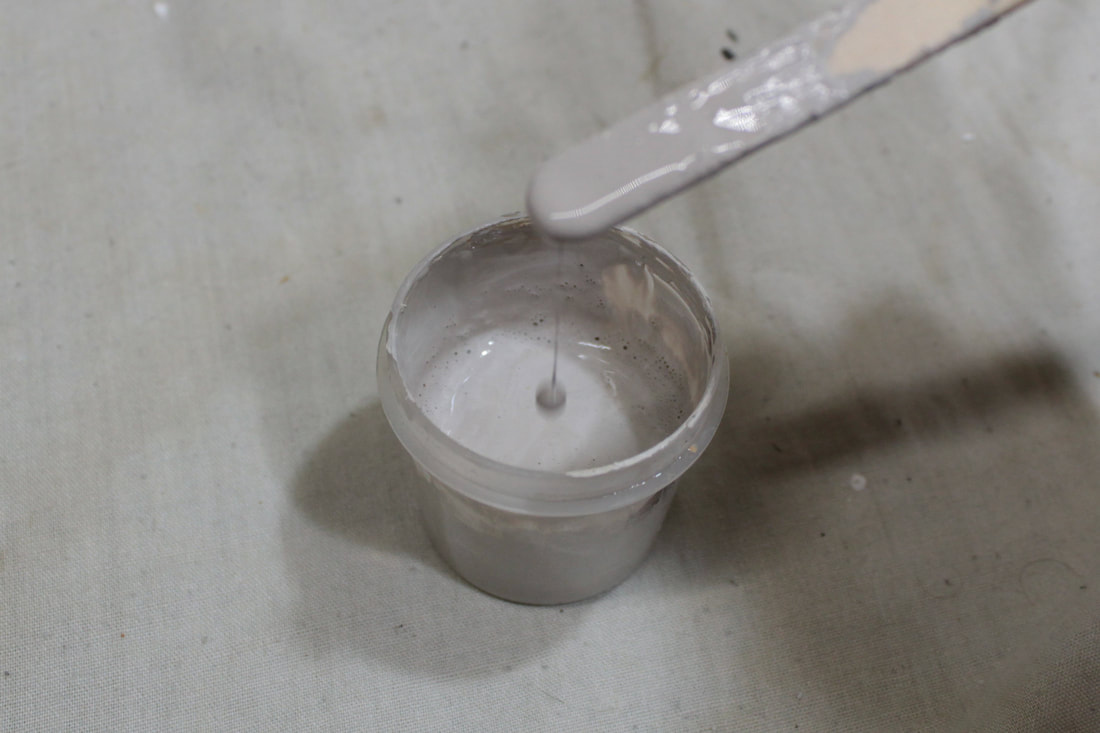
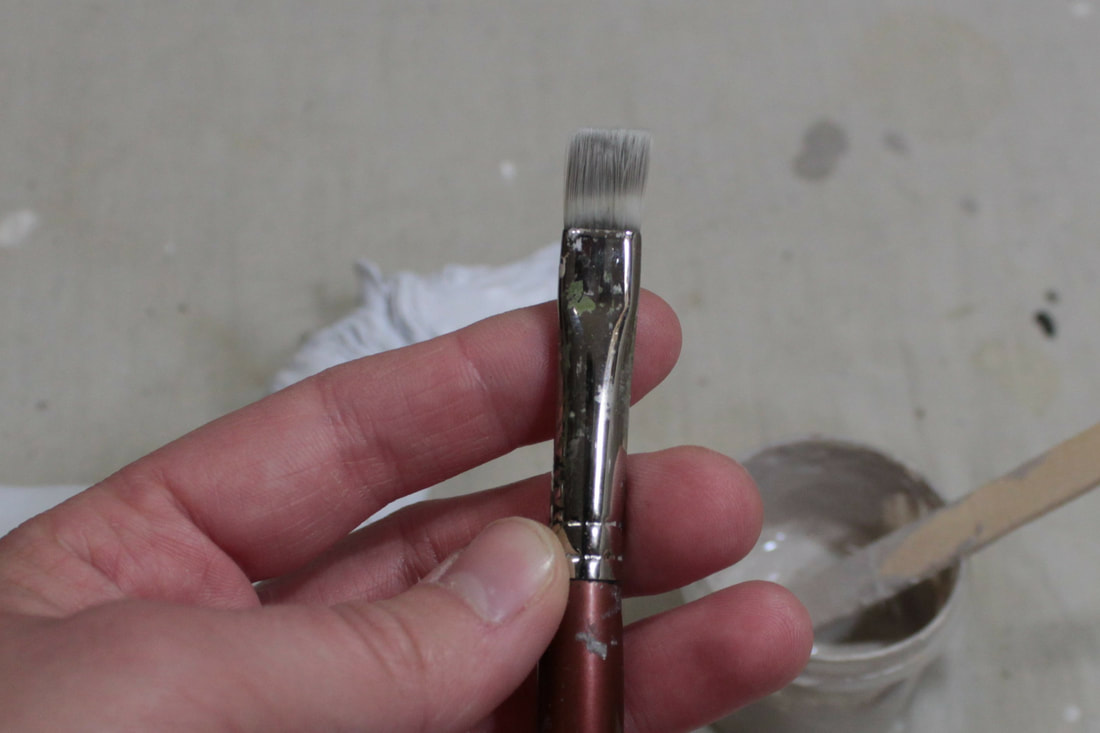
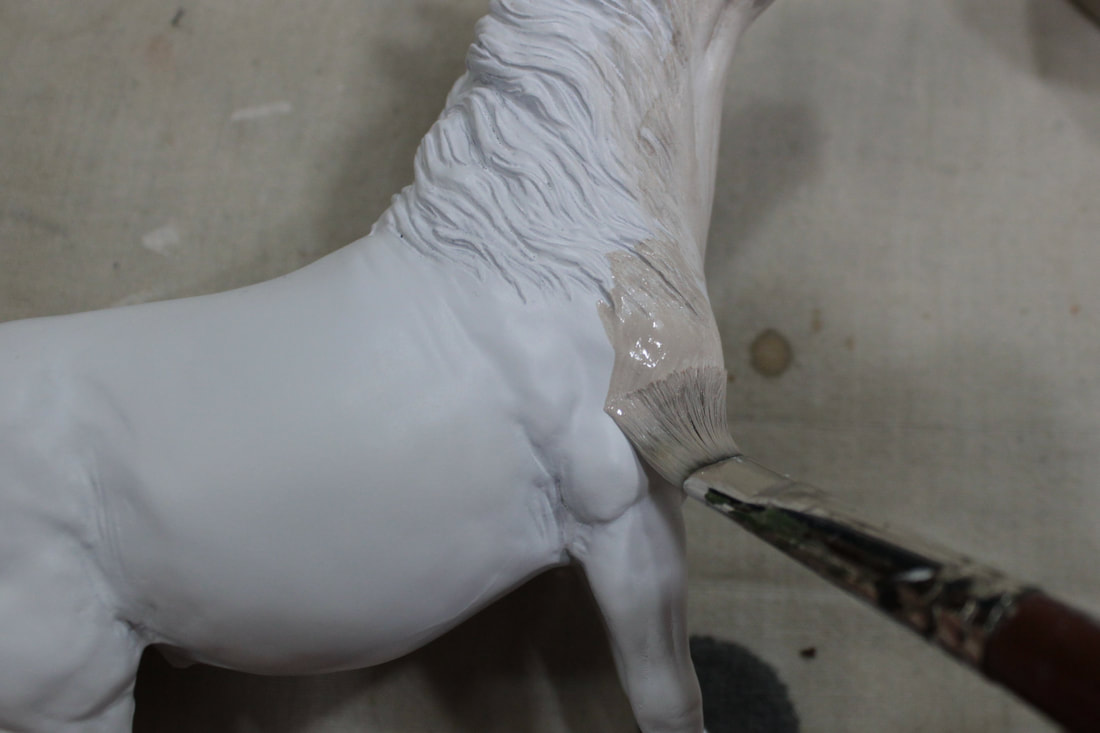
Whew. This has taken me longer to write than I thought, but here we are! I feel like I basically just repeat myself on the subject of basing every NaMo. It doesn't really change any! The first step of painting a model horse in just about any medium is a good base coat. I paint in a layering combination of oils & pastel, but regardless of the materials, I think it's safe to say that most techniques start with an acrylic base coat. Base coats can be air brushed, or layered by hand with a brush. Last year I had fully intended to have an air brush in my life by this time, just to hopefully help speed up the base coat process, But here we are, a year later, & I still haven't gotten one. So I continue to lay down base coats by hand. Which I will say is a valuable skill as if you can put down a smooth base by hand, that means you can put down any amount of white markings just as smooth! (I still want an airbrush though, lol!) But I'm rambling! On with the important stuff! So that's my starting point. Never underestimate the importance of reference! ;) & the more of it the better! I have about 50 pictures of this horse, Astro, to go by, & it's all going to come in handy! I don't really have a magic recipe for how to go about picking out the base color, practice is the best advise I can give, as unhelpful as that may be. I don't get it right all the time either, so mistakes happen! Read on! The general shopping list for mixing a base color reads as follows: * Acrylic in the color or colors desired * Clear, black, or white Gesso (I use Liquitex Professional) * Water * A sealable container (the one I used is a condiment container from the dollar store, but they're not carrying them anymore) * A stir of some sort (I use a popsicle stick). This silver color's base is kind of a bluish, brownish, grey, so in my ultra professional technique of "pour some in & see what happens", these wound up being the individual colors that I used. 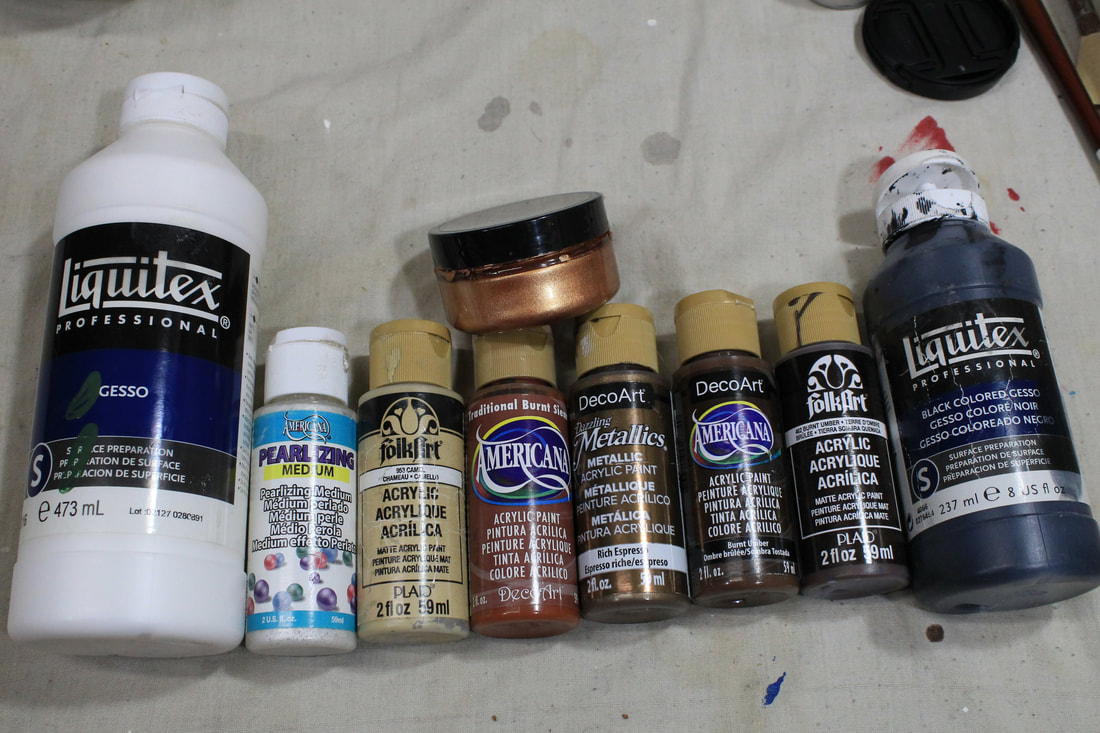 Left to right in no particular order: Liquitex Professional white gesso, Americana pearlizing medium, Folk Art camel, Americana traditional burnt seina, Deco Art metallic expresso, Americana burnt umber, Folk Art burnt umber (again, different brand), & Liquitex Professional black gesso. Above them all is Precious Metals metallic bronze. As a bit of a side note: I've noticed that Folk Art acrylics are more opaque & more heavily pigmented than the Americana paints. This comes in handy for quickly building thin layers of your base coat. But, Folk Art is also really thick, so the bottles tend to dry out quicker than Americana. For silver dapple, White was of course the greater majority of the base mix, & for that I used what gesso. Always be sure that there is some gesso included in your base mix, either white, black, or clear; Gesso has 'tooth', a texture to give your next paint layer more to grab onto, & also the ability to sand if needed. Straight acrylic, on the other hand, will have more of a tendency to rip & tear if you attempt to sand it. So adding gesso is a great help if you find something that you missed in prepping that needs sanded down. Now, if you're not planning to use oil paints, but straight pastel or powder pigments, gesso may not be for you because of the texture. I'm not an expert on pastelling, but that would be my assumption. Do your research if pastelling is how you plan to go. With the white gesso, I added a little bit of 'camel' color (seriously, they couldn't come up with a better name? *sigh*). Since white can be overwhelmed so easily by other colors, I wasn't even squirting paint out of the bottles for a lot of them, but dipping the popsicle stick in & adding dabs to my mix to build it up. I was sunk my first try on this base by adding too big a dab of black, so you really do need to be cautious with primarily white bases! I had to start over! Once the 'camel' was mixed to my satisfaction, I added some Folk Art burnt umber. That gave me the greyish-brown color I wanted, but it needed a little more red to me. So I added some Americana burnt umber, which has a little more of a red hue. Shades can vary, sometimes dramatically, from company to company. Sometimes even batch to batch within a company. Just for the heck of it, I added some metallic 'expresso', pearling medium, & bronze to the mix too. I'm really not sure it will make any difference in the end, but we'll find out! Added the tiniest dab of black, & this was my result. After getting to the color I wanted, I added a little water to thin it down. Thinning the paint greatly helps to avoid building up brushstrokes in your base coat. Many thin layers are better than a few thick ones. I like to describe the consistency I aim for as being just so it coats the side of the container without beading up, but do feel free to thin it to what you feel is right. & with base mixed, I grab a soft half inch(?) synthetic or sable flat... & start painting! Dip only about the first fourth or third of your brush into the base color to avoid overloading your brush. You don't want to try to brush on more paint than you can spread before it starts drying. Adding only a bit at a time helps to keep your paint brush stroke free. After completing the first layer on Kip, I decided that it was going to be too dark. So I added more white, & some more burnt umber I believe... & moved forward with a little bit lighter color. ...Though it's really hard to tell in my pictures!! As you paint, change the direction you brush to keep from building up brush strokes in your base coat. You want this to be as smooth as possible when you're finished. Here's a quick video of me adding a second layer. (My apologies for the door slam in the video! I'm not the only one in the house.) Lol, & after I say "don't add too much paint" I added too much paint on that first go! I like to start basing at the head, & work my way back until only my hand hold is left. On Kip, that hand hold is the end of his tail. I really prefer to not base where I will be holding the horse while I paint, as the base paint can wear off or even wrinkle up if handled too much. Worn off paint can be patched, but wrinkled paint will need sanded. All things I'd just rather avoid having to do. Here is something to look out for as you lay your base: Tiny bubbles. I notice this happening if my brush is overloaded. Akin to squeezing out of a sponge, it leaves the paint with air in it. This isn't much of an issue over the (flat) body as you can brush it out. But in the mane & tail, it can cause trouble. You do not want to leave these bubbles to dry; they will leave little bitty holes in the base. Do your best to brush them out, even grab a clean dry brush if needed, or try to pop them by sharply blowing on them. If you do manage to miss some & they dry, it's not the end of the world. Simply carefully add more layers of base over them to try to fill them in, akin to the gesso to fill pin holes technique used in prepping (see previous post from 1/31/19.) ...I swear, part of painting is learning to troubleshoot as things arise! After a few layers, I often like to spray a layer of finish over my base. This helps to keep from accidentally rubbing a hole in the base color while adding more layers, or while handling the model while painting. You may still rub off color, but you won't rub it off down to the primer, you will only go as far as where the finish was sprayed. The finish I used for this was *takes deep breath* Rust-Oleum Painter's Touch 2X Ultra Cover Matte Clear. It is a very thick & shiny matte finish which can be finicky to work with. It works well here since it is such a thick finish & won't rub easily. But be careful if you try it over a painted horse, it takes some practice to use it with success. After the finish dries, continue adding several more thin layers until the finish is completely covered. I lost count of how many coats I did on Kip's base, at least eight. & it did take me several hours to get full coverage. Be sure that there are NO thin spots. Though on this color, which is going to have many layers, it may not matter too much; But chances are that on any other color, you will see any thin areas show through on the finished paint job. Though I mixed this specifically for Kipling, the color wound up being shockingly close to what I use for creamello, classic champagne, dunalino, & some palominos. As I do paint many horses, I mix paint in bulk batches so that I have base color on hand when I'm ready to start painting the next horse. As long as you put the container's lid on securely, it should last you for several months, especially if you remember to give it a stir & add a little more water every now & then.
& there we have a base coated Kipling. Next post will be on the first coat of oils, which will hopefully be up, soon? As of right now, Kip's oils are fairly dry, but not dry enough to spray finish & move onto the next layer, so things are still quiet on him for now. Happy painting all! Just a quick post here tonight to show where Kipling's at presently. I had a slow start on NaMo this year; On the 1st I was anticipating a load of hay (& having to drop what I was doing to go stack it) & so didn't get the start I wanted. & yesterday's excuse was an all day headache that blossomed into a migraine. :P Today made up for those two lost days though! I not only got him completely based... But also the first layer of oils down! ...Exciting, isn't he? (No, not really!) Now I sit back & wait for the oils to dry, which could take a couple days. White seems to be the slowest color to dry, & he has a lot of white! Browns, on the other hand, tend to dry overnight. But anyway, stay tuned! Hopefully tomorrow I can get my more in depth post on basing & oiling him posted. We'll see if I can get that accomplished! Happy painting all! 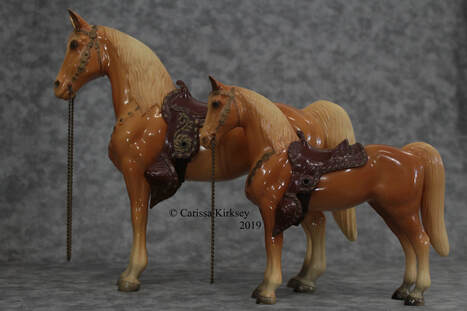 P.S. Totally unrelated, but check out these cool old Breyers I picked up at a farm toy show yesterday! In such great shape too! They were obviously never played with! 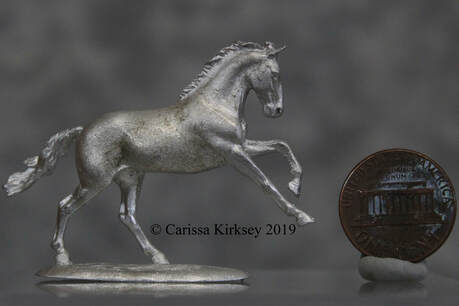 & the Micro Mini Hazel I bought arrived on Friday! (Future sales piece) Such a gorgeous little thing! |
AuthorRamblings & tutorials of a model horse artist. NOTE
Just a 'public service notice' to any of my blog readers; Since there's not really any way to 'follow' a weebly blog, if you shoot me an email (sprucewoodfarmsstudio at gmail dot com) I will add you to my blog announcement list & will send you an email when a new post is added. :) Categories
All
Archives
June 2024
|

 RSS Feed
