Good luck all!
|
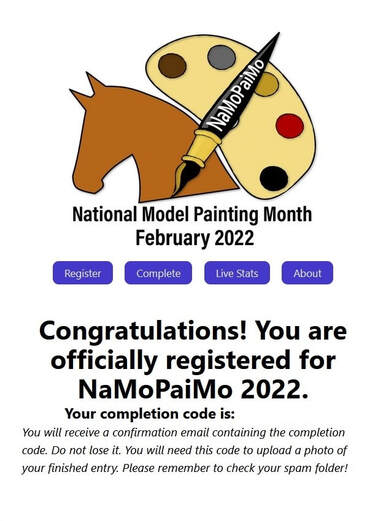
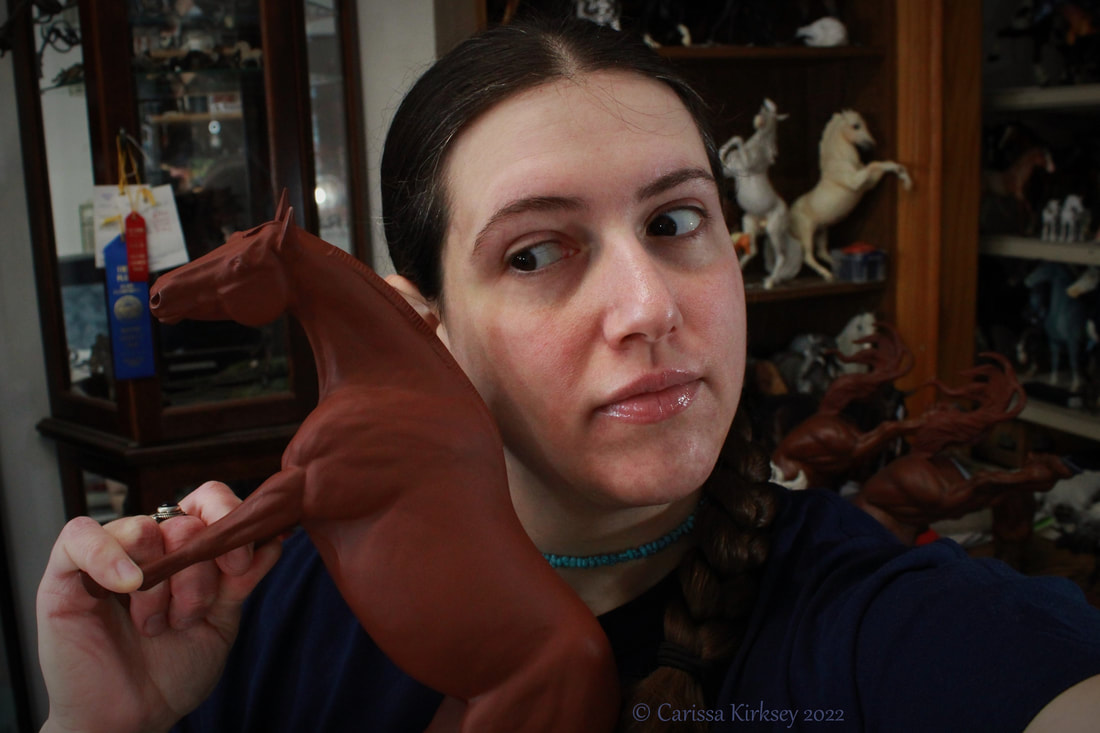
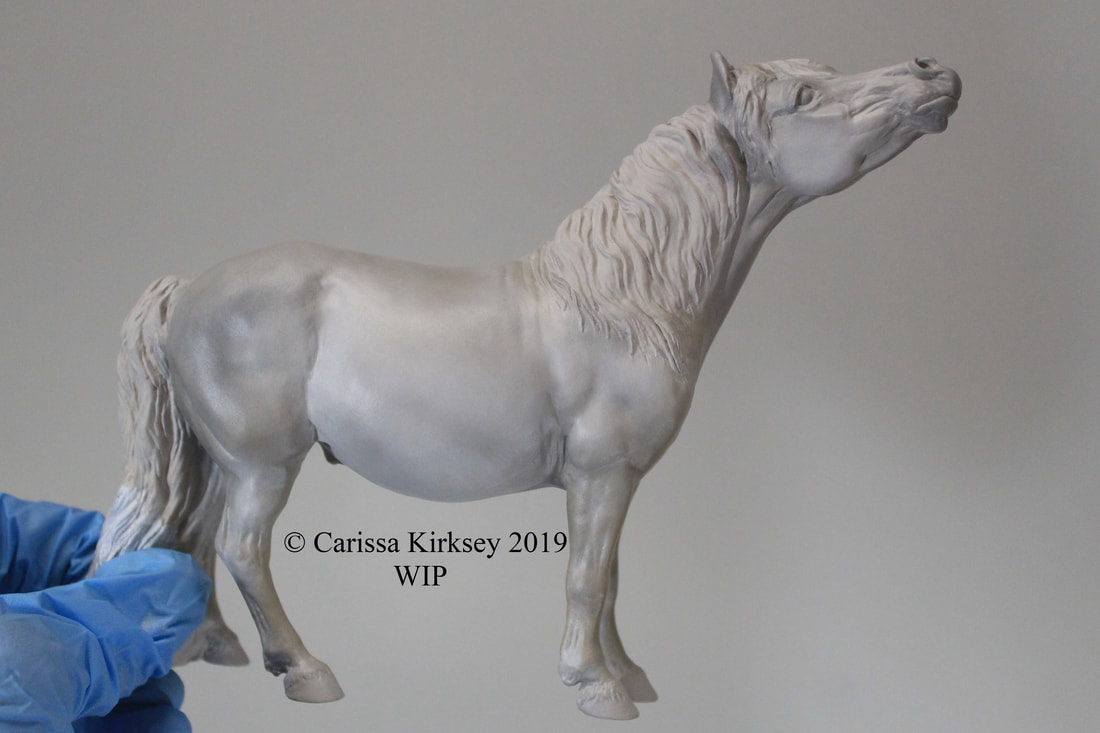
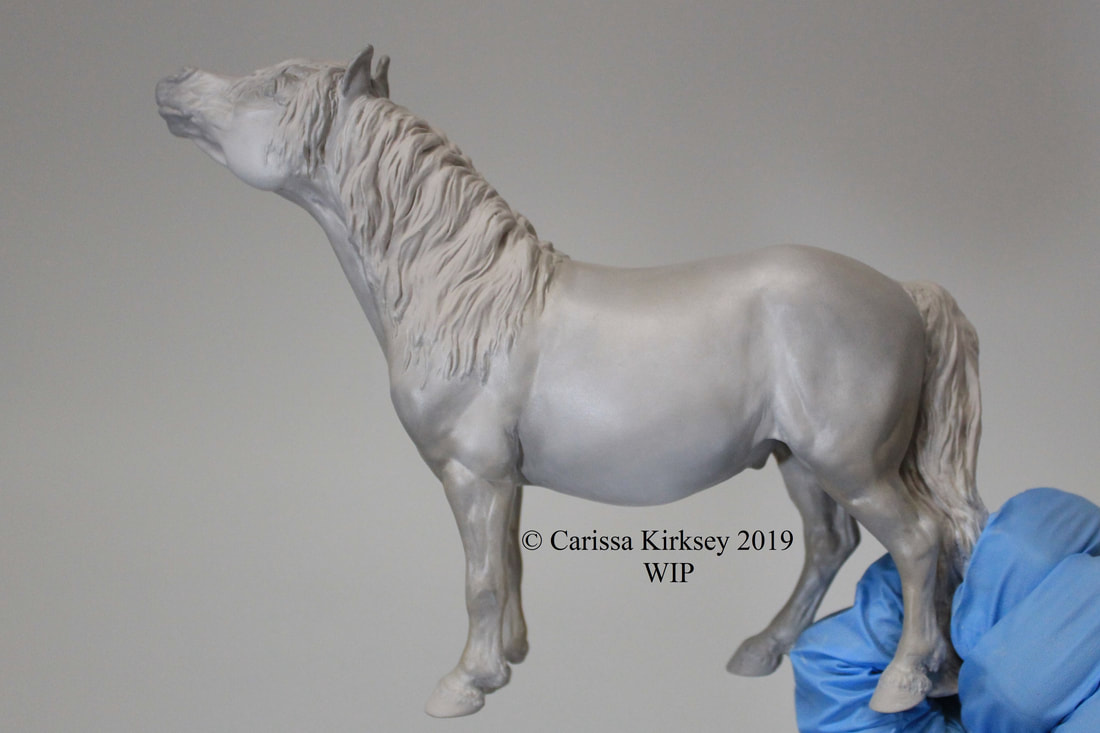
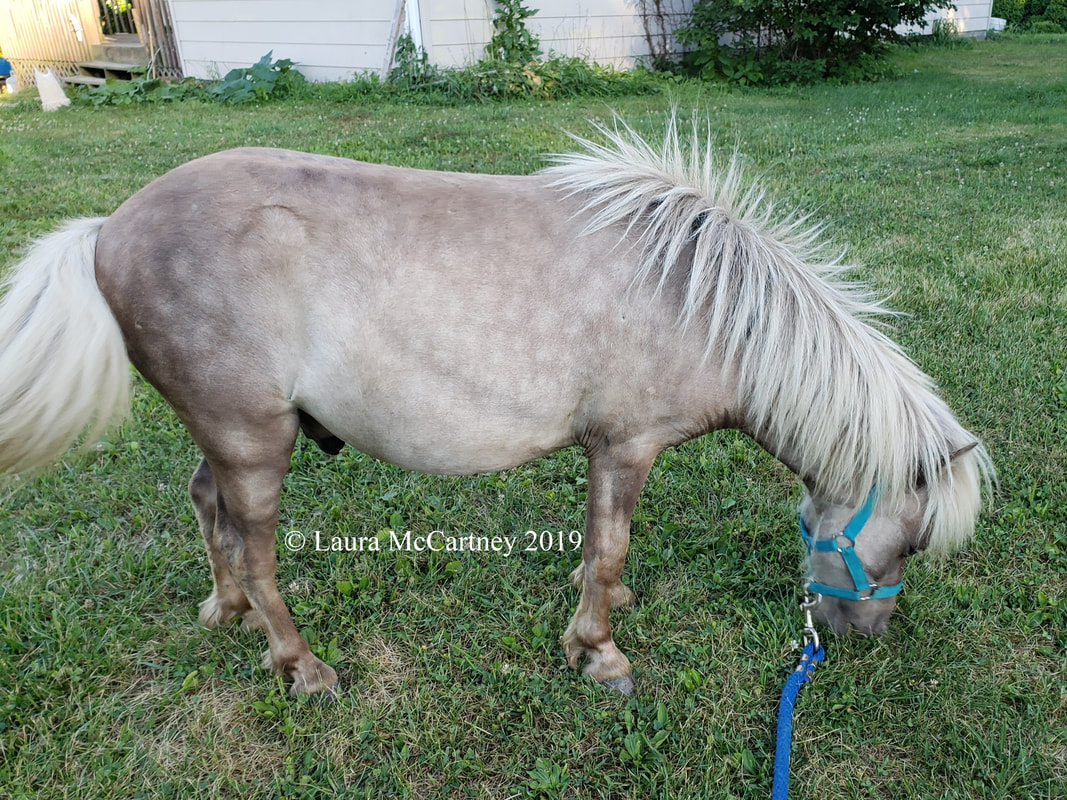
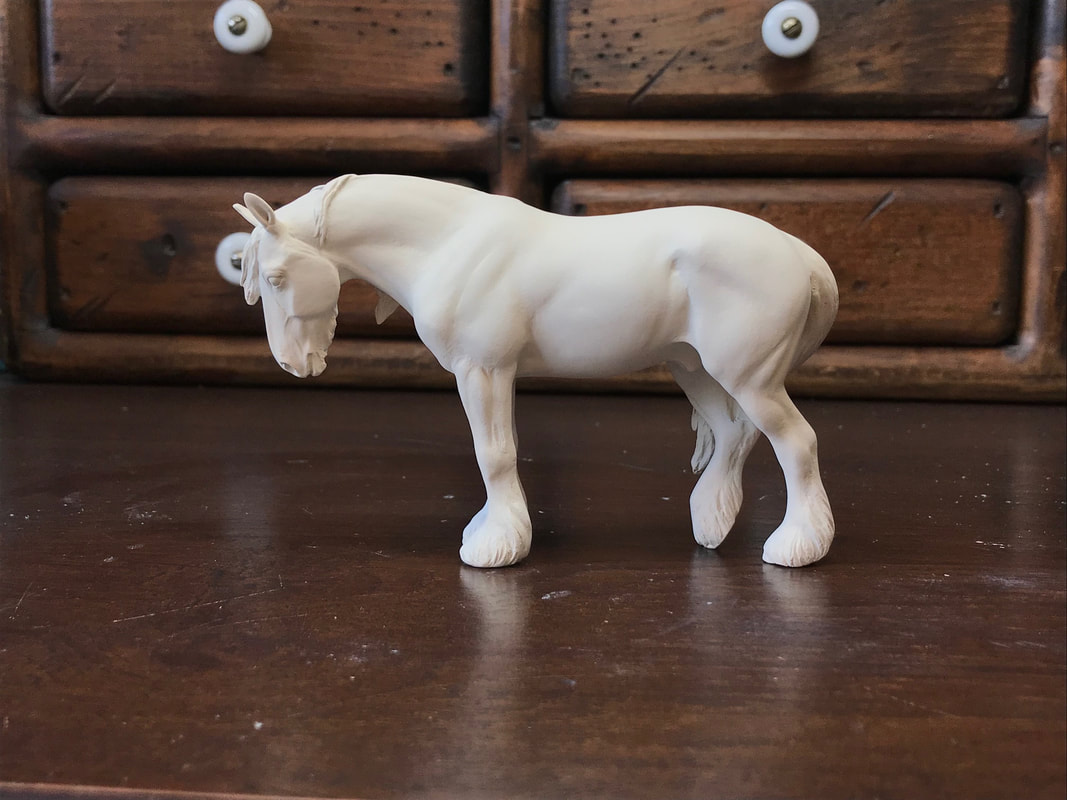
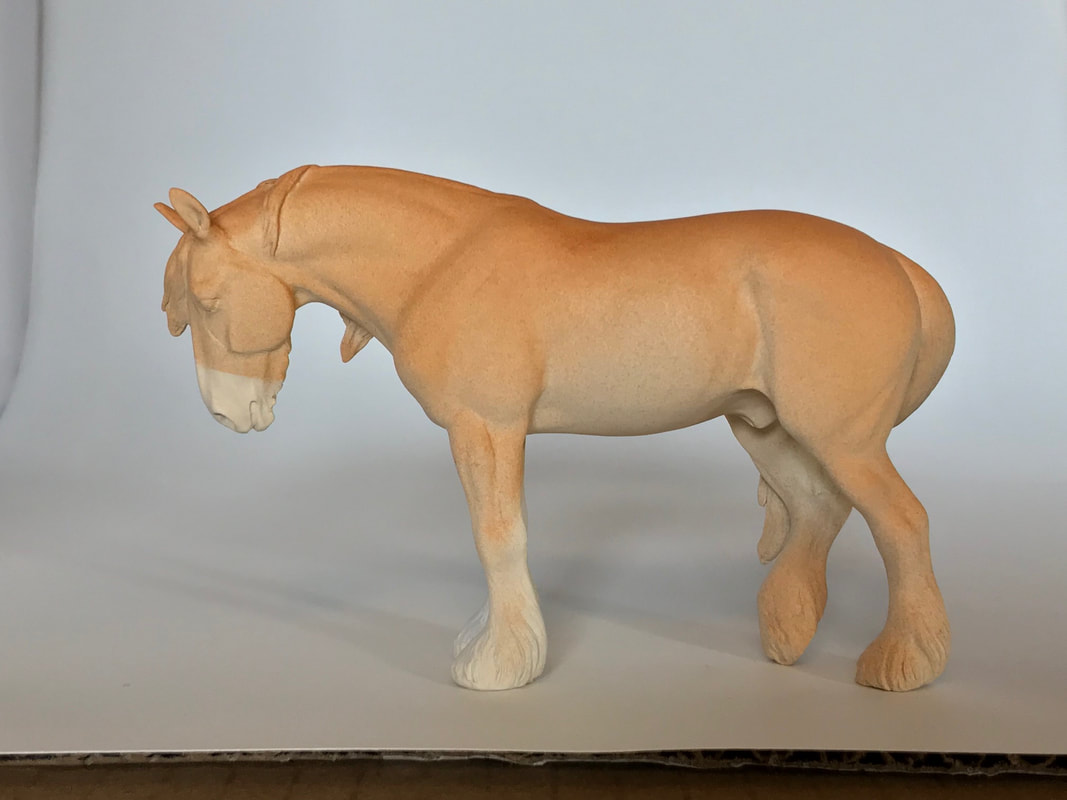
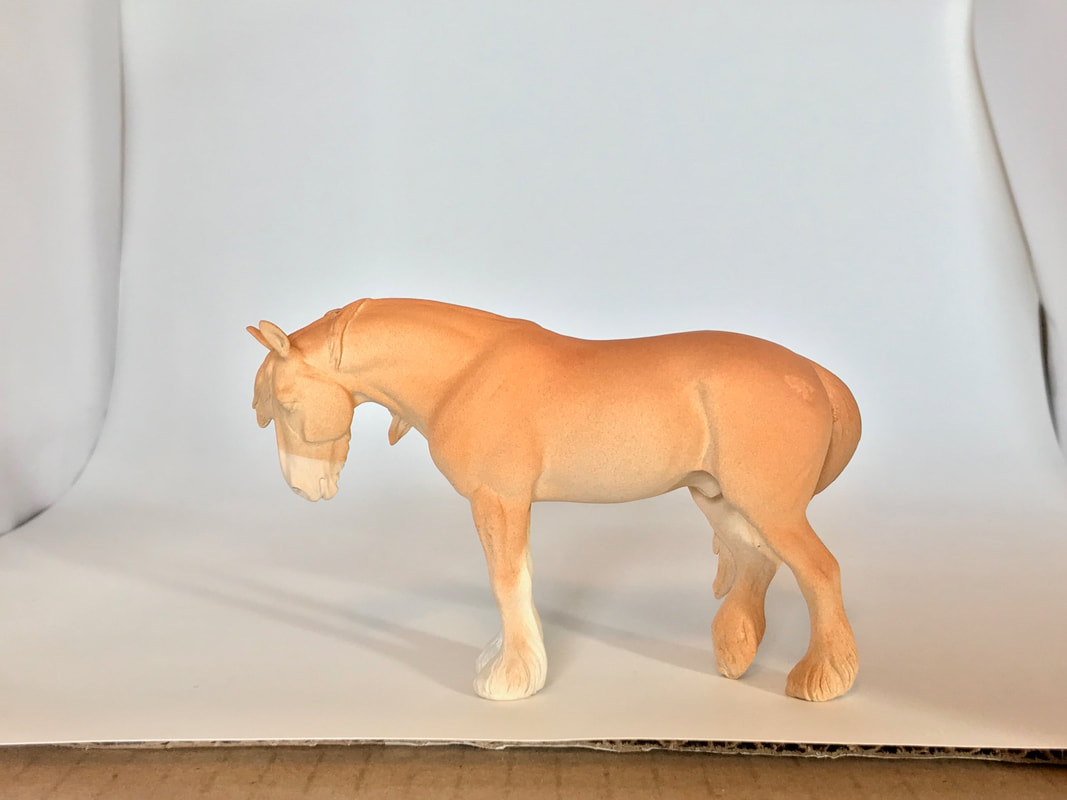
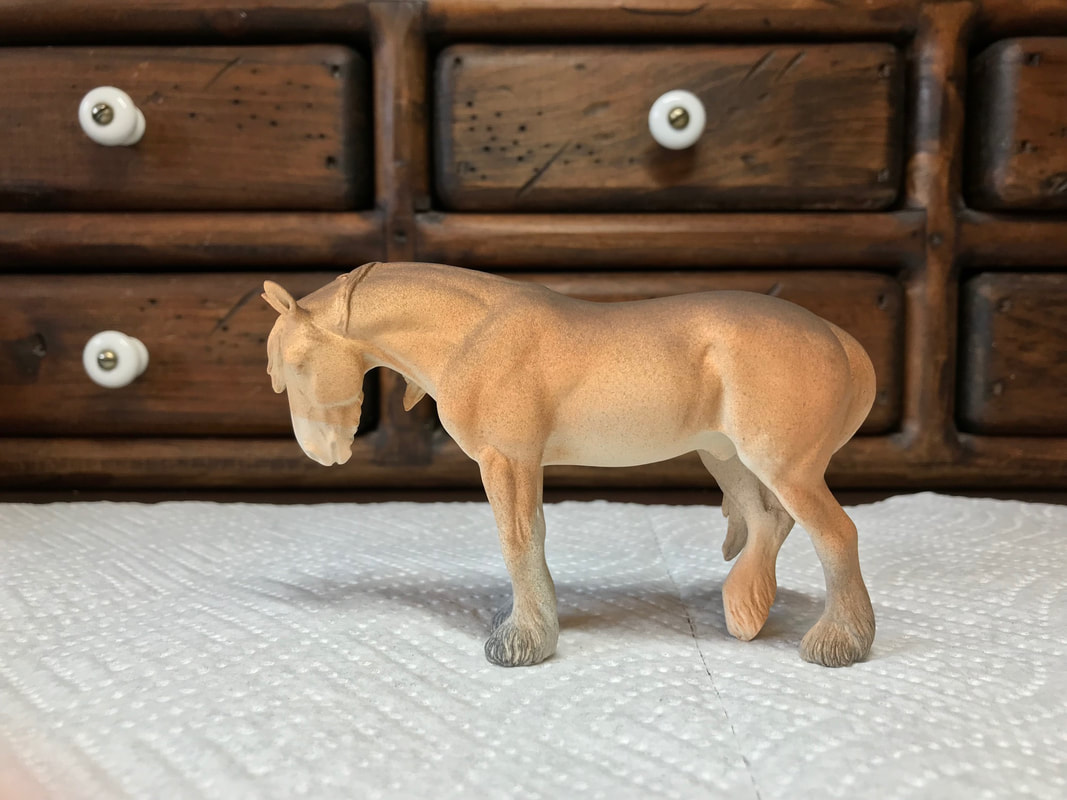
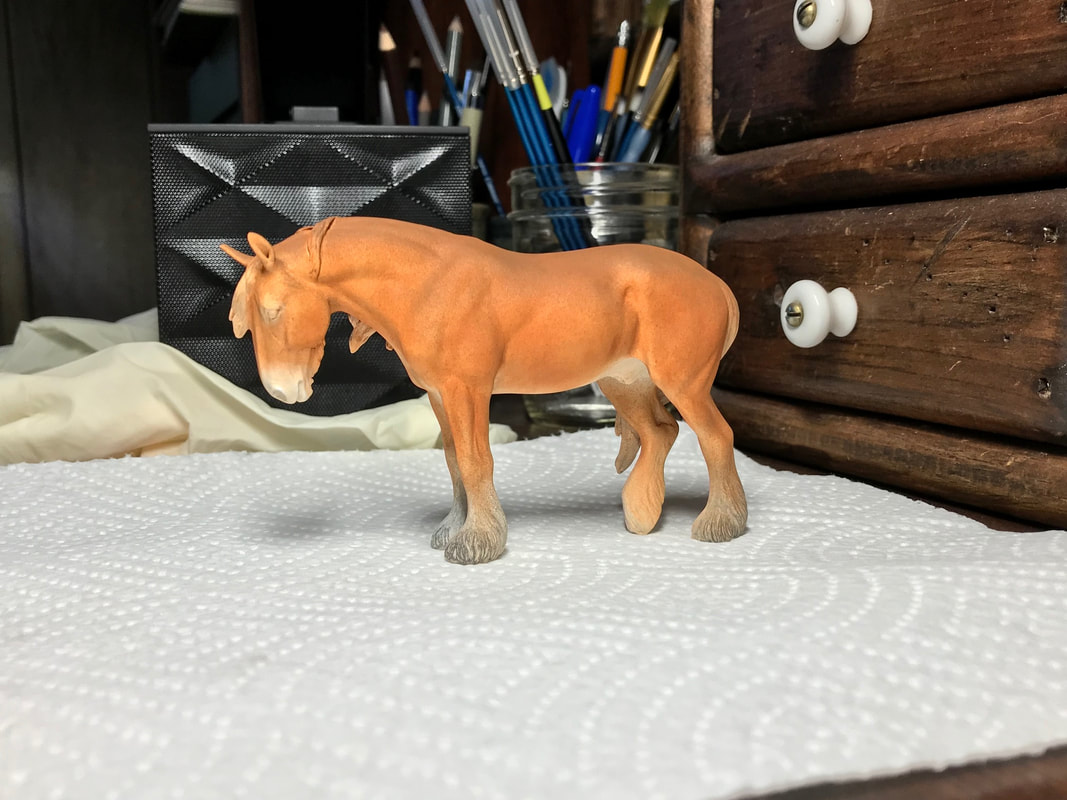
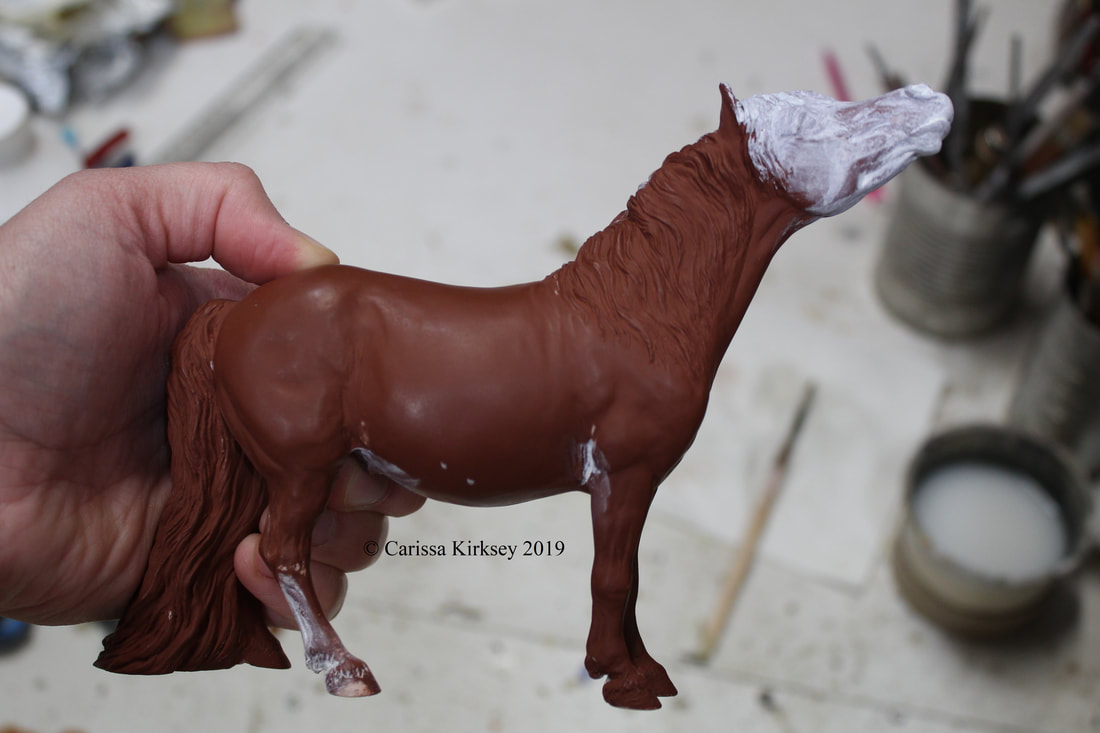
Welp, tallyho! Last minute registered for NaMoPaiMo! Hopefully this year I can break my two year streak of not finishing! (To be fair, it was not my fault in '20! Or last year either really.) I plan to do a buckskin, though it's not written in stone for it to be EXACTLY like my ref. I haven't done a Trad buckskin in YEARS & I'm interested to try out what I've learned on a big pony! ...Looking at her sideways here, Lola is a long horse, just sayin'! 😂
Good luck all!
0 Comments
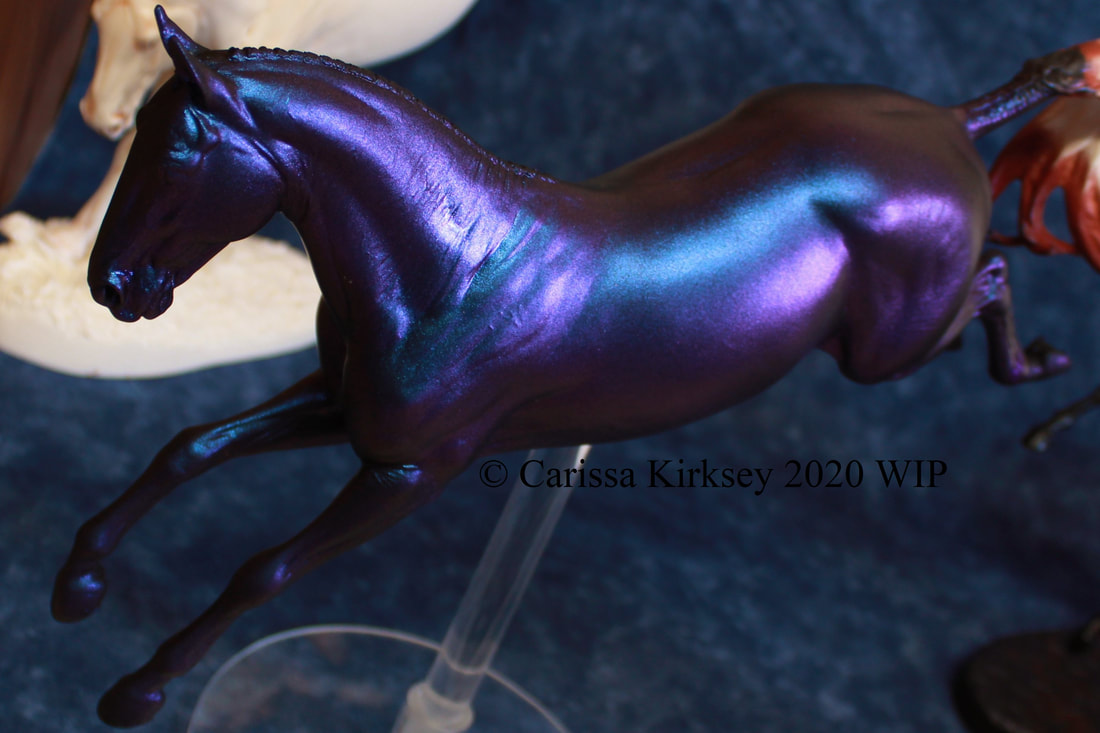
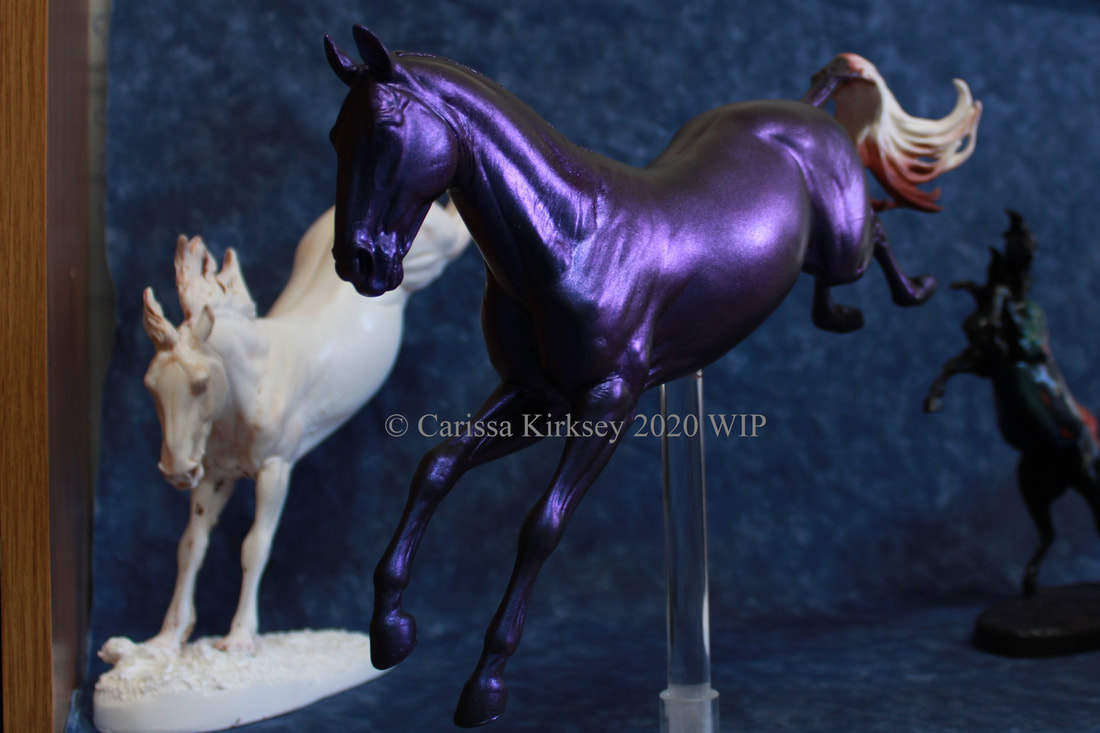
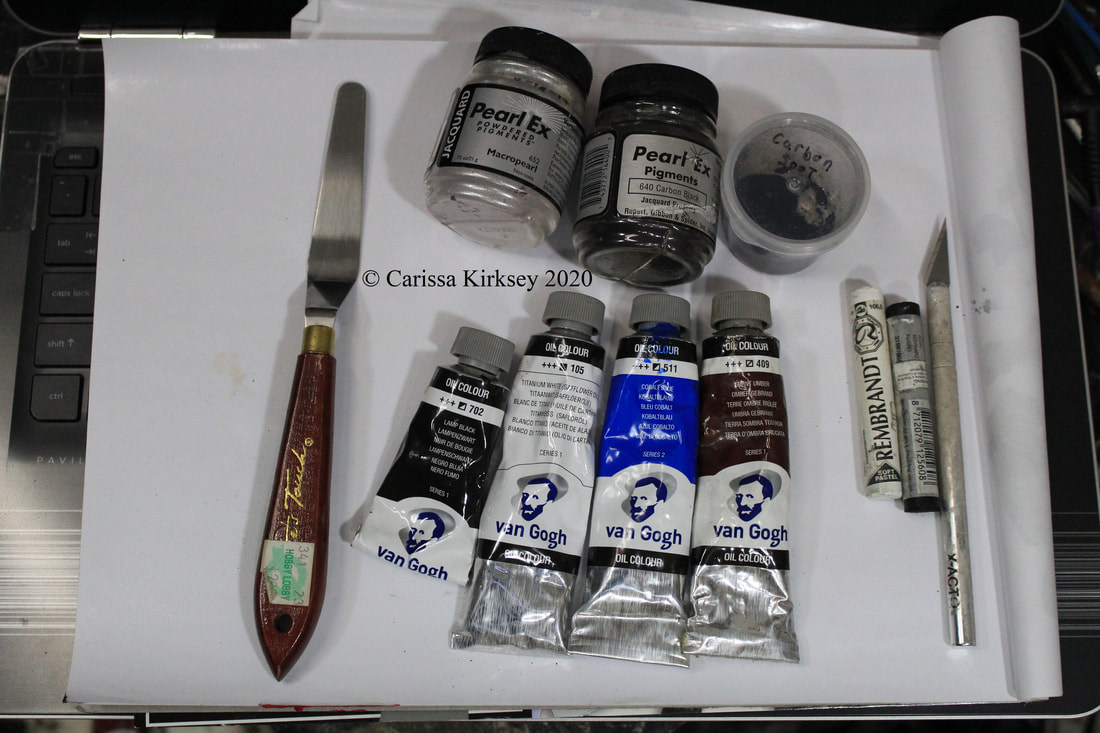
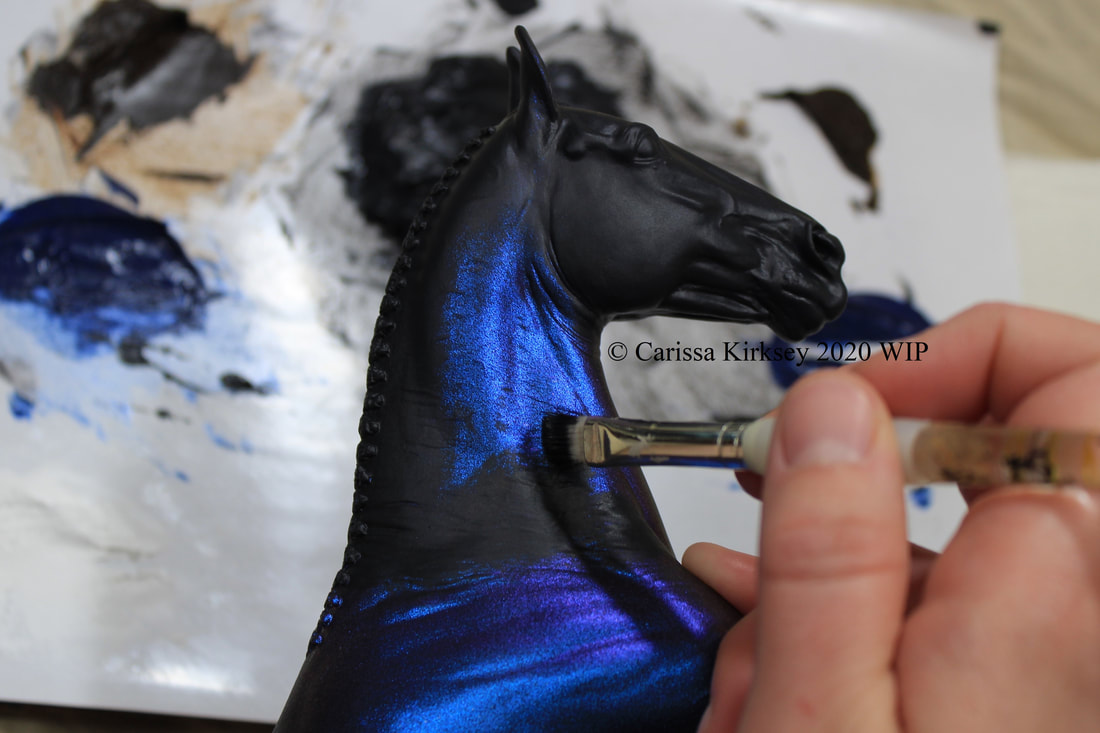
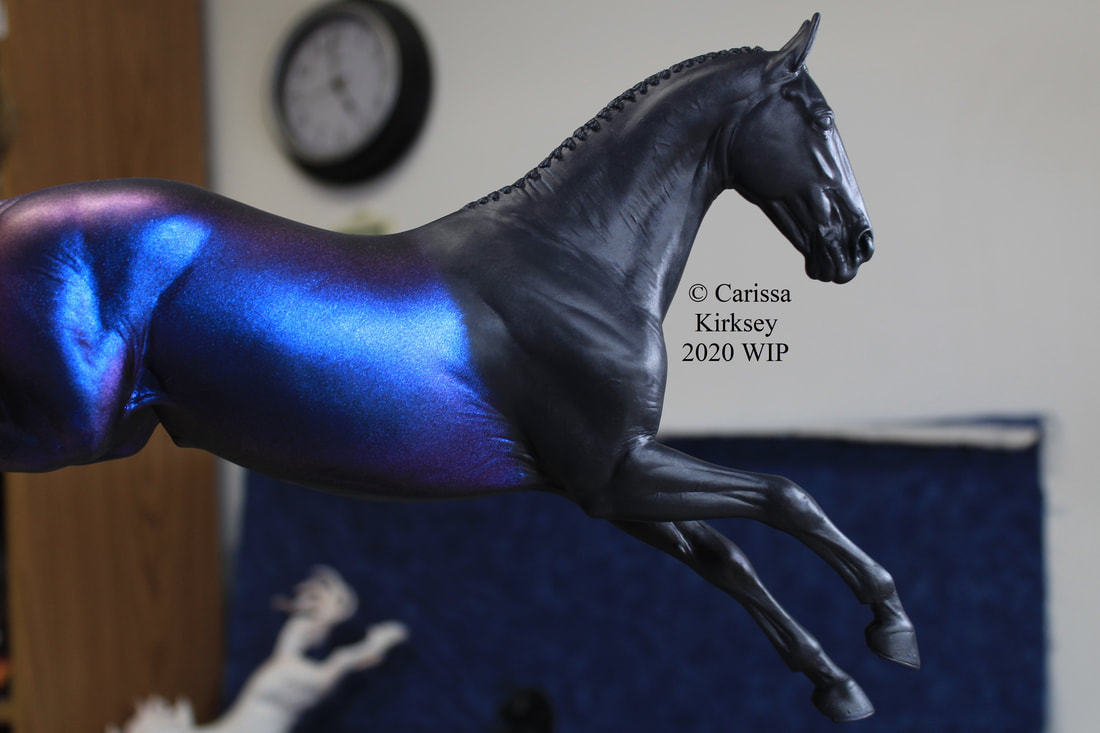
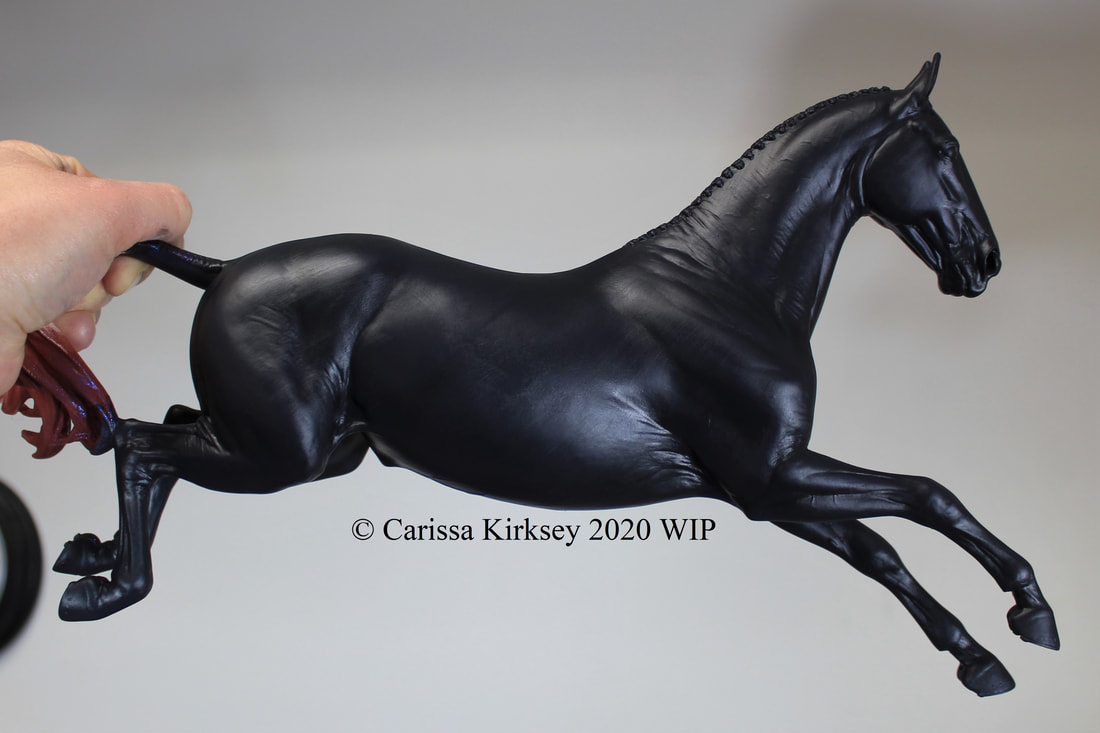
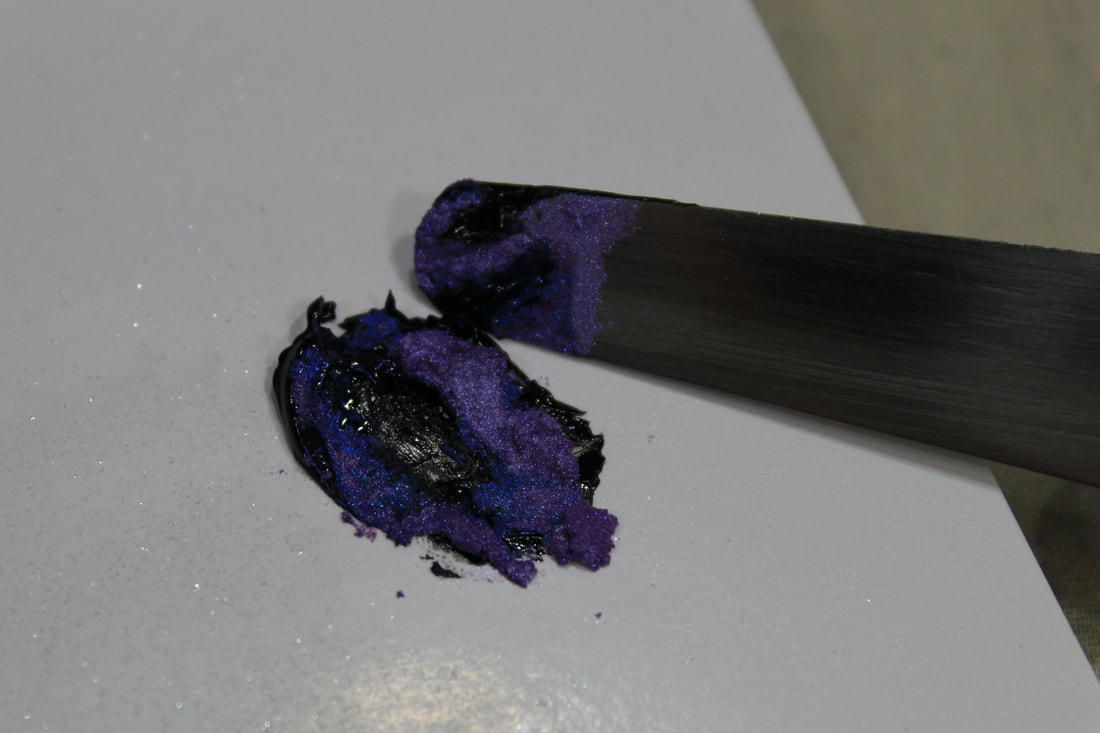
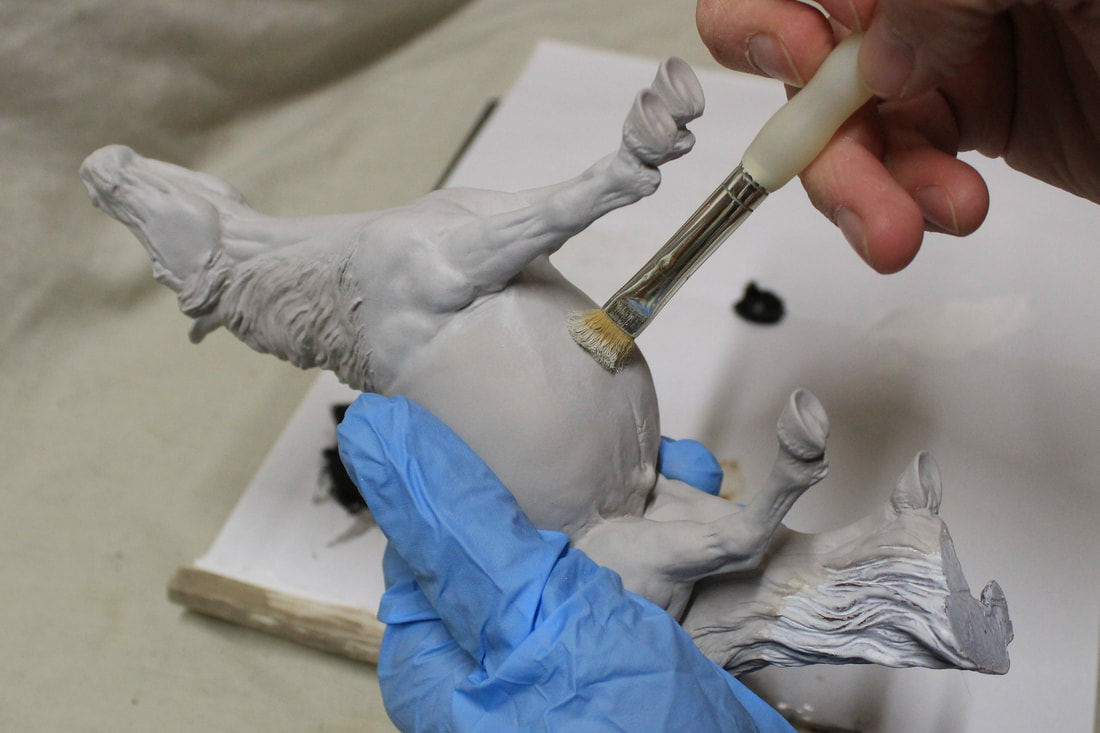
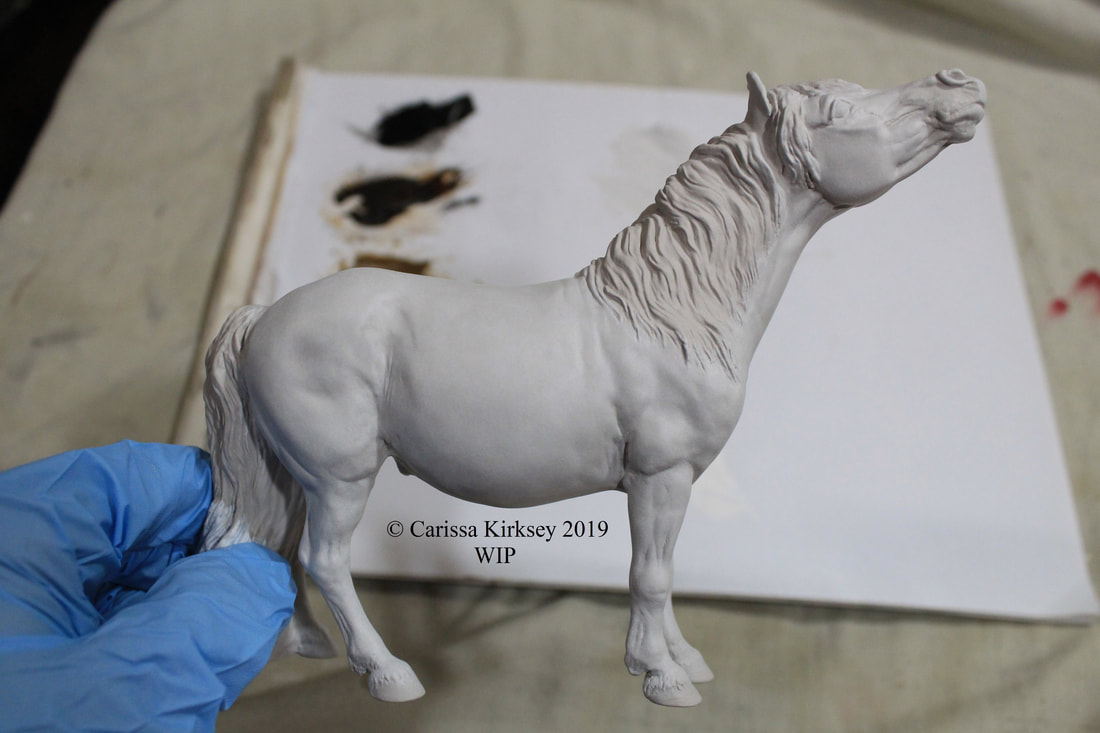
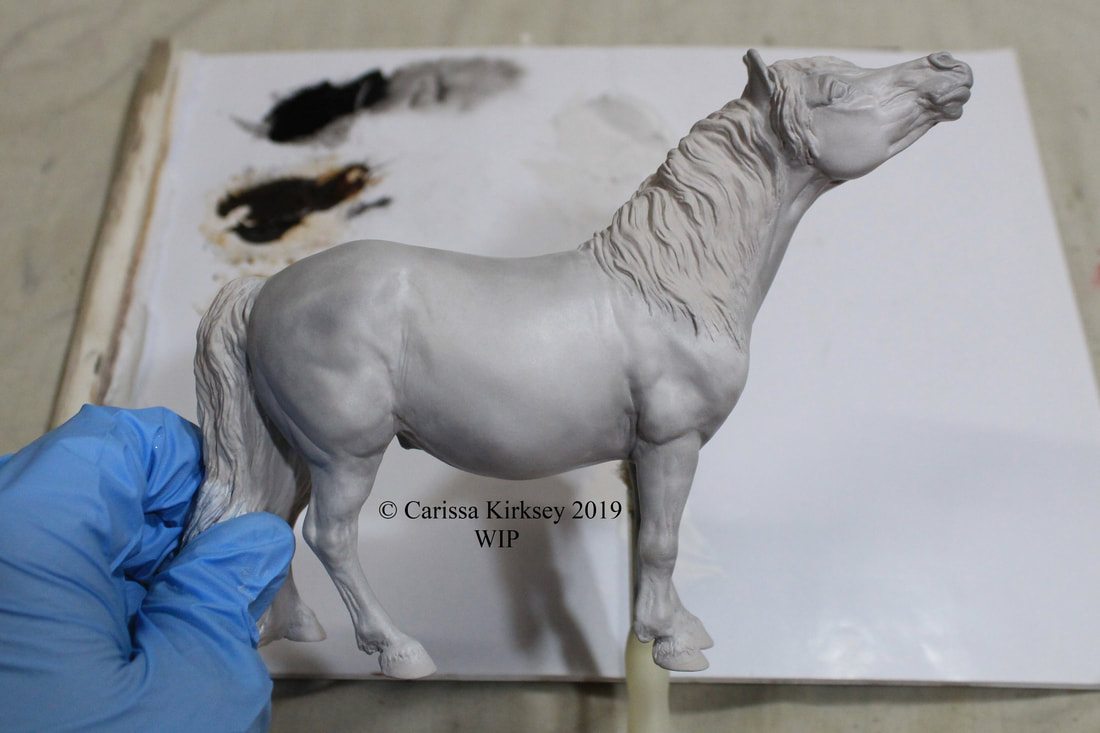
Since there is no way I am even going to TRY to do the HxH red roan I intend to paint my Juggy all in one week, I have decided to have a NaMoPai-NO, & unofficially paint my Upton a dapple black before month's end! This guy has a fun story to him. My friend Laura & I went down to BF last summer, & in the AG, I was sorely tempted by an Upton second that Morgen Kilbourn had for sale. I've had my eye on Upton for a portrait of 2000 Olympic gold medalist Custom Made, but being the cheapskate that I am, I hadn't gotten a hold of one yet. Morgen had this one Upton on her table marked down simply because he had a dark stain on the resin. I was eyeballing him, & being the doll that she is, Morgen knocked off another $50 from his price. With the goading of Laura, I bought him. No regrets! As the months went on, I knew I wasn't going to be able to resist the name that was right on his price tag. He had to be black, & he had to be named Come To The Dark Side! Custom Made will simply have to wait for another model. So, black he is, & replacement NaMo he will be! Since I am pressed for time, this isn't going to be as in depth a NaMo tutorial as I usually write. But I have a few people interested in how I do a dapple black, so, even a less detailed tutorial has to be better than nothing! :) Of course I wash (in warm water with dishsoap & a nail & tooth brush to get any mold release off), prep (sand any seams, fill any holes, remove any blemishes), & prime (with red Dupli-Color sandable automotive primer) my model. All ready to paint now! I then use a soft inch or half inch flat brush & smoothly paint a couple or three layers of black gesso; this one was Master's Touch, the Hobby Lobby brand, but I have also used Liquitex Professional as well. You can thin either with water & carefully brush on as many layers as are needed to keep brush strokes at bay. Let the gesso fully dry, & then spray with Testor's colorshift paint. I have used Pink Champagne for sun bleached blacks, & Purple Mist, along with this Purple Sunrise, for true blue blacks. If you do not let the gesso dry thoroughly when you spray over it, it will 'craze' on you (raised crinkly texture). Also, at least with the Purple Mist, if you spray too many layers of it, it will lose its color & look more silver than purple-teal, so don't go too heavy if you use it. Pink Champagne, on the other hand, takes a few layers to actually cover. It is spray paint, so make sure to shake the can vigorously, & spray in a well ventilated area (like OUTside)! It stinks! Especially the Pink Champagne! This stuff is soooooo much fun though!!! I mean, LOOK at it!! Enough playing with the colorshift! Let it cure fully, & then spray it good with Testor's Dull Coat. The colorshift is glossy, & if you try to oil over it, the oil paint will not be happy about having to cover such a slick surface. Dull Coat is matte enough that it gives it a good 'tooth' to hold on to. I've never used it, but workable fixative *might* work for this as well. I have several tutorials that show how I hand paint base coats (the black gesso is a base coat), & mix & paint with oils, so please do check them out under the Tutorials tag. They will show you how I go about doing them since I don't have the time to elaborate on it this year. I had to mix a new batch of paint for Dark Side. My last black pallet dried up in Dec, but it was nearly three years old too, so I can't complain! The colors I used were: Body: Oils-
Powders-
Shading: Oils-
No powders. Blue Shading: Oils-
Powders-
Brown shading: (probably not going to be used on this guy) Oils-
Powders-
Highlighting: (also probably not going to be used on him) Oils-
Powders-
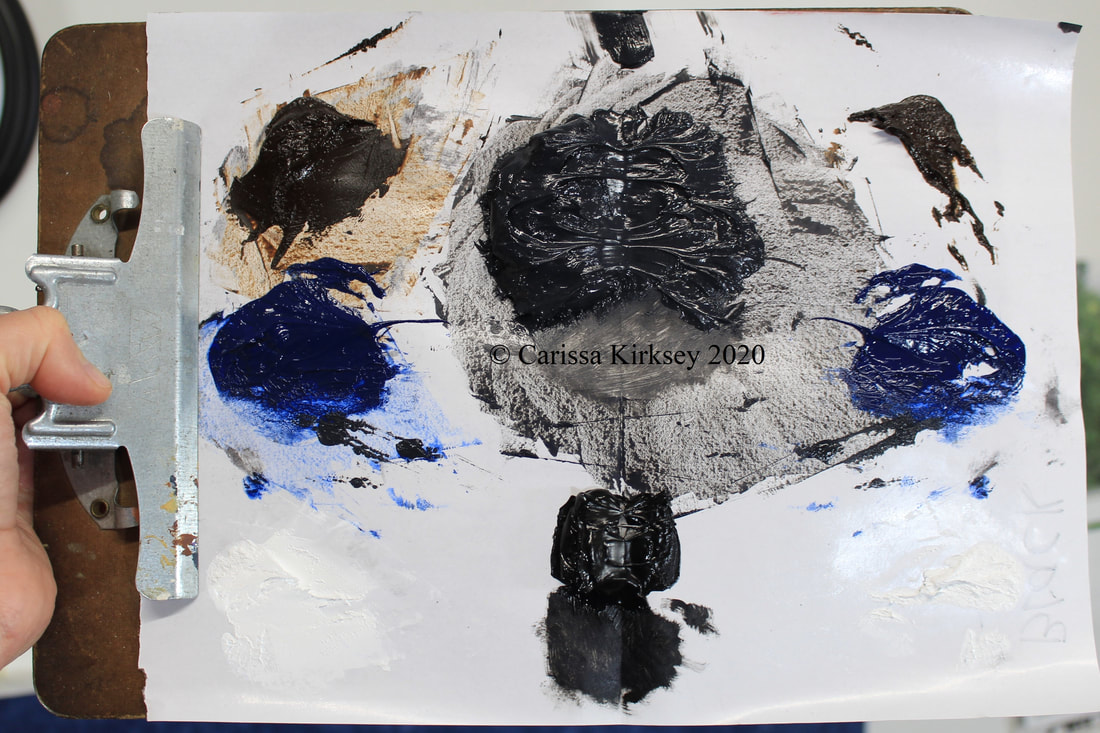
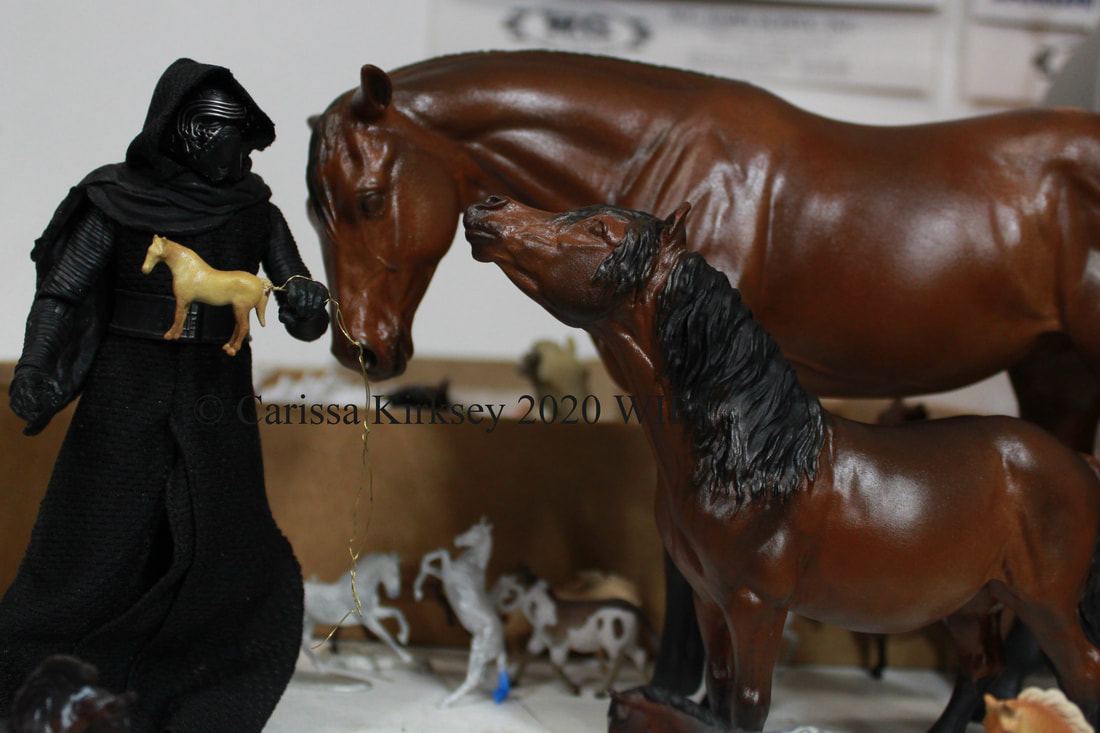
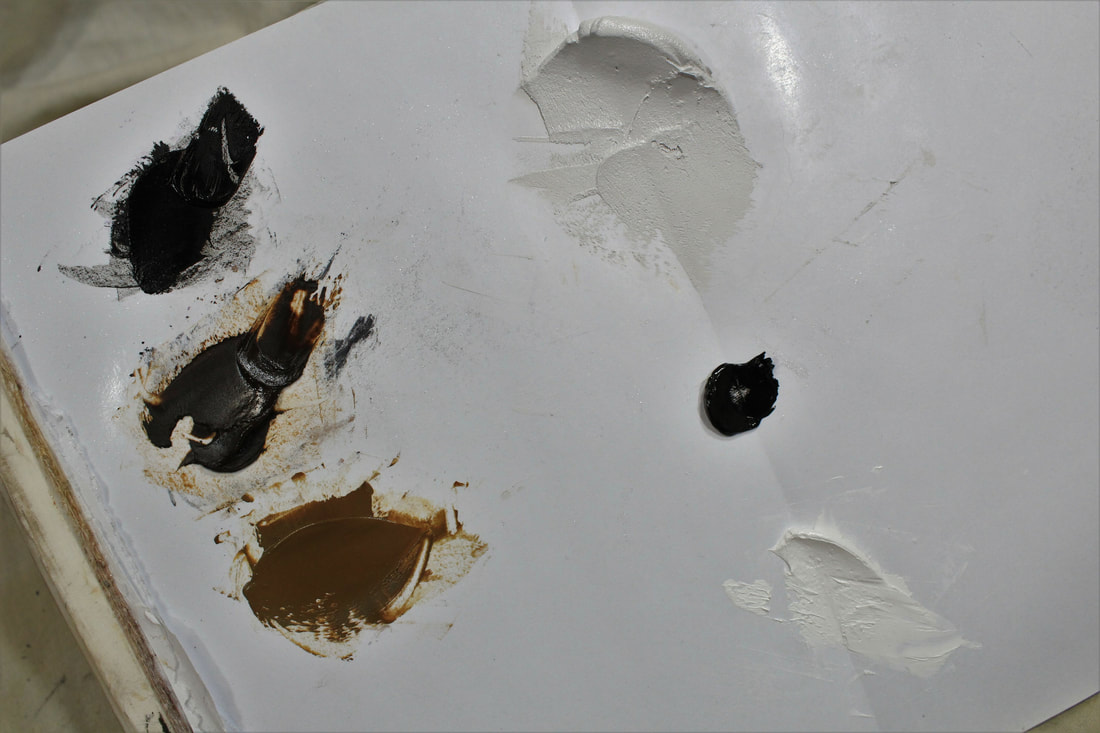
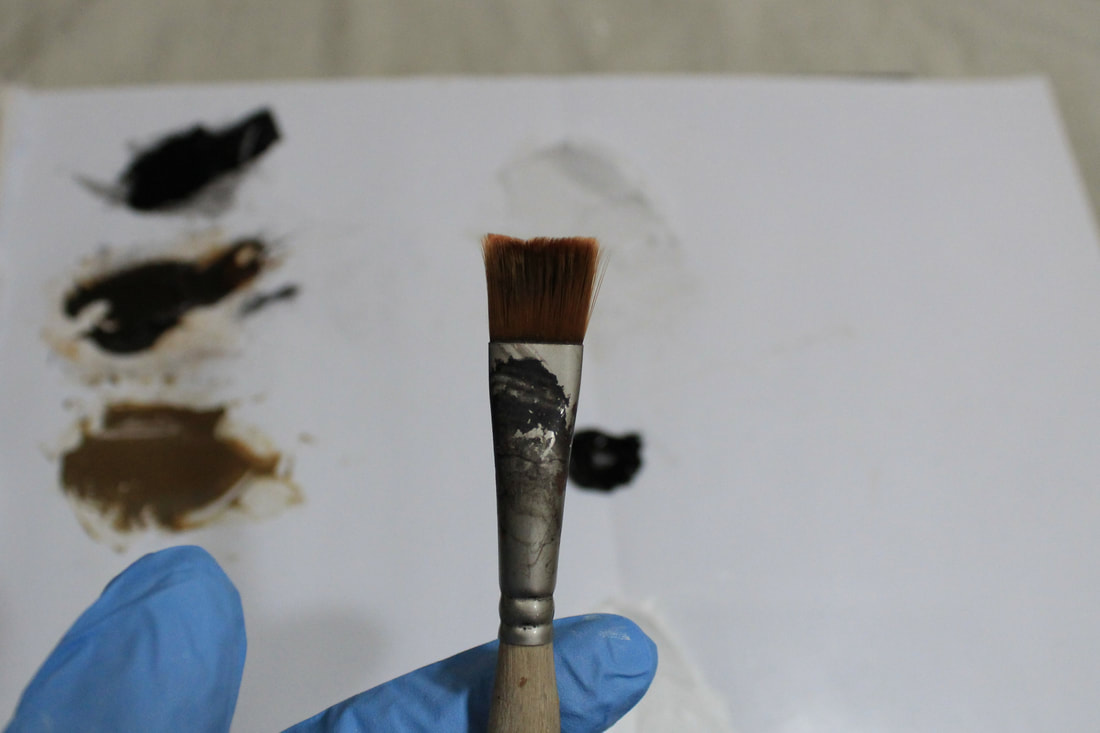
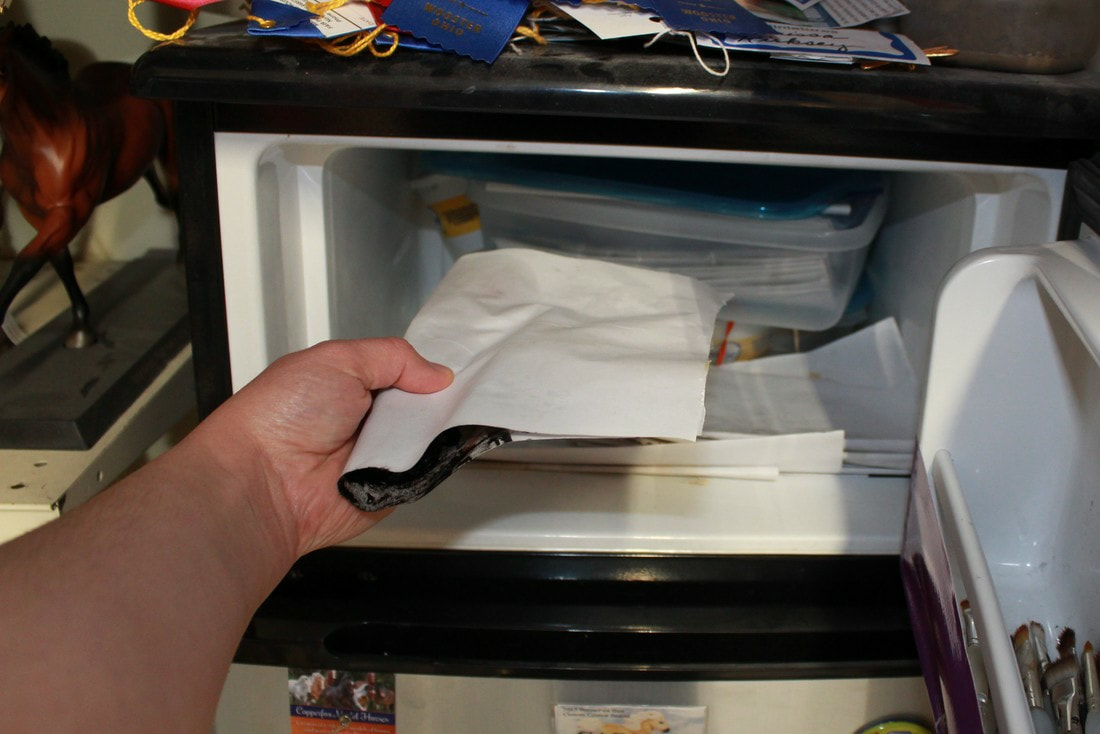
Many other Pearl-Ex powders can be added as well, blues, reds, browns, etc. Fold a sheet of pallet paper in half (wax paper is, unfortunately, not a substitute for pallet paper, the oil just soaks through), & mix these colors on the seam & one half only; then you can fold it over & store in a Ziploc in the freezer to keep! You can see below that the biggest blob of color is the Body blue-grey. It is what I use the most of. * Regarding the asterisk. Last February, the natural gas boiler needed cleaned (that's a story in & of itself!), & I discovered that the carbon soot is a STUNNING, light eating, BLACK. I am certain that the plumber thinks I am crazy, but I had him save me three containers of this beautiful black treasure! Carbon soot is actually what they use (or at least used to use) to make lamp/carbon black paint, so it is a legitimate pigment. I carefully shovel small amounts of it it into a paint pot with a pallet knife & try to mash the fragile chunks out of it. I then use it like pastel. So unfortunately, not many people are going to be able to attain this pigment. My apologies for that!! ANYWAY! Armed with my new pallet of black mix, & grab a faithful frizzy half inch flat & sort of thinly scrub it on. I do have videos of how I do this in other painting (NaMoPaiMo) tutorials, if you want to see the technique in action! You want only enough paint to cover, not so much that it will take forever to dry or get 'muddy' when blending. About 98% of the splendor of the colorshift is lost when you oil over it, but it is still slightly there, especially in bight & sun light. & anything to add depth & dimension to black is worth it in my opinion! As I go, I will use a quarter inch angle or a small flat to add the black shading to the low areas, the muscle grooves & such (again, see past painting tutorials for a better description of this), & blend it in. I work in such a way, that every section is finished, & I always have a hand hold on the horse. Do this over the whole horse. I refrain from shading over the topline, since I want to add dapples & it will be easier to see what I am doing (& have them show up) if I haven't added the dark shading over his back/neck. Once you have your whole horse painted, take a clean, big (I grabbed an inch) soft flat, & lightly stroke the paint in the hairgrowth direction to smooth any brush strokes that may have remained. Set aside & let dry. Black can unfortunately take a long time to dry. The powders do help, but if you really want to speed it up, you will need to add dryer to your pallet, which I don't use since it's tricky. & so that is where I have stopped for now! Waiting on my paint to dry! I will continue my tutorial once I move on with him! OH! Must not forget to report on Kylo's NaMo! He has gotten the oils down! He was painting along with me the other day as I tackled a couple of bays. I think it turned out well considering he's never painted before! Kylo & I are looking forward to the NaMoPaiMo party my friend Laura & I are hosting on Saturday!! It should be a lot of fun to get together & art with others!!
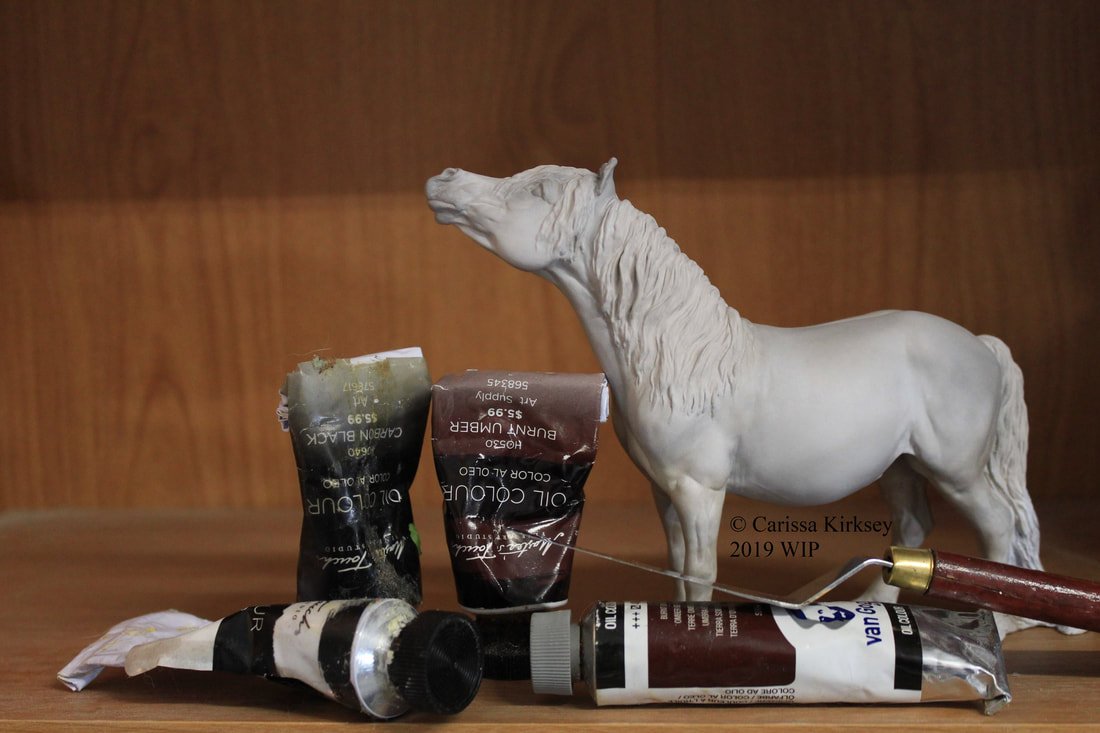
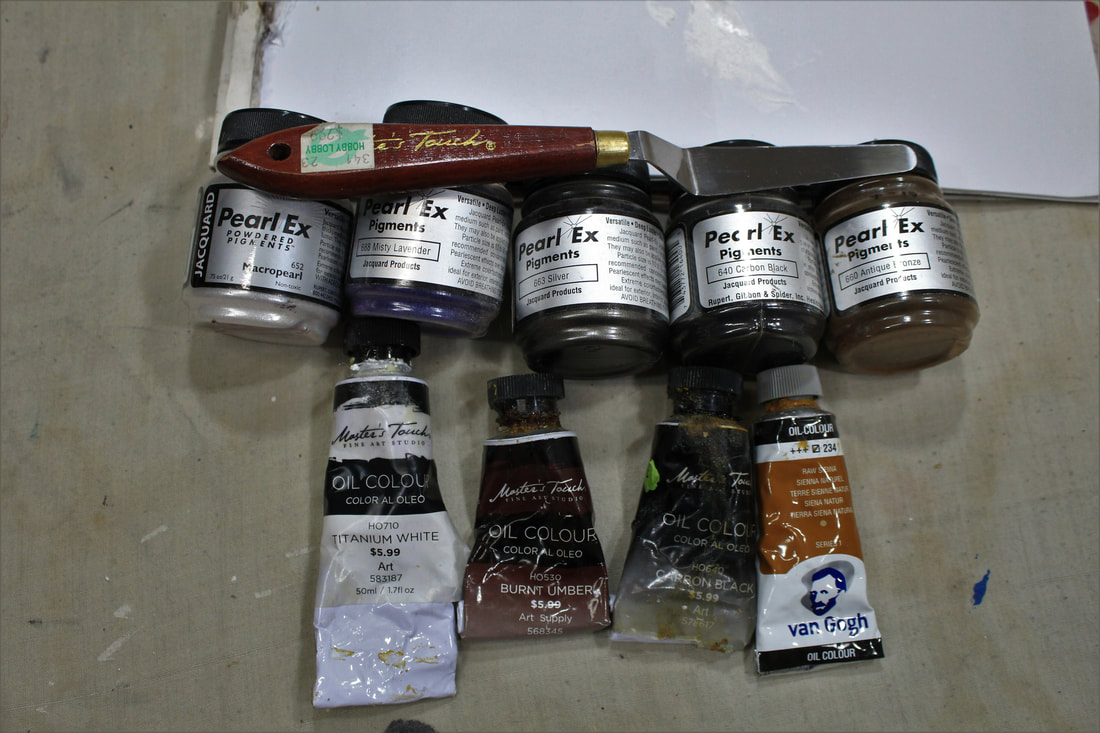
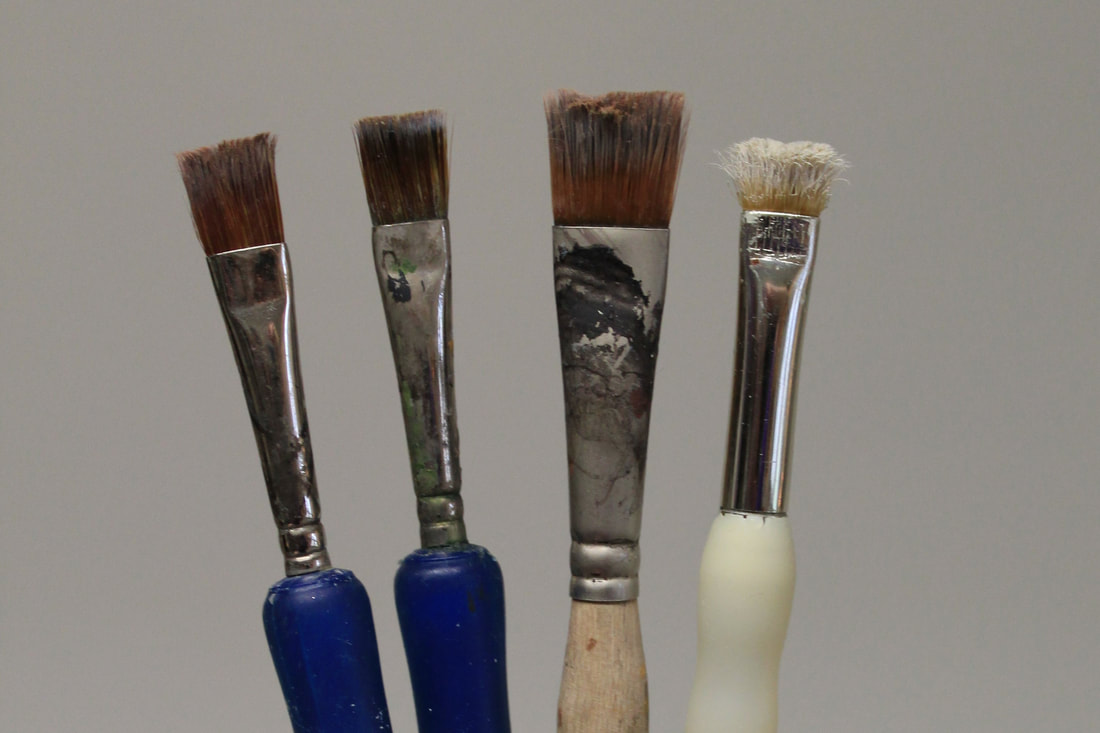
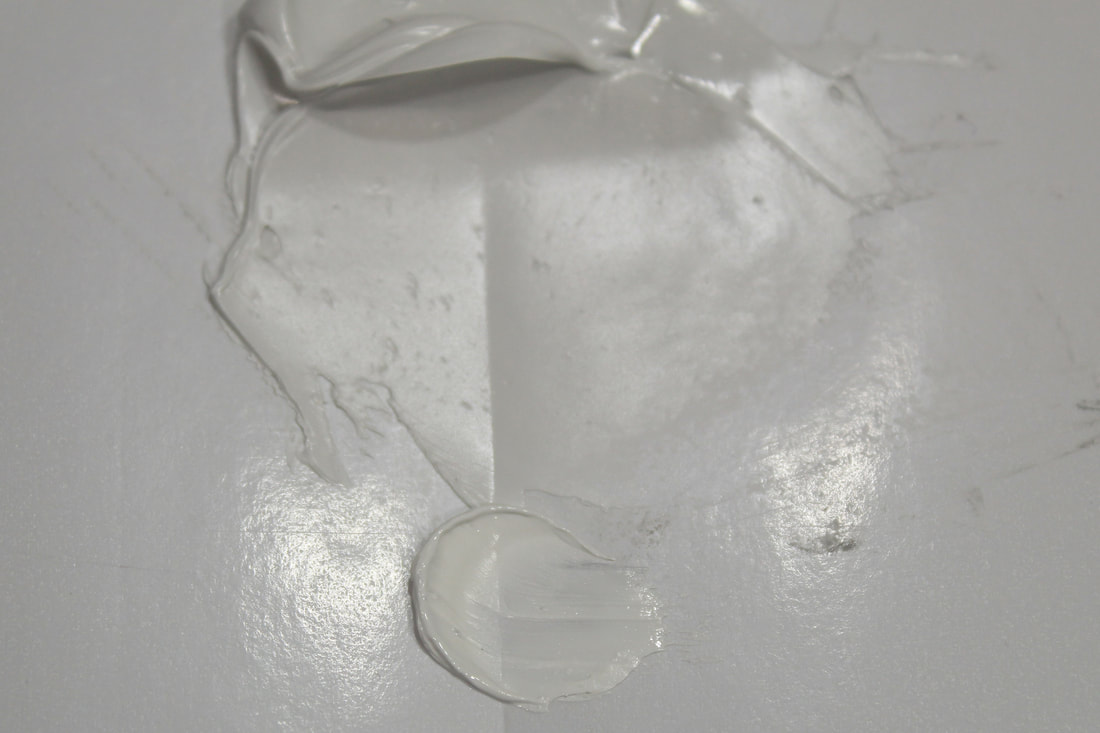
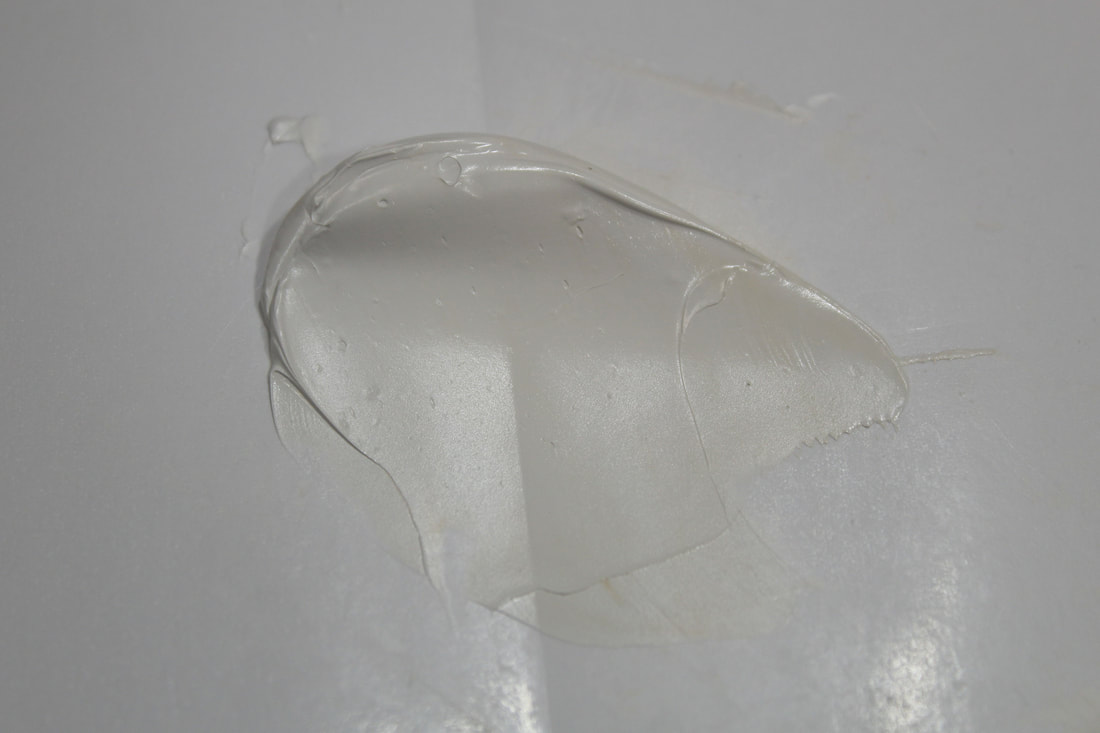
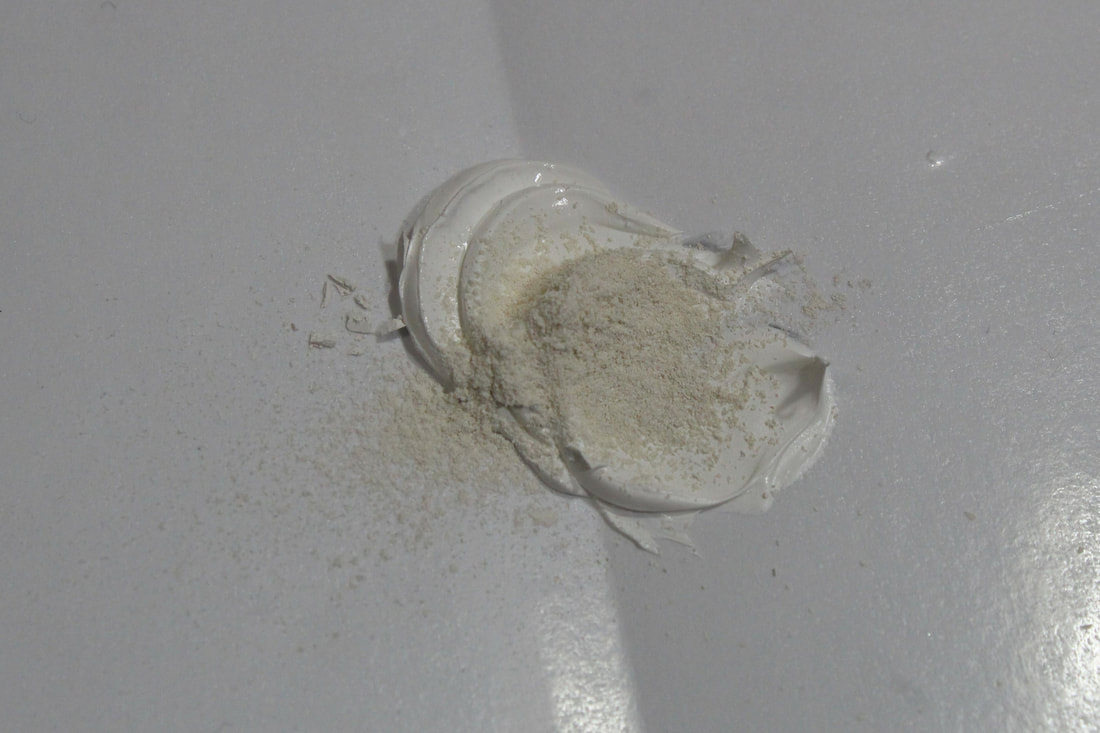
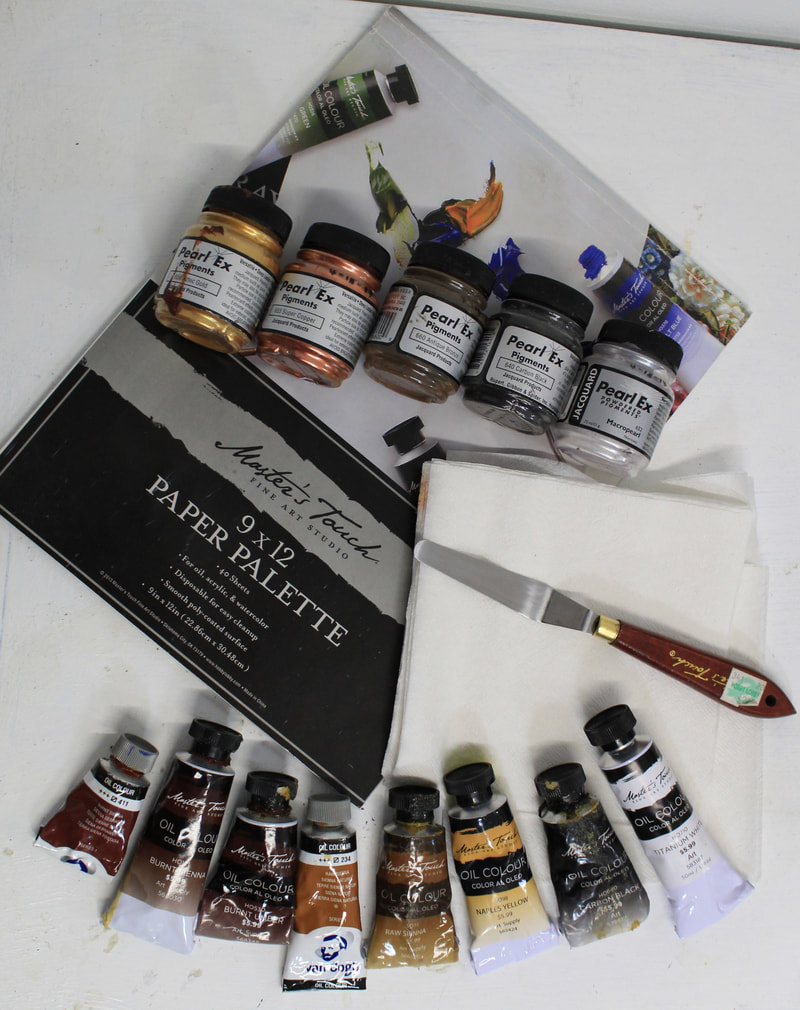
Til next time! Happy painting all!! Alrighty, let's move on with oiling this poneh! No, not that kind!! This kind!! Since Kipling is on the road to being silver dapple grey, & that road will wind up taking many layers, he will not follow my typical oiling approach. That is, I usually go over the base acrylics with three colors/shades of oil: body, highlight, & shading, all done by section of the horse until the model is completely oiled. This guy, on the other hand, was oiled all in one session. This then will go on to be something of a base for the dappling that will go over it. Supplies for this first layer are: * Pallet paper. (Kind of like super wax paper, but it won't soak up the oil like wax paper would. ...Yes, I have tried wax paper before, it's a no go!) * A pallet knife. * Pearl-Ex Powders in: micro pearl, misty lavender, silver, carbon black, & antique bronze. * Oil paint in: titanium white, burnt umber, carbon black, & raw sienna. * There was also white pastel chalk that forgot to get in the family portrait here. & of course brushes. But I only used four of them. To start, fold the pallet paper in half; You'll mix your oil on one side & the crease only. This way you can fold it over & save your paint. 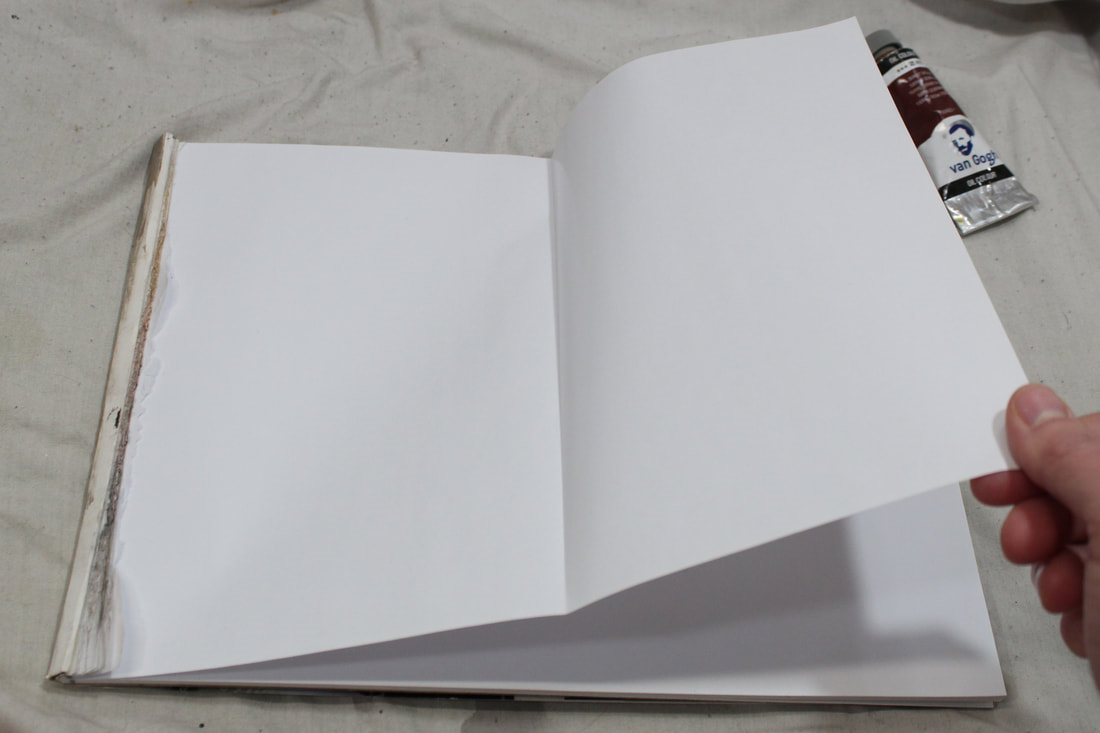 Your acrylic base should already fairly closely match your 'body' color of oils. With it being close, you will be able to keep your oil layers thin (not to be confused with thinned down). If it is not a close match, you will wind up fighting the base to get a good, solid covering of your base oils. That leads to your oil either being put down too thickly, or to your having to do two layers of body, letting them dry in between. Never a lost cause, but way more trouble than it needs to be. :) For this silver grey's body color, the base color of your oil painting, I picked out the light greyish-brown color on his coat. For the body mix, it is about 99% straight white! I'm not sure if you can see the comparison of the dab of white at the bottom to the started mix above it. Just like the acrylic base mix, the white is easily overwhelmed. I was adding color literally by the merest touch & building from there. & the result was this.
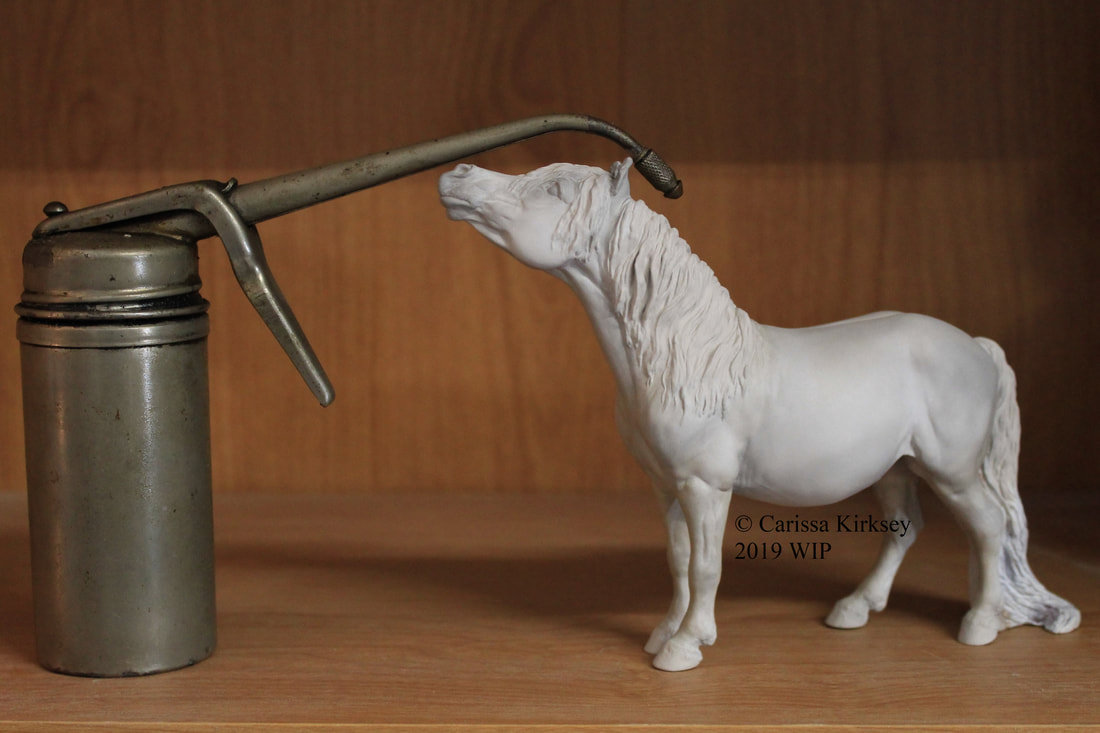
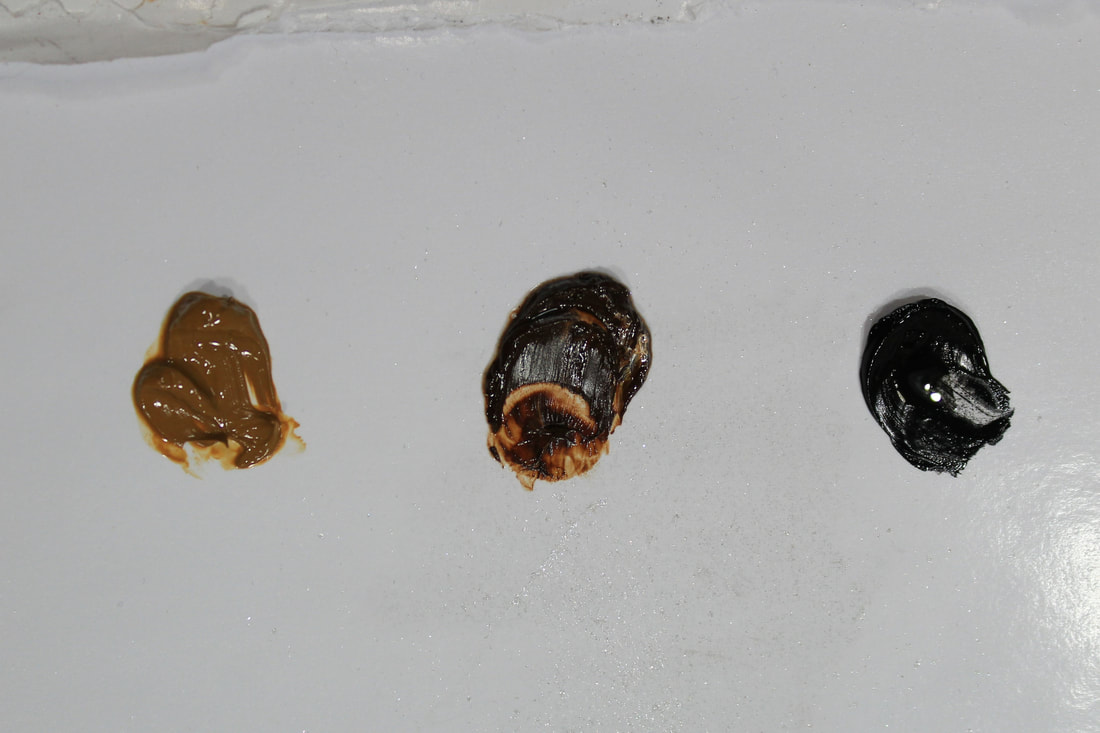
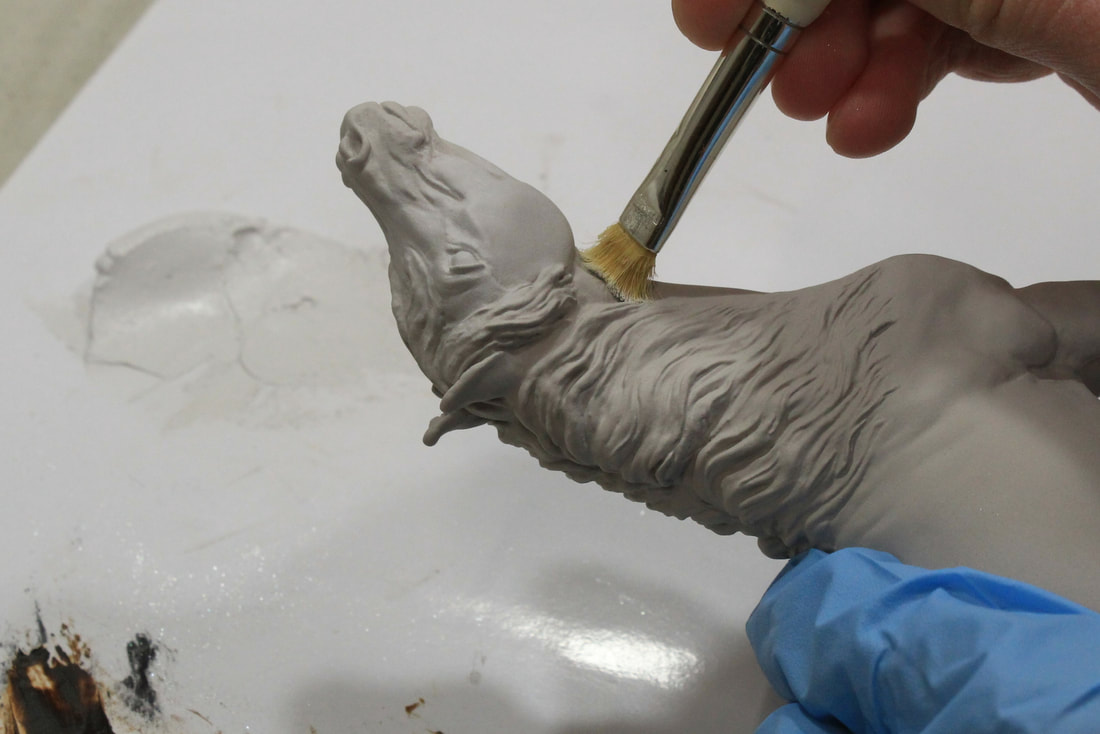
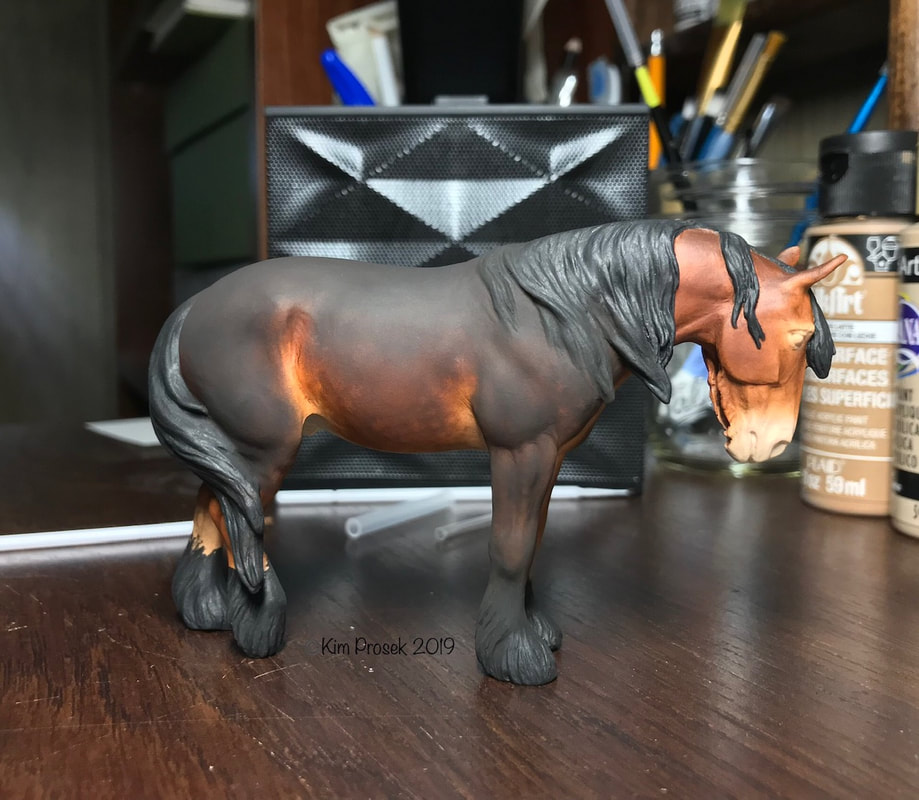
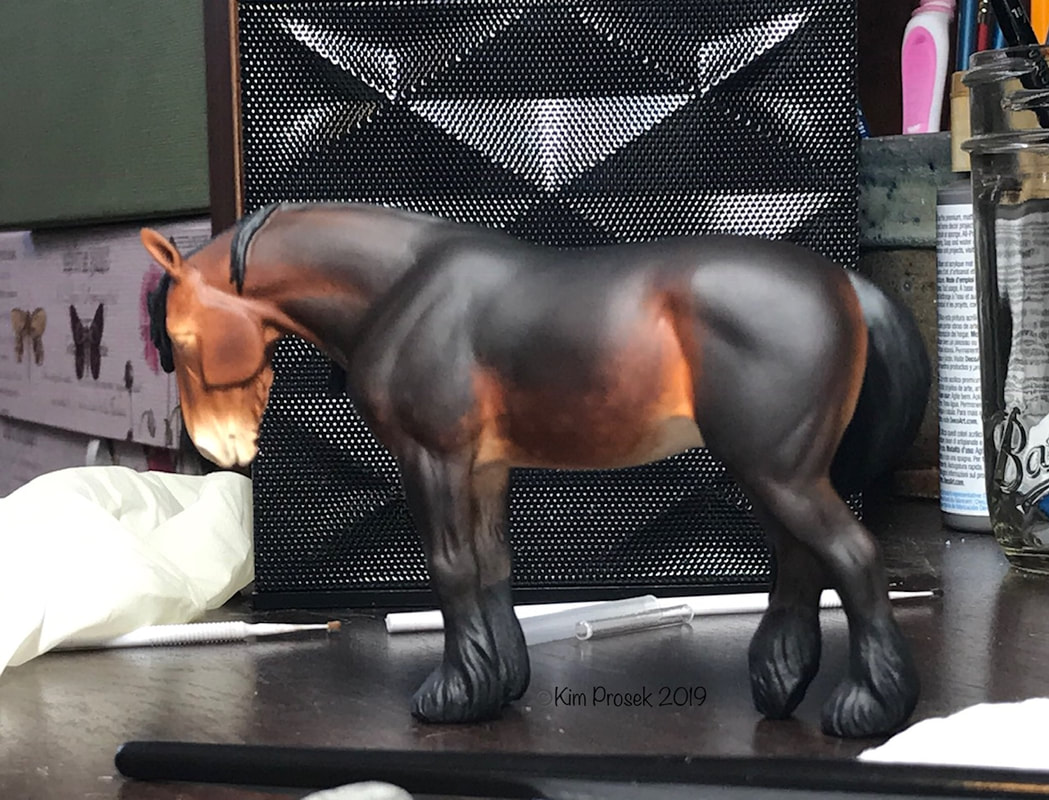
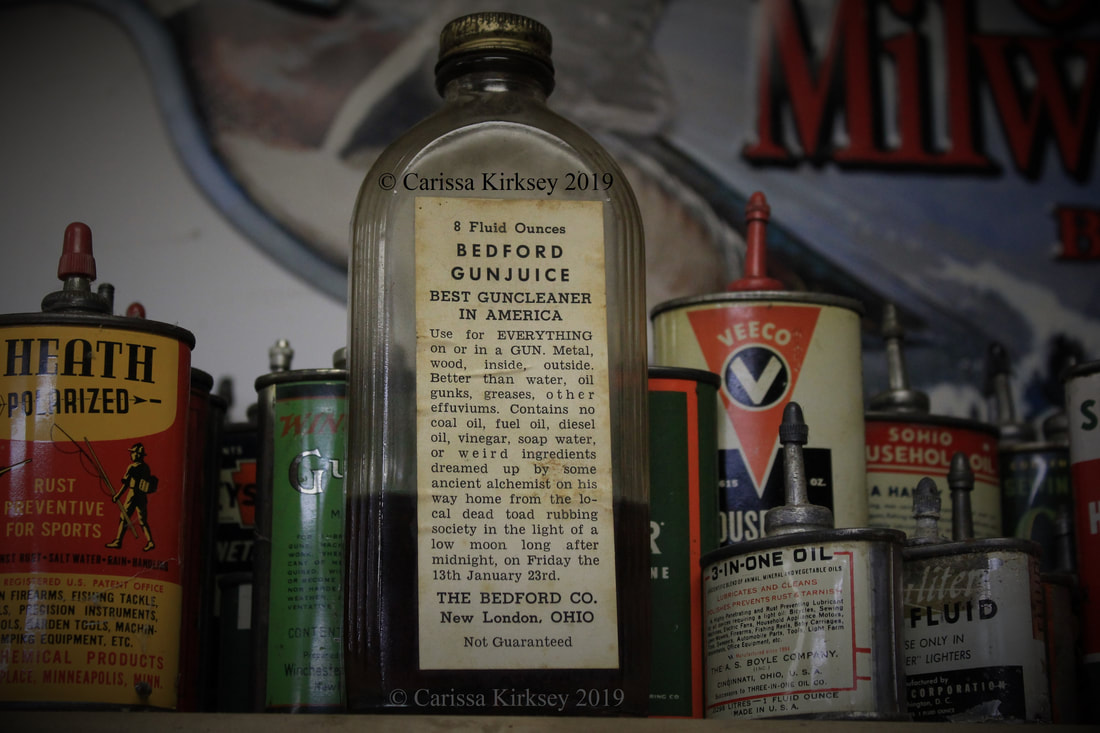
Other colors I mixed for Kipling were straight out of the tube: raw sienna, burnt umber, carbon black, & titainium white. There were no other oil colors added, but I did of course add Pearl-Ex to them as well. Misty lavender for the black. Antique bronze & carbon black to the burnt umber. Antique bronze & silver to the raw sienna. I randomly decided not to add Pearl-Ex to the white. But to help it dry, I did mix in some white pastel chalk. Here is the final pallet. There is some carbon black right out of the tube as well, nothing added. & with that, it's time to start painting! My very favorite brushes for adding body are a couple well loved, half inch(?) synthetic flats. They are over a decade old, & extremely frizzed! A, shall we say 'civilized' flat that is not all frizzied up works too of course, but that's how these poor things got this way! ;) Dab just the tip into of your brush into your chosen color; you want to have just enough to color the area you're working on & no more. Putting too much down at once just makes it more difficult to spread it out to keep it thin. Wipe it off on a paper towel if needed. Then using the tip, kind of scrub or stipple the color onto the horse. Here's what I mean: When I oil, I like to 'grid' off a horse & work in sections, & even though this guy doesn't follow my usual oiling method, I still pretty much worked by sections: Head, neck/chest, belly/inner thighs (leaving a firm hand hold over his back as seen below), barrel/back/haunches (leaving the legs to hold if they are sturdy enough), & finally the legs, which left me with a slightly precarious hand hold of part of his tail. Though since he has a double mane, I was able to cheat this time & hold him around his neck too. Completely painted in the body color. Next, with a much less frizzy natural half inch flat, I lightly added the black mix for shading. You want to go slowly with adding dark color. You can always add more, but you can't take it off if you add too much! I use much the same stippling motion for this, carefully watching my reference pictures to determine where it needs to go. Shaded! Just like the black mix, I added just a touch of the browns, mostly to his lower legs, but also to the stifle & elbow areas. I also hit a few areas such as his lower barrel with white to highlight. Ta-da! You'll probably get sick of seeing this reference picture, but it's going to keep popping up! Compare to the horse I am going by. There will be many more layers over this oil layer, so I am not too concerned of going too dark just yet; I'll need a lighter foundation to build up dappling over. When you are finished with your oil session, fold over the pallet paper & pop it in the fridge or freezer! It can keep exceptionally well this way; I am still working off last year's NaMoPaiMo bay/red pallet as a matter of fact, & it is still perfectly good. You can also cheat a bit with your brushes if you don't feel like cleaning them right away by also sticking them in the freezer. ;) They will need cleaned soon though; I simply use dish soap in warm water, no need for anything fancier. WHEW!! Sorry it took so long to get this posted!! I've really been struggling to write this NaMo! Kip is quite a bit further than this now. Hopefully I'll be able to be a bit more timely with the next posts!! I'm not the only one making headway on their NaMo pony! My friend Kim Prosek of Longwing Studio has been busy at it too with her Sleepy Shire! Kim airbrushes her acrylic base, & then works her magic with powder pigments. "He isn’t just white in this first picture; It’s actually a light fawn color." "And then milk chocolate." "Next is burnt umber mixed with burnt sienna." "And then a light dusting of black." "Then I decided I didn’t want to mess anything else up and went with my trusty pigments. So one layer of pigment & there he is for his first weekend's work!" Then this past weekend she continued to bring him to life! "I added a few more layers of pigment, sketching in the dapples." "Then painted the m/t to get an idea of where I was." "And then onto black pigment." He looks soooo good Kim!! I hope he continues to play nice with you!! Just for a laugh, as it pertains to the joke at the beginning of my post, read the label on this old gun oil bottle. Someone had a sense of humor! Until next time! Happy painting all!!
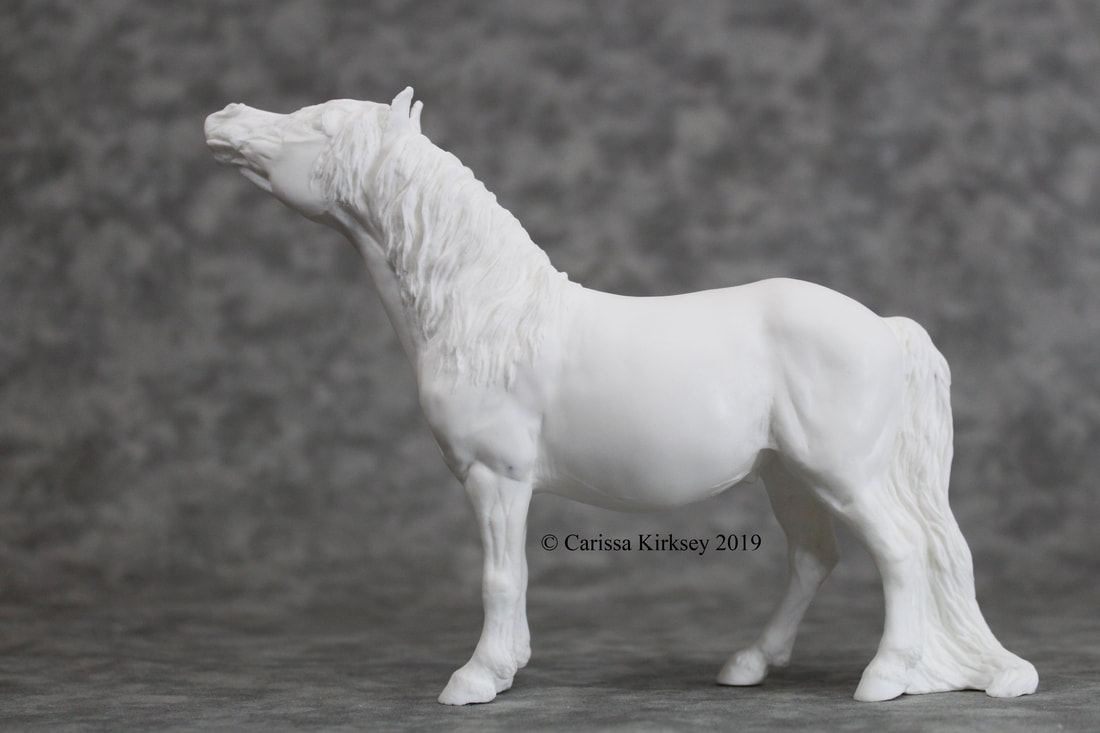
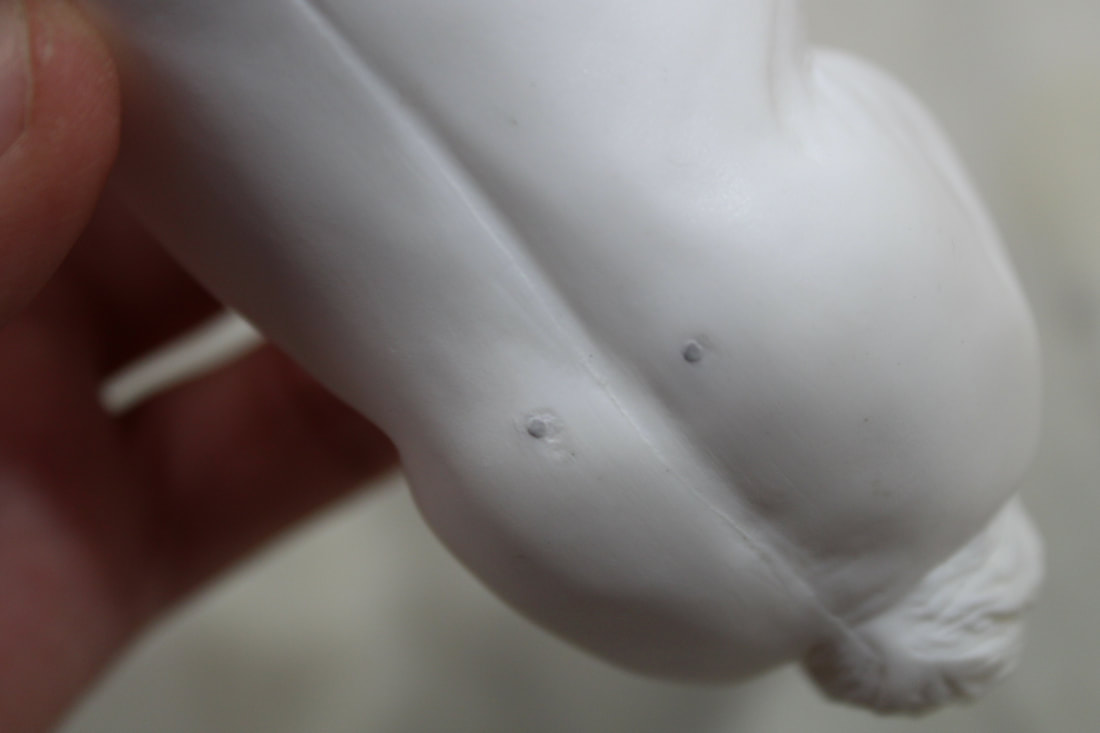
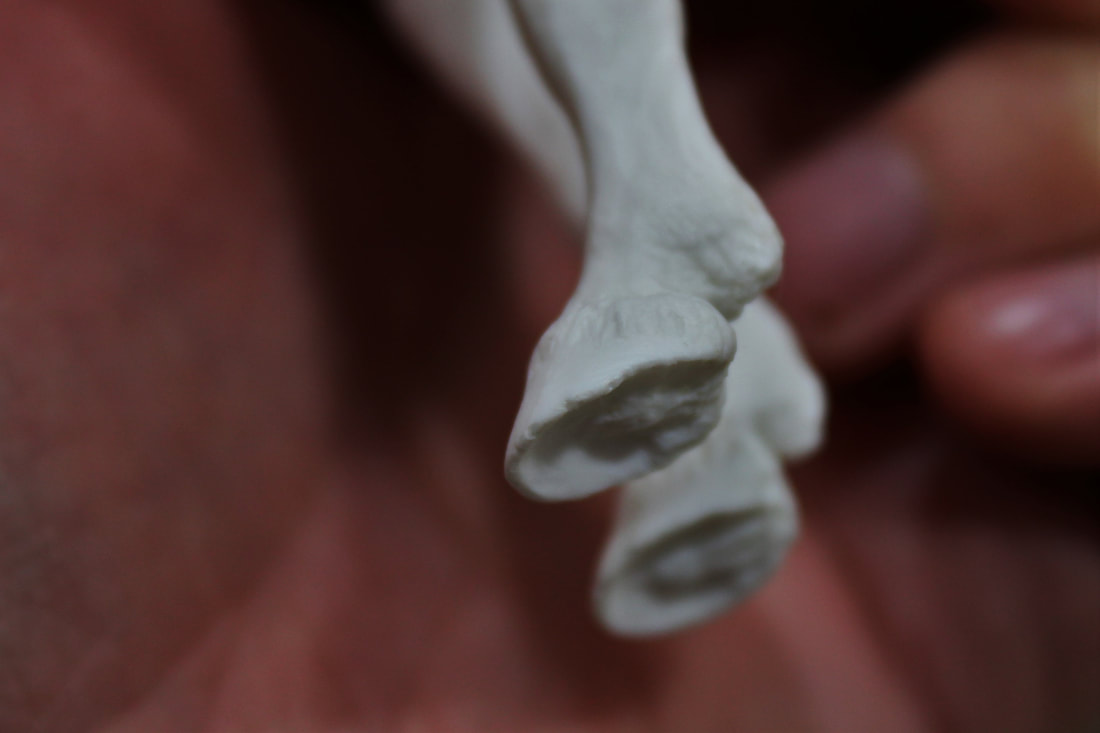
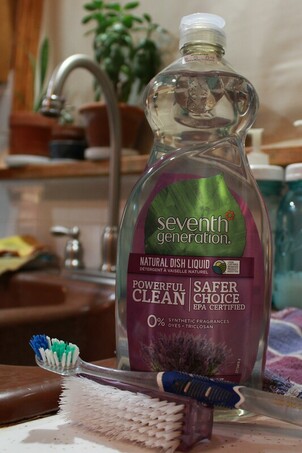
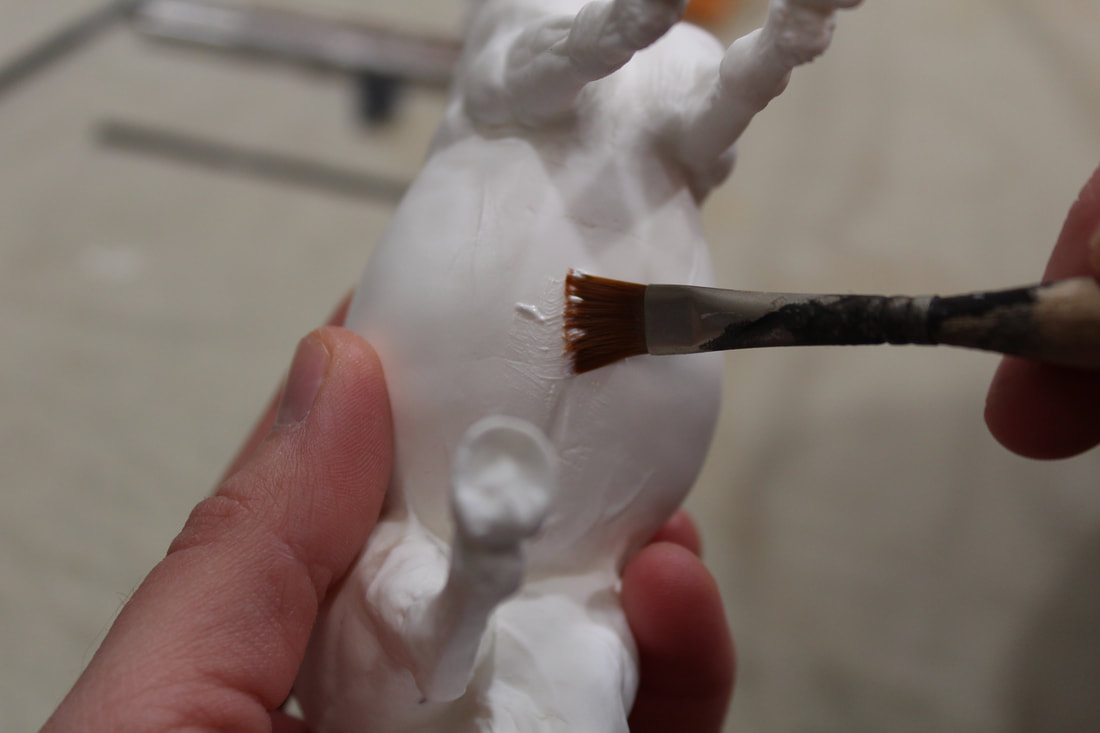
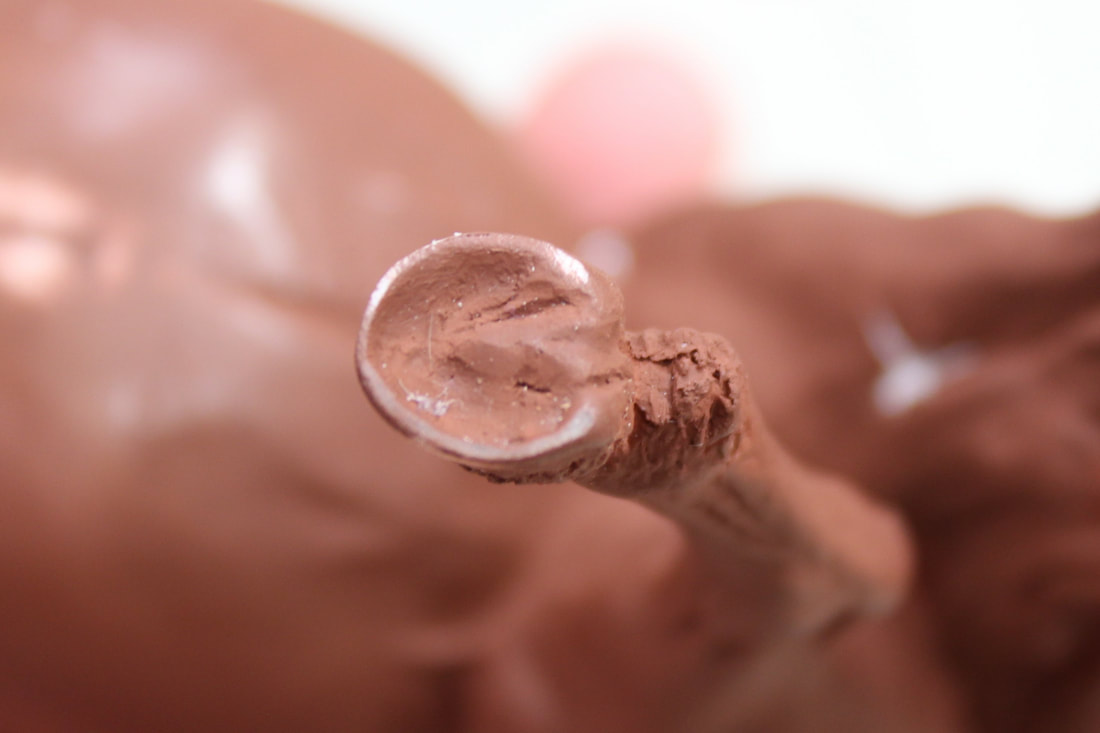
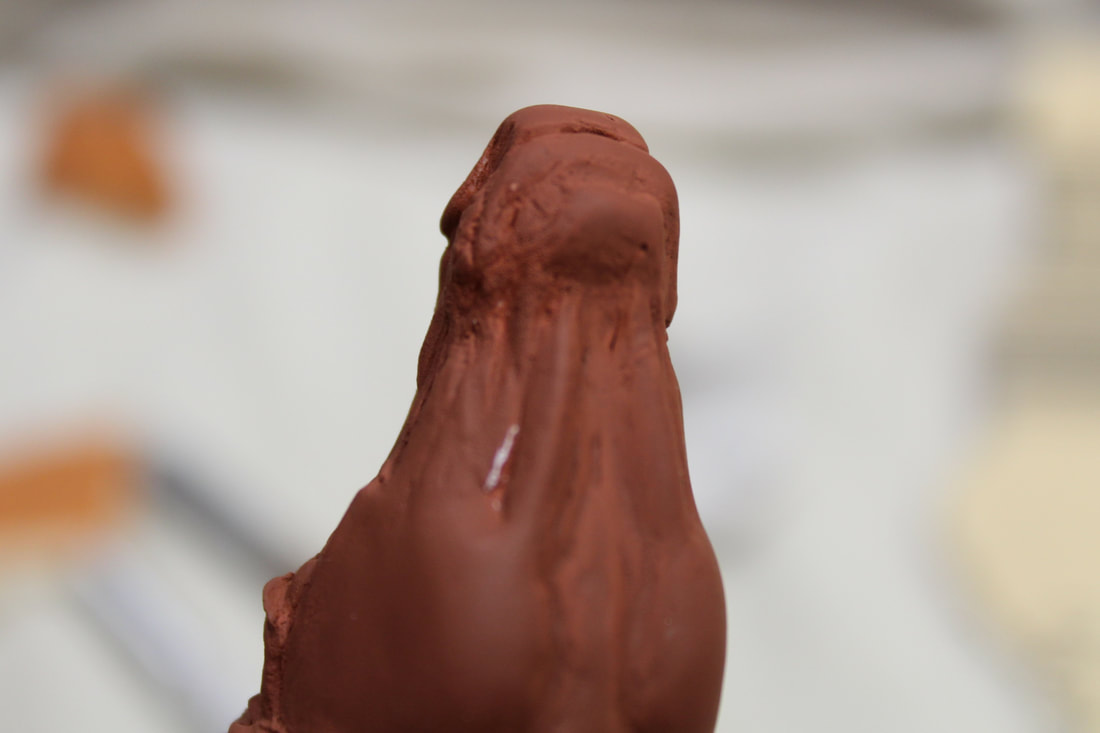
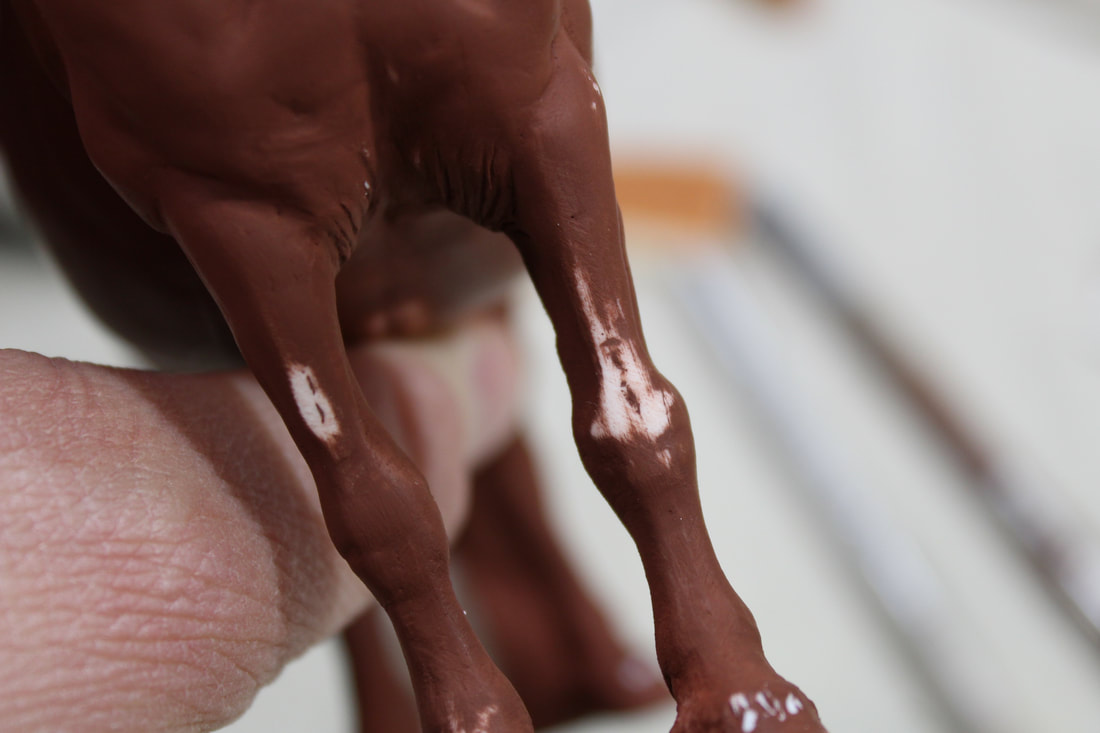
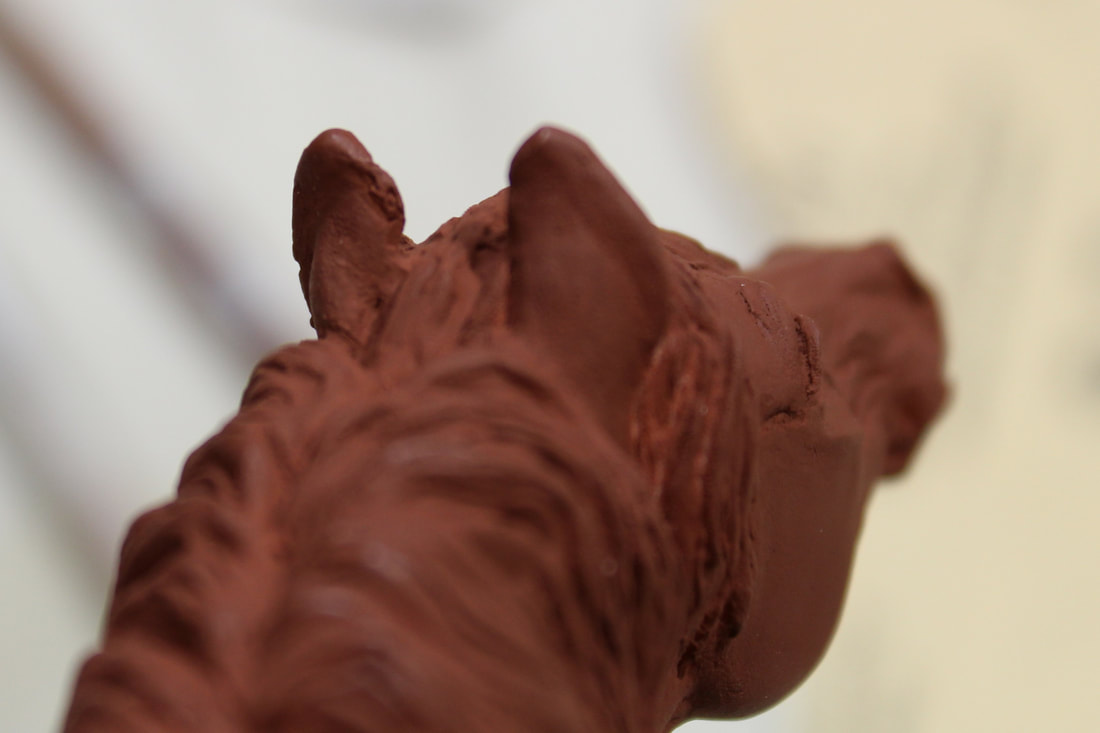
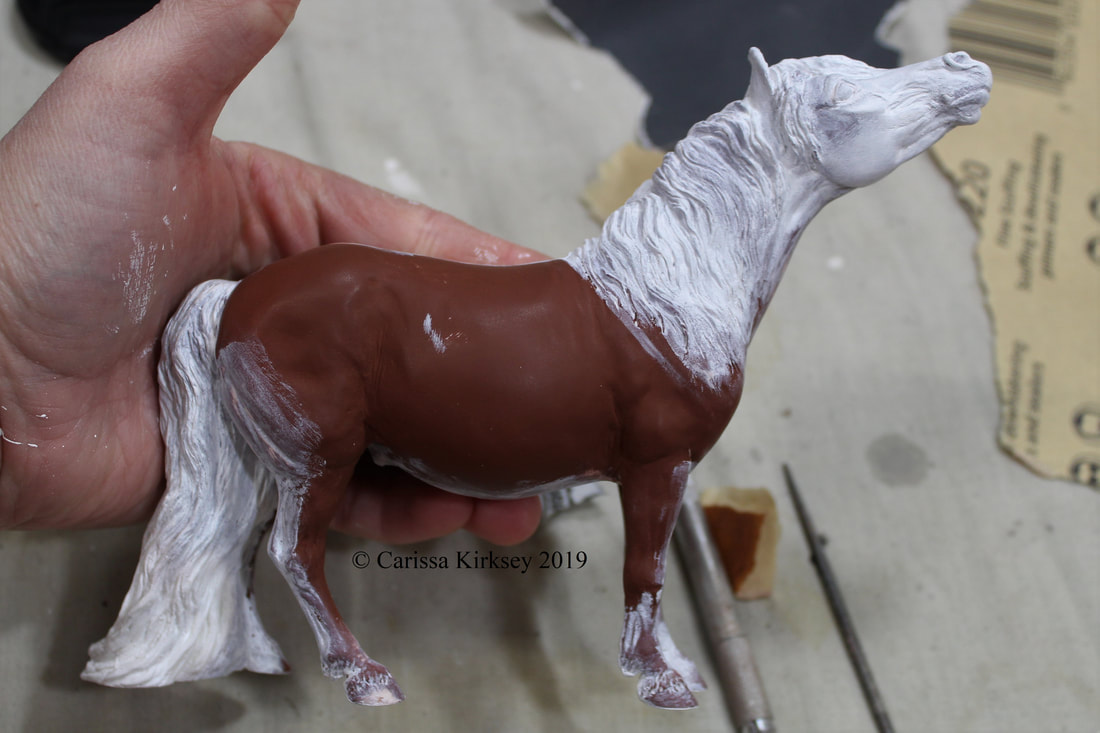
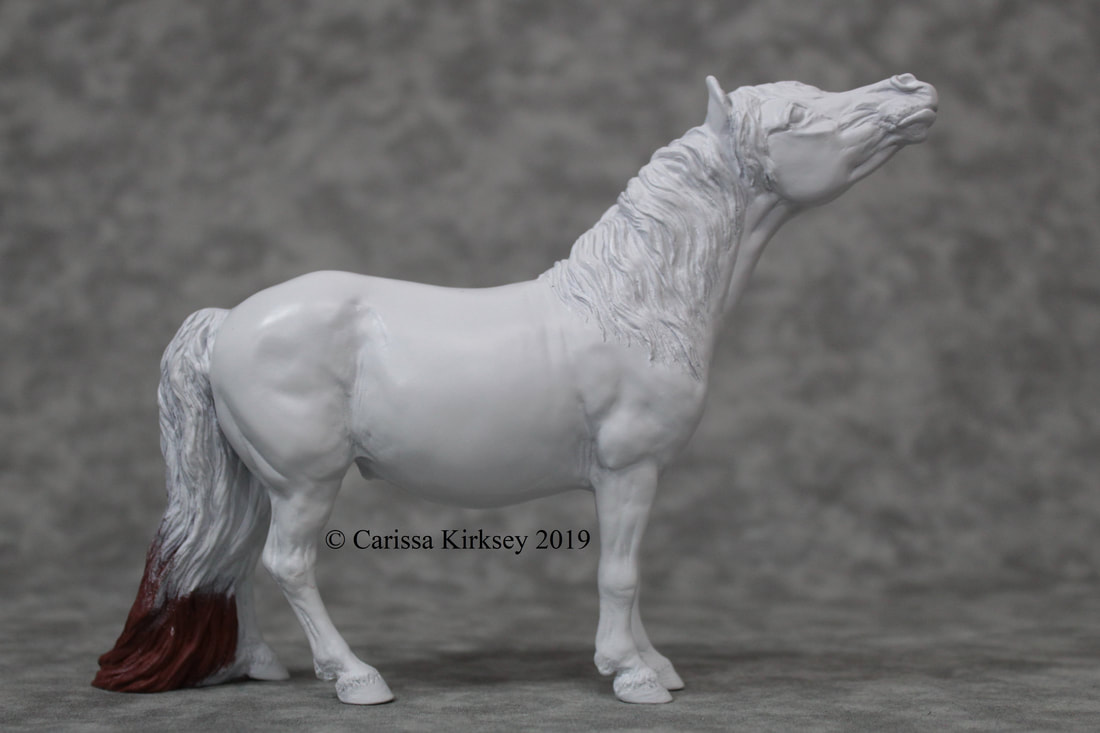
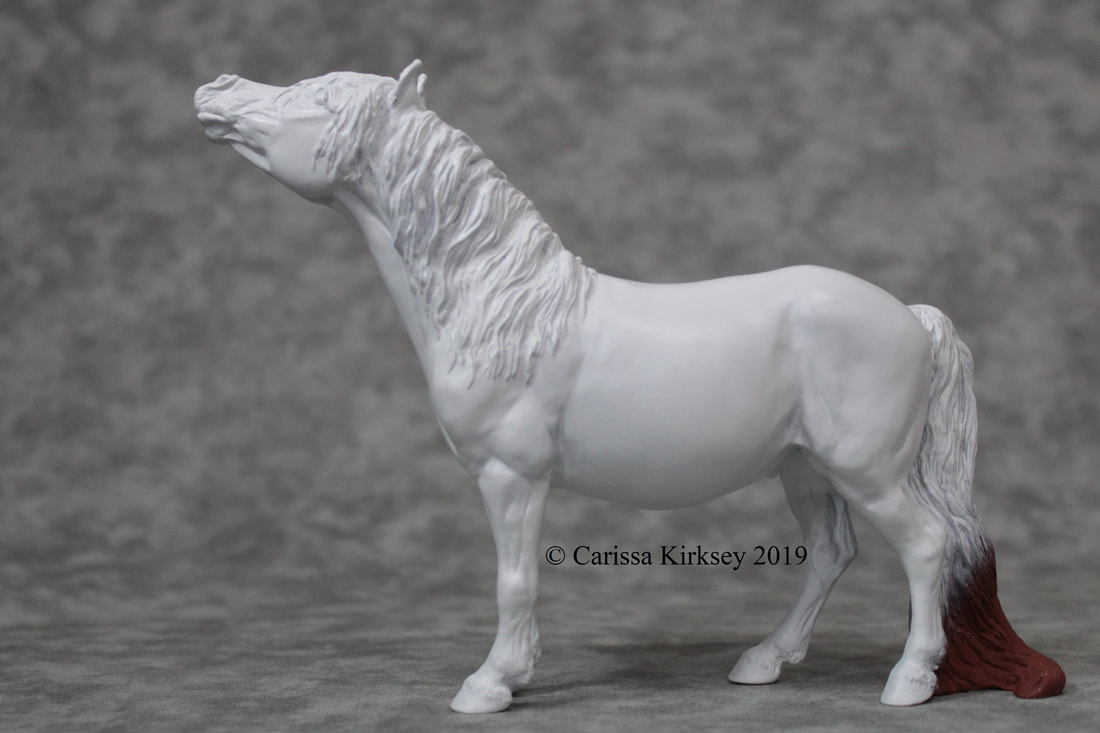
Tomorrow's the day! The start of NaMoPaiMo 2019! I'm, almost ready. Prepping this week has been interesting. Not because of the model, but because of the weather. It's been single digits & below zero for the past few days, making it too cold to spray primer. He is technically prepped though, so all's well! I'd just prefer that he be ALL white! (You'll see, keep reading!) Weather aside, I can still show you some of the process of prepping him. Firstly to start off at the very basic action of prepping a model horse: It is the process of preparing your 'canvas' for painting. It is important to smooth out any blemishes, which can affect the smoothness of your finishwork & it's color, & faults also can knock a finished horse out of placing at a show. I'll be painting an artist resin (AR), which is a hand cast copy of an original sculpture. ARs come from the casting companies with only the very minimum of clean up done to them once they're pulled from the mold. So there are always at least some mold seams that need to be addressed. Here are a few of the things that I could see needed taken care of on Kipling. Here we have two small seams, one down the middle of his forelock, & one across the side fwip of forelock. (They're there, trust me!) & here you can see some 'pin holes', bubbles in the resin that leave tiny holes behind. & less visible is the uneven & slightly rough surface from where the caster Dremeled off the pour from where the resin was poured into the mold. This is another area where they Dremeled a little too much off, probably while knocking off seams or flashing (where some resin leaks out between two parts of the mold). & a few more pin holes along his neck too. This was a new one to me: these are actually the reinforcement wires that run through his back legs! They are apparently so long, they showed through on his back! Not a problem, but they did leave blemishes on the surface that would need filled. Also, more seam. This was the biggest issue (which wasn't much of one): Pin holes all along one hoof 'ate' the edge off. To tackle these prepping issues requires a few various tools & supplies. Here is everything that was used for prepping Kip: Dish soap, warm water, & soft brushes (nail & tooth). Resins should be washed thoroughly at least once to remove mold release (or mold pam as I like to call it!) that may resist paint. Get down into all those little crevasses & scrub! You may want to wash the AR again before spraying primer to wash away dust from prepping. Make sure they're dry before you spray though! Priming water doesn't work well, trust me. Sandpaper in 220 & 320 grit, carbide scraper with the tapering round & the chisel tips, small round & small triangle files. Two different white gessos & modeling paste (gesso is much like acrylic paint, but with 'tooth' & sandability which acrylic does not have). 5 minute epoxy (I get mine from the dairy supply, but it should be available from any hardware), & a popsicle stick to mix it. Dremel with this round bit which I don't know the name of, lol. Breathing & eye protection (& a light) when working with dusty & fumey things. Ave's Apoxy Sculpt & rubbing alcohol to smooth it (though water works fine too. I've started using alcohol as I've noticed it doesn't make so much of a mess of the putty when using a lot to smooth). Rust-Oleum primer in Red & white, & powderless nitrile gloves. First thing I did was give him a go over with the carbide scrapers to take off seams. The scrapers are awesome since they go through resin like butter, but you have to work at it to hurt yourself on them (it CAN be done though!). You can purchase Carbide scrapers from Rio Rondo Enterprises . Trust me when I say that they are worth every penny!! So many uses! After that I did some seam sanding, first with the coarser grit, & then with the finer, to take down any rough spots. I also used the small round file in some places, mostly on his legs. For pesky pinholes, since these ones were pretty small, I simply brushed over the affected areas with the Liquitex Basics gesso. Though both the gessos pictured above seem like they should be the same, the Basics one is much thicker & courser. This makes it lousy for painting (at least for me), but great for filling pinholes! Simply brush it over the holes, try to keep it smooth & without brush strokes, let dry, & sand. Sometimes I will smooth it out with a finger to get it down into the details more. I've also found it helpful to primer over the gesso, let cure absolutely, & then sand it down. For a few of the more troublesome divots I used some modeling paste as well in much the same way as the gesso. It is thicker than the gesso, so a finger to smooth it over the target spot is all that's required. You can use a tiny dab of water to smooth the paste further if needed. For the hoof wall I tried something new. I've recently added 5 minute epoxy to my tool box, & the more I thought about how I wanted to repair that hoof, the more I liked the idea of the 5min epoxy. It is a two part chemical reactive like epoxy putty, but in a glue like consistency that sets in a few minutes. You press both parts A & B out of the syringe tube onto something you can toss (I use cardboard from something like a tissue or cracker box), mix it thoroughly (I use a popsicle stick), & then use it how you want. Make sure to wear gloves though; I don't know if it would ever come off your skin if you don't! I carefully used the edge of the stick to layer it along the hoof wall until it cured. Once it was set, I Dremeled the hoof sole's details back in, & filed & sanded the outside to shape. It worked well, & I now don't need to worry about it chipping off like epoxy putty might have if it's hit wrongly. I also put a couple dabs of the 5min epoxy over the wires on his back, which once sanded, turned out nicely. Once I got every flaw I could find, I hit Kip with some red primer to see what I had going on. Red primer catches light better than any other primer color to show details. …& faults! Like this seam on his pasturn... Or a few pin holes, like this one under his chin... More sanding needed on the seams on his front legs... Or this glob on the inside edge of his ear. There's also a chunk missing from the other side which you can just see from here. I filled that missing bit with epoxy putty, & I also replaced a chestnut that was missing (not sure how it was lost!). Which is where the second gesso (Liqutex Professional) came in, to paint over that chestnut to help blend in the edges. Epoxy putty, if you were not aware, is a two part chemical reactive; mix equal parts A & B together thoroughly, & it will start to cure. It is a staple for any model horse artist! With the red primer I could see a few harsh details & gappish (did I just make a new word?) holes on his face, legs, main & tail that I wanted filled, so I gave these areas a layer of gesso as well. I also went over the pin holes on his belly & neck again since they weren't completely filled in yet. You can see here that the pin hole under his chin filled in with the gesso. It also softened the harsh lines on his jaw. More primer, more flaws to fix. & then finally... With a layer of white primer... Everything appeared... To be... Smooth at last! The reason I took him back to white is because he is to be a portrait of Astro, who is a silver dapple, & it simply gets me a step closer to that color to start off in white. Well, he's ALMOST all white. I managed to spray white primer one step ahead of the polar vortex that hit & plunged us below zero with, at one point, wind chills of 38 below. But that's ok! I'm pretty sure I'll be able to catch that last bit tomorrow since it's supposed to get up to about 20. & if not, this is still ok; I can put down a few more layers when it comes time to paint his tail. :) Tomorrow's the day! Good luck everyone!!!
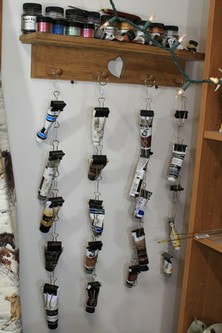
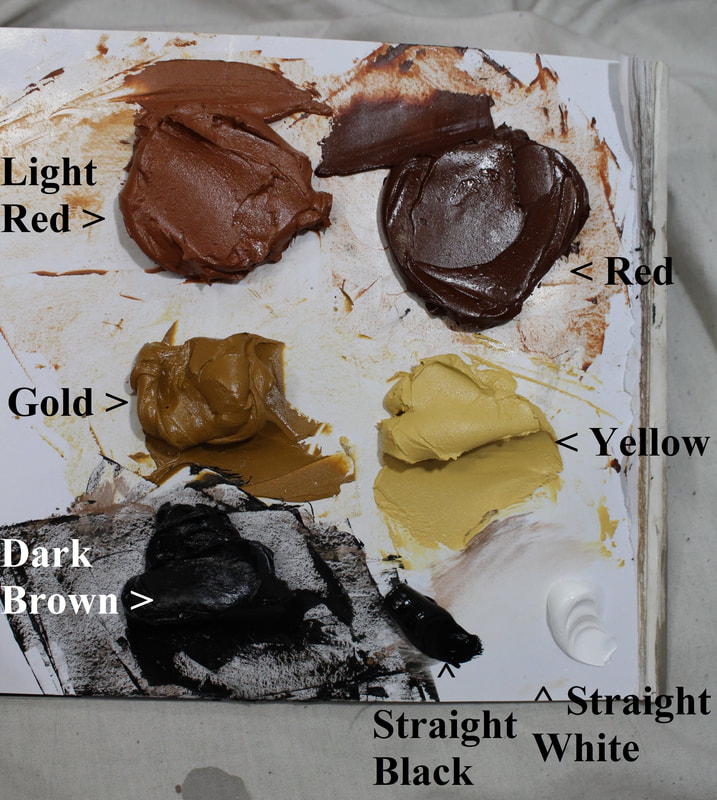
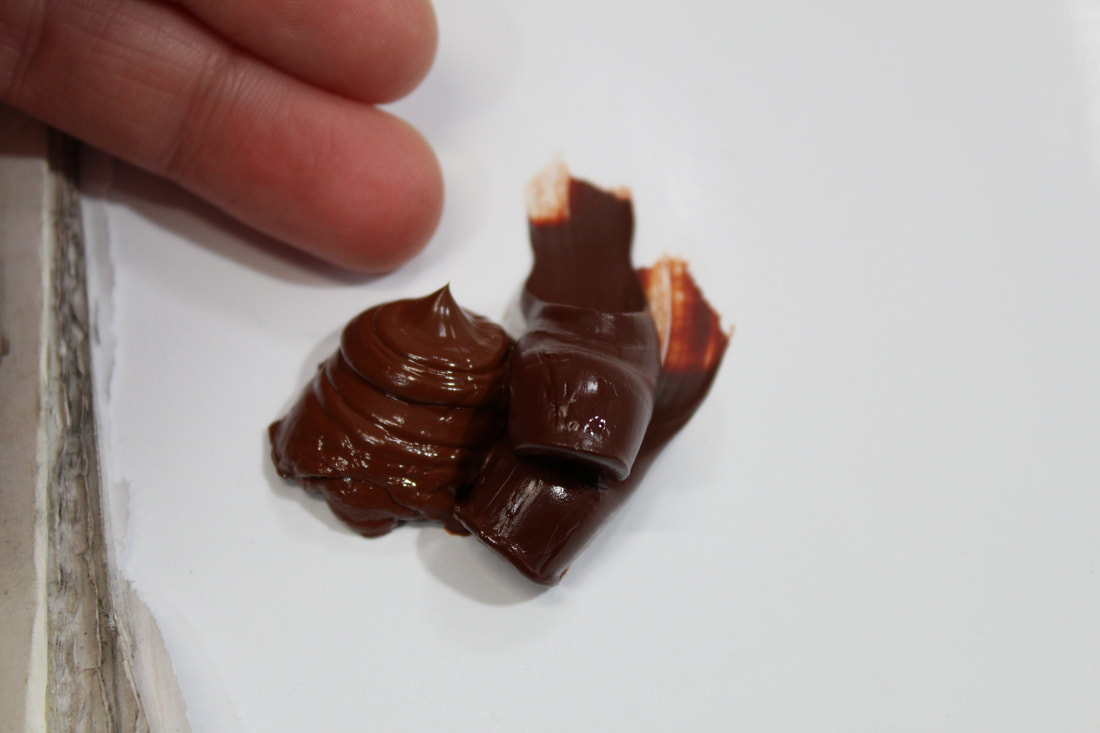
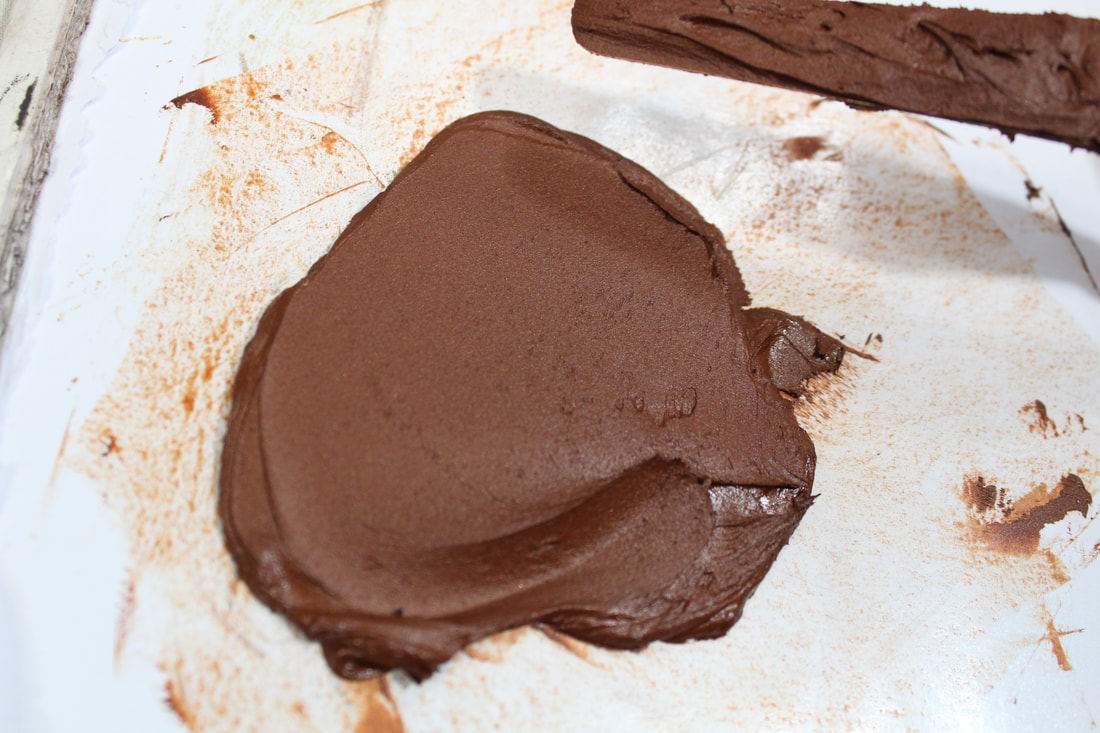
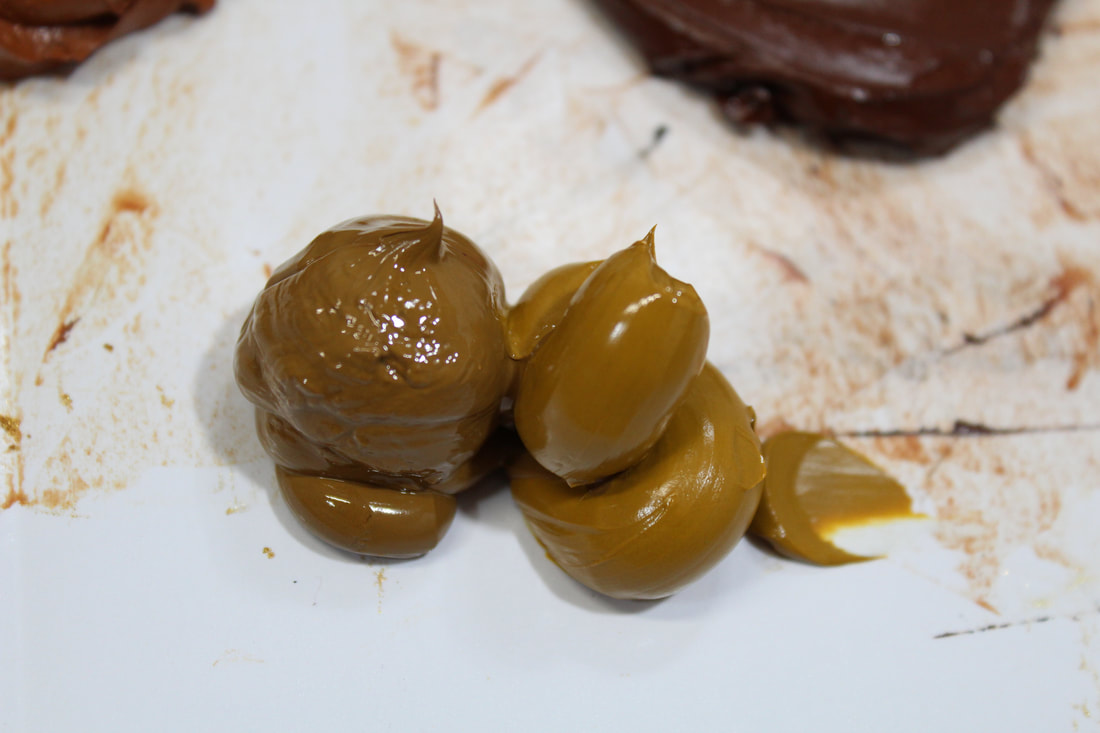
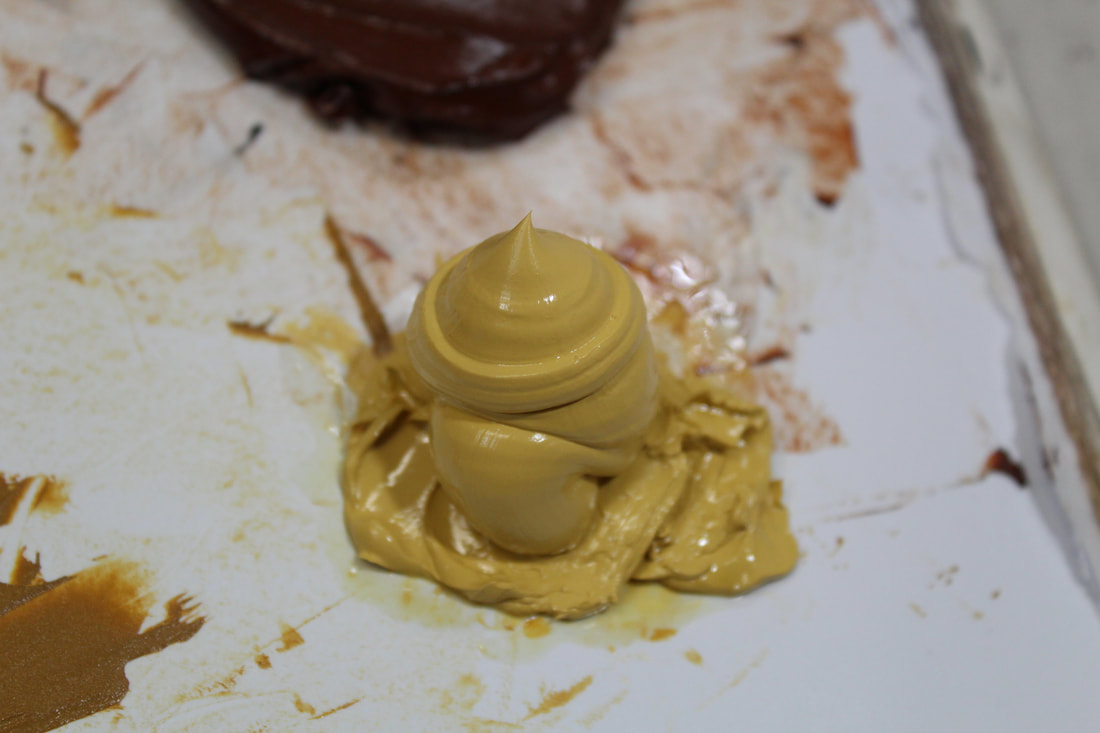
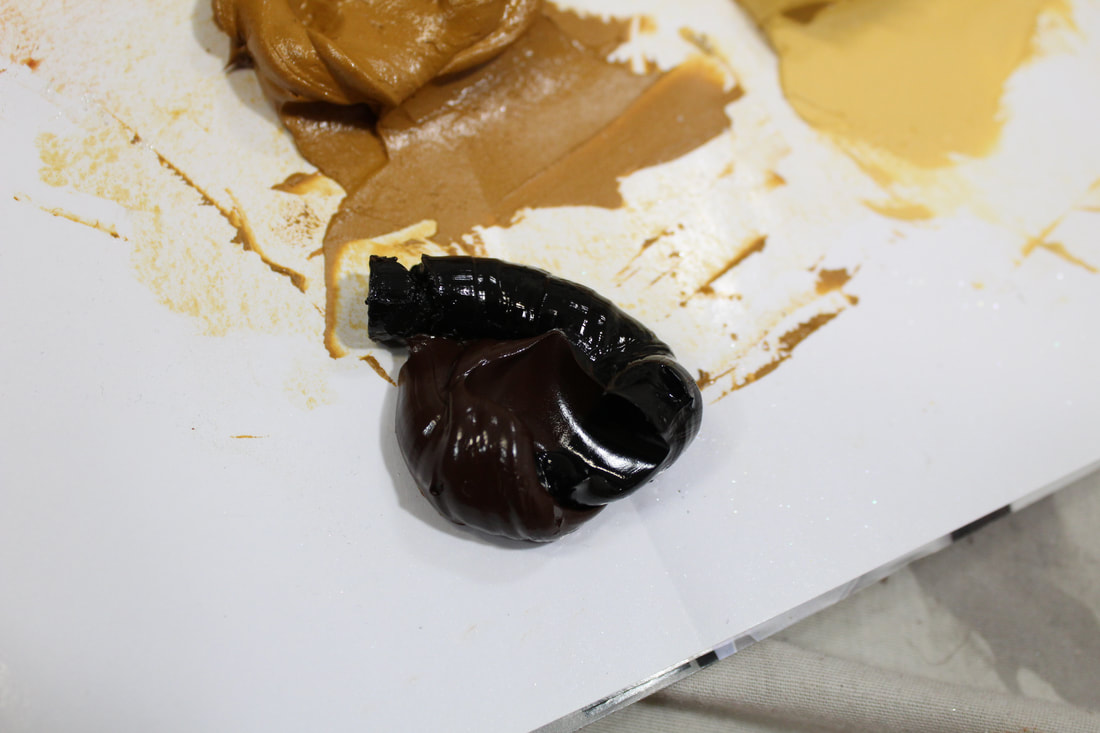
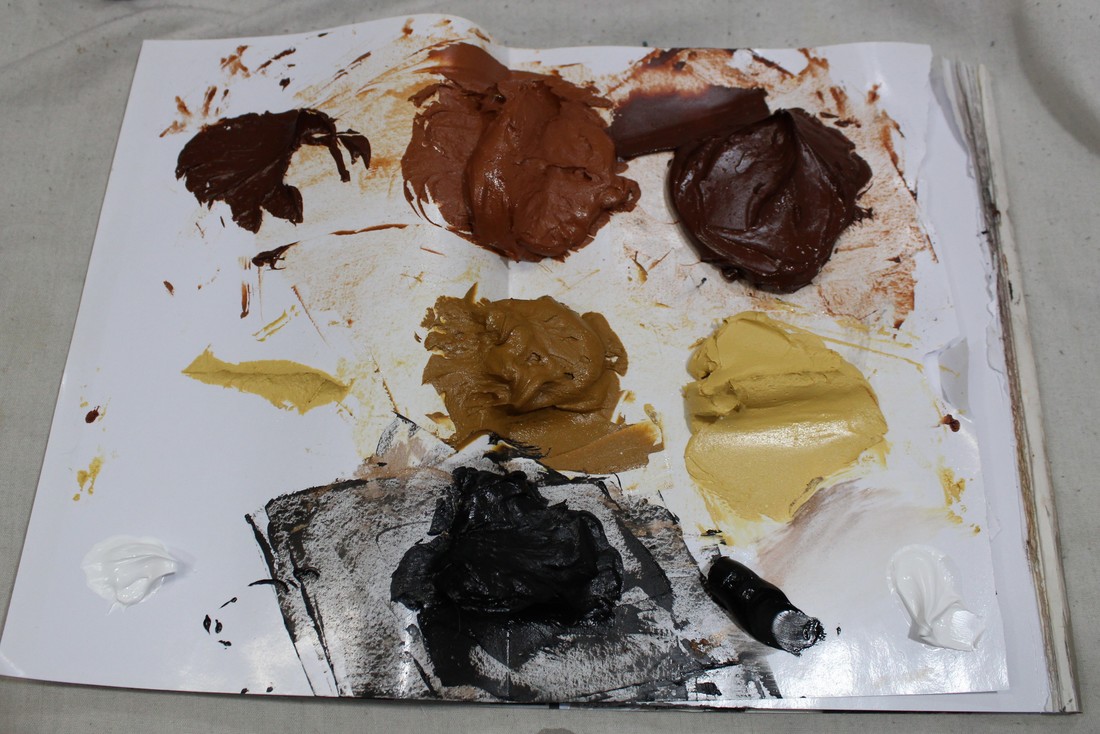
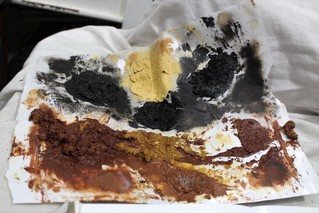 It's not pretty after so many months! But a lot of horses came from this mix! It's not pretty after so many months! But a lot of horses came from this mix! Back in January I finally had to mix a new batch of oils since the last mix, the one I used in part for last NaMoPaiMo actually, had finally dried out. I had mixed it in Dec of 2016 & it lasted until Nov of 2017, so it certainly keeps! This round I actually took the time to take pictures of how I mix a bay/red pallet so I could share it with you! What you'll need: * Pallet paper (not wax paper as it is too thin) I like Artist's Touch brand best. * A pallet knife * Paper napkins or towels * Oil paint in colors of: - Van Gogh Burnt Sienna - Master's Touch Burnt Sienna - Master's Touch Burnt Umber - Van Gogh Raw Sienna - Master's Touch Raw Sienna - Master's Touch Naples Yellow - Master's Touch Lamp Black - Master's Touch Titanium White * Pearl Ex powder in colors of: - Aztec Gold - Super Copper - Antique Bronze - Carbon Black - Micro Pearl (I prefer Pearl White but I'm having a hard time getting it) * An apron, if you're smart, which I usually am not. Now, you do not have to run out & buy the same colors in different brands. I use two different brands, Van Gogh from Pat Catans & Master's Touch, the Hobby Lobby house brand, because the tint varies from company to company. Since I have them both around I have the liberty to use both when mixing batches. I would warn against Winton brand oils though: In my experience, they have a very lurid color which I did not like in the least. It may work fine for you though! Everyone is different! When painting in oils, or at least how I do, you start with the body color (the middle, medium shade of your color) & move out from there adding the highlights (the lightest color of your horse), & then the shading (the darkest color besides any black points). So you are going to need to mix at least three colors. Since I paint many colors on a regular basis I mix oils in bulk so I don't have to spend a chunk of my time mixing paint every time I need it. I also mix several different shades at a once so I can move up & down the 'scale' of color to do different shades & colors. What is body for one horse may be shading for a lighter horse. What is body for another could be highlight for the darker colored horse. It all depends on what base color you put down & what three shades of oils you put over them. For this batch, I mixed five colors. For need to call them something I named them, as seen in the picture below. To start, fold a sheet of pallet paper in half. Once the paint is mixed you will fold the paper over to store it, so you will only be mixing it on one half & the crease. As I said, I mix bulk batches. If you don't plan to paint a herd of horses over the next year you won't need anything near as much as I am doing here! It really takes very little oil to paint a whole Trad scale horse. That said, better to have too much than too little, & it does save very well. Starting with the Red mix: I used both brands of Burnt Umber, Mix it up thoroughly with the pallet knife. Now add Pearl Ex. The main purpose of Pearl Ex it to add a gleam to your finishwork. The effect of adding several different colors of Pearl Ex to your mix is akin to looking at a furry creature's coat in the sunlight: have you ever noticed the prism kind of glow they have? Same thing when your finishwork is in sunlight. It also has the extremely helpful benefit of making your oils dry much faster! I do not use any driers at all in my paint. Honestly they scare me! They can be dangerous. So I pour in the Pearl Ex to just short of making mud out of my paint. Depending on the colors (some oil colors dry slower than others), & the weather at the moment, my oiled horses are usually dry to the touch in an easy one to two days. With the tip of the pallet knife, dip out a bit of Pearl Ex; in this case Gold. Don't make a mess with it like I did though! Go easy on adding Pearl Ex, it likes to pouf everywhere while you're mixing if you add too much all at once. To this Red mix I also added Copper, Bronze, & Black Pearl Ex. For a finished mix of this. Much more luminous, isn't it? From here on out I didn't take as many pictures, but it's pretty much the same deal. The same technique was used for the other mixes, just different colors used. Make sure to wipe the pallet knife clean with a paper towel when you move on to a new color mix. Here is the Light Red. Both Burnt Sienna, both Raw Sienna, & Master's Touch Naples Yellow oils. Gold & Micro Pearl Pearl Ex. The Gold Mix is both Raw Sienna oils, Gold & Micro Pearl Pearl Ex. Yellow, Master's Touch Naples Yellow oil & Micro Pearl Pearl Ex. Dark brown, which is mostly used for shading is almost black. Once you blend it in with your body color, it mixes with the body enough that it tones down to a little bit lighter brown than it starts. ...If that made any sense! It is a mix of Master's Touch Burnt Umber & Carbon Black, with Black & Bronze Pearl Ex. Then I add a little Master's Touch Carbon Black & Titanium White straight out of the tubes to the pallet. The white is for particularly light areas like mealy muzzles or bright flaxen hair tips. The black is for points, which will look even darker black if there is no Pearl Ex bouncing light. Once you are happy with your new mix, fold the paper over on itself, write what color this pallet is & the date it was mixed on the back of the paper, & pop it into the freezer. You can put it into a zipplock for further protection, & a tupperware container is a good idea if there's a chance your pallet might get squished in the freezer. 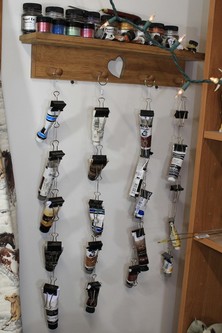 & a great way to store your oil tubes is to hang them with binder clips! So you don't have to sift through later, here is my loose red/bay color recipe for you: Red: Van Gough & Master's Touch Burnt Umber oils. Aztec Gold, Brilliant Copper, Antique Bronze, & Carbon Black Pearl Ex. Light Red: Both brands Burnt Sienna oils. Both brands Raw Sienna oils. Master's Touch Naples Yellow oils. Gold & Micro Pearl Pearl Ex. Gold: Both brands Raw Sienna oils. Gold & Micro Pearl Pearl Ex. Yellow: Master's Touch Naples Yellow oil. Micro Pearl Pearl Ex. Dark Brown: Master's Touch Burnt Umber oil. Master's Choice Carbon Black oil. Bronze & Black Pearl Ex. Master's Touch Titanium White straight from the tube. Master's Touch Carbon black straight from the tube. There is no precise measurement for mixing oil color, so trust your eye & mix it to your need & taste. An interesting note too is that these six colors are my entire stash of oils. From just Burnt Sienna, Raw Senna, Burnt Umber, Naples Yellow, Carbon Black, & Titanium White you can pretty much mix the entire rainbow of the horse world. I do add some Cobalt & Ultramarine Blues to blue-based blacks, but other than that, those are the only colors I ever use. Hopefully that helps you on your journey in oil paint! If anyone ever has any questions, feel free to drop me a line!
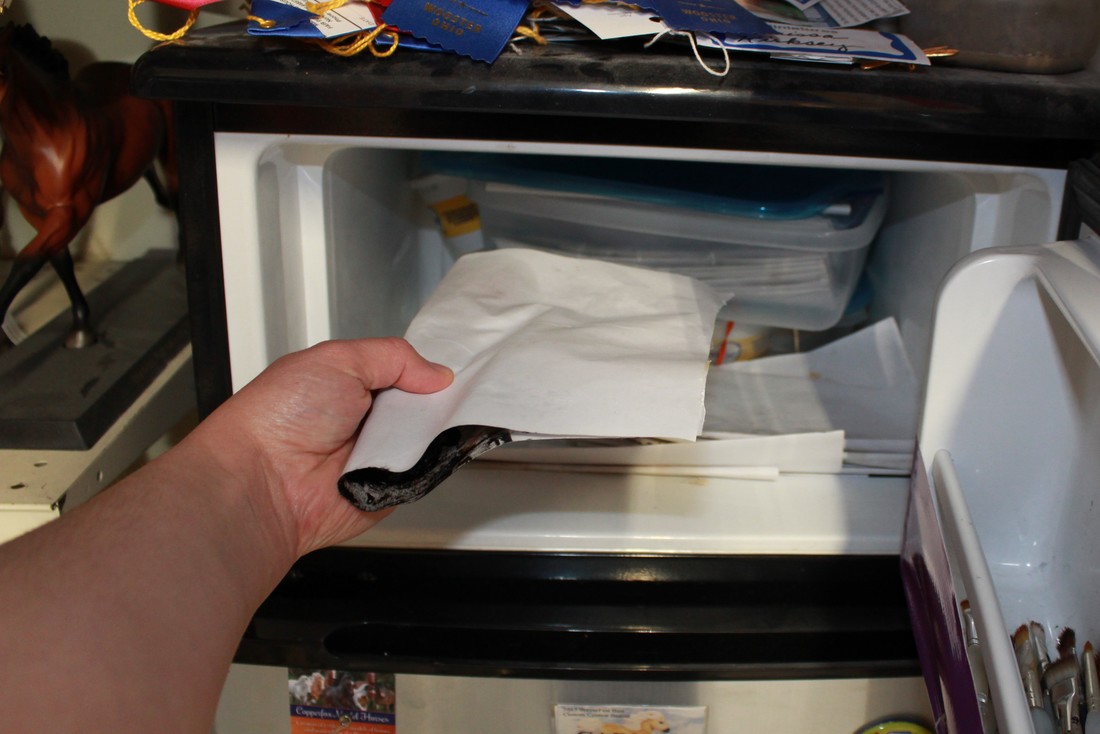
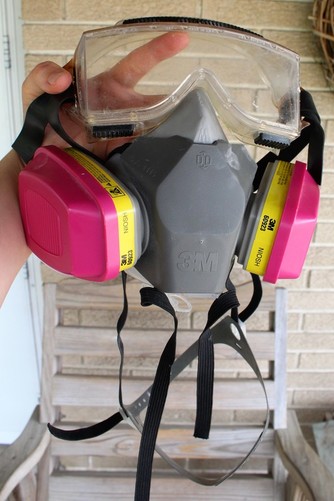
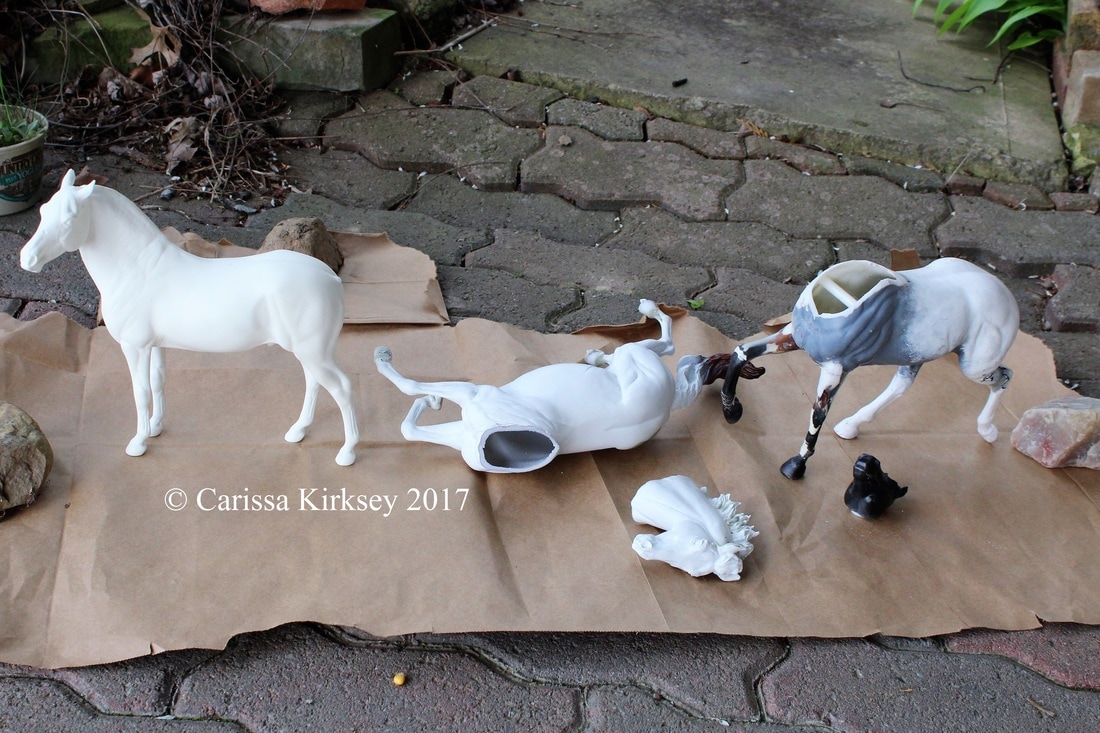
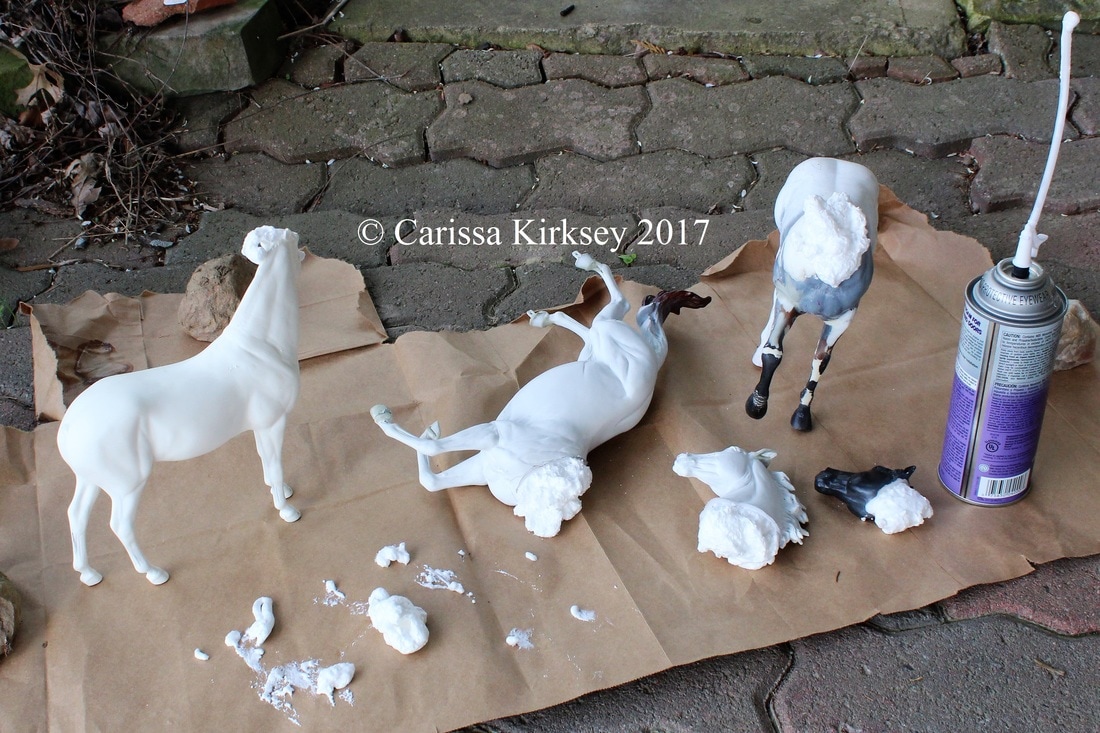
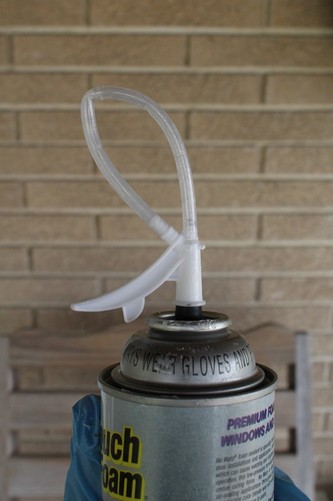
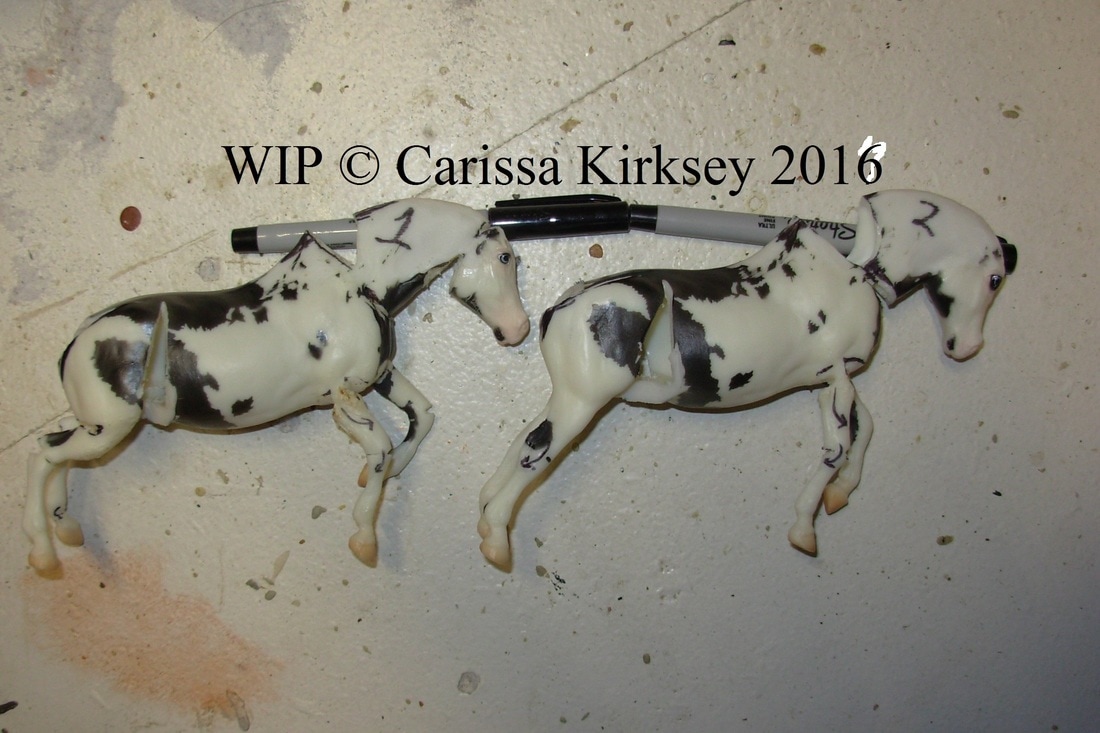
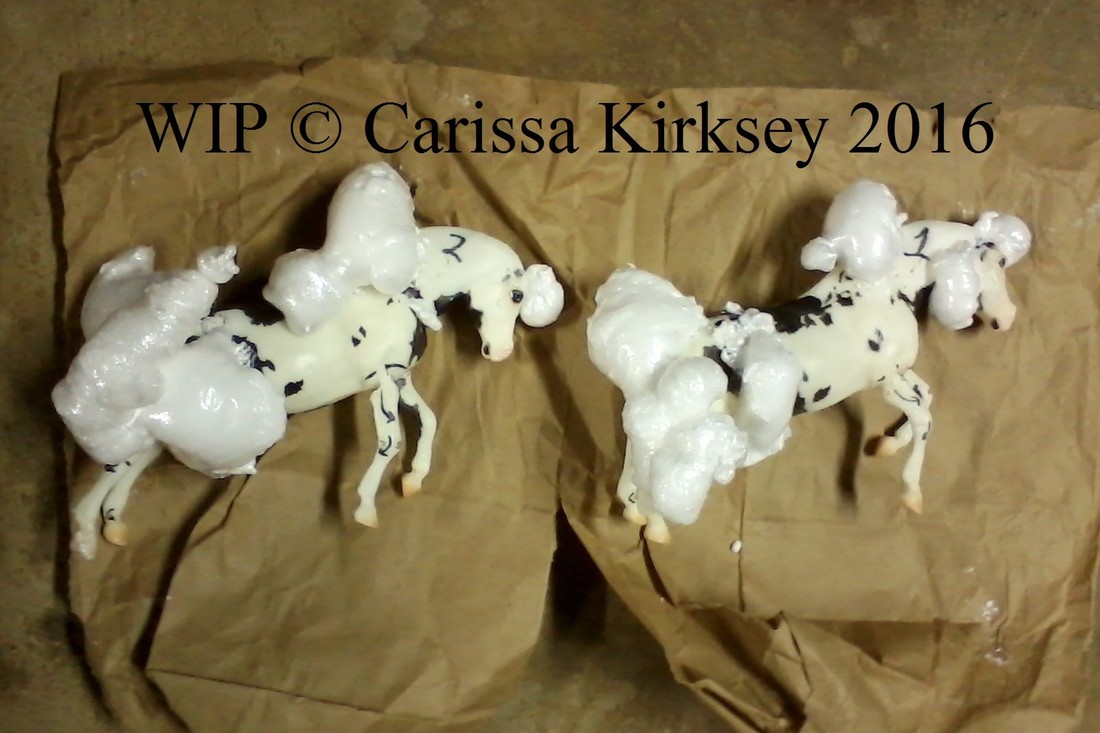
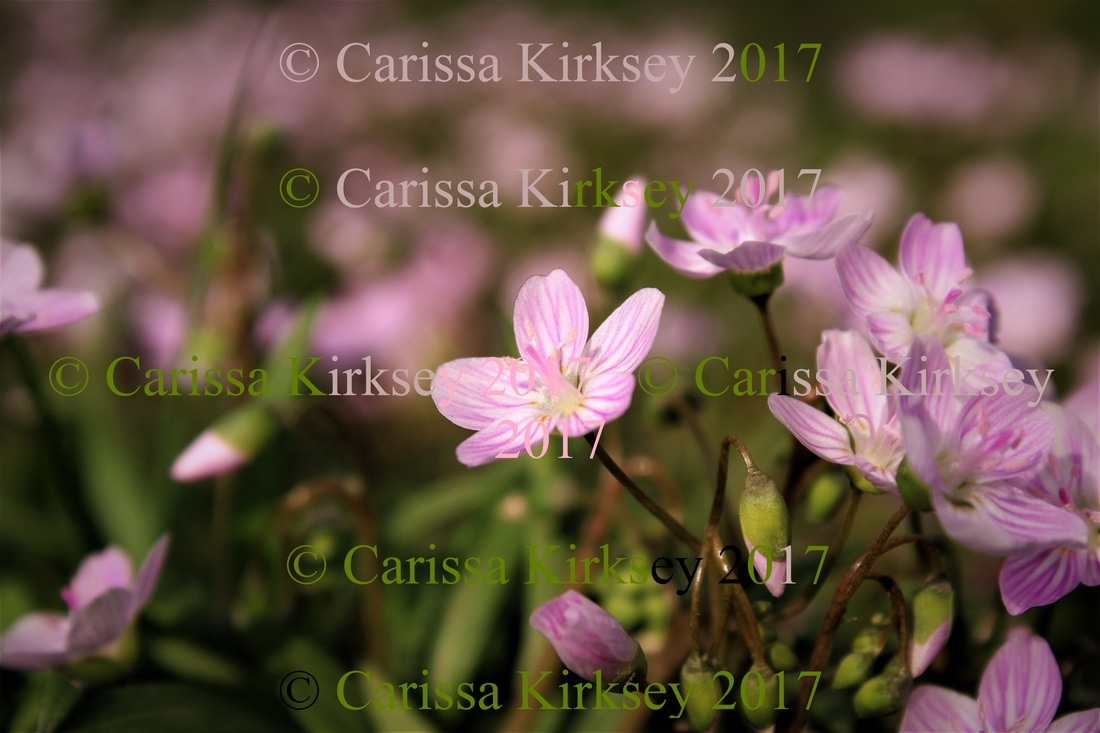
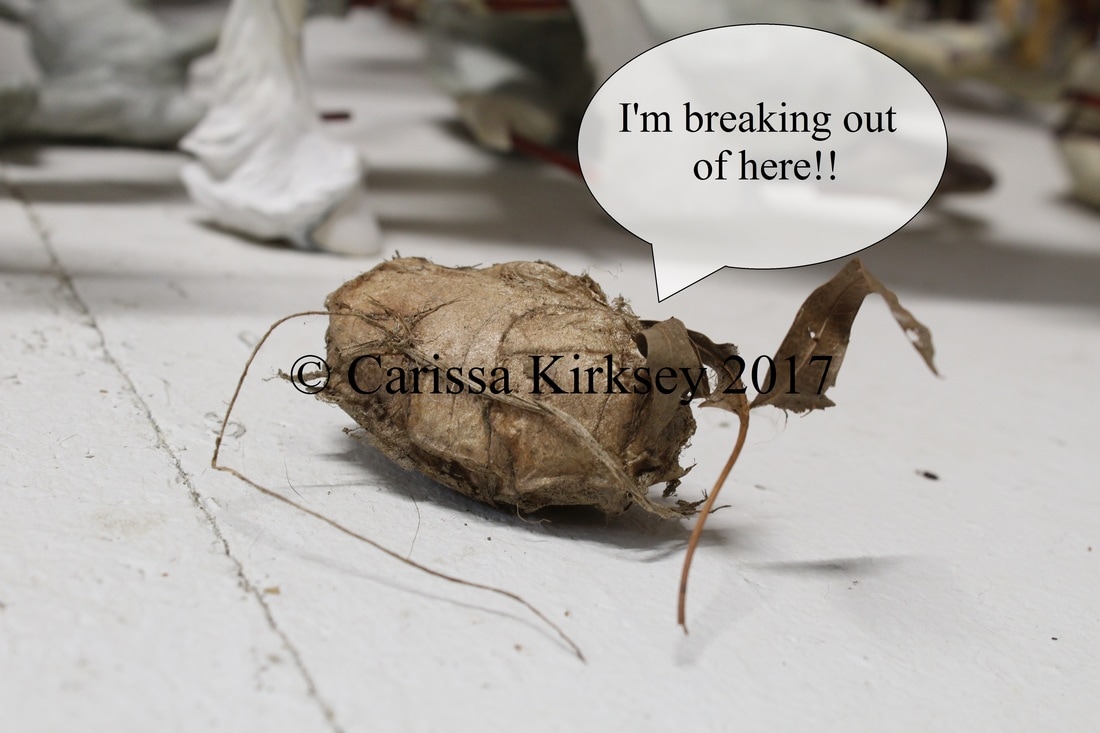
Happy painting!!! With NaMoPaiMo fast approaching the first day of February, work on prepping chosen models is in full swing! This year I will once again be sharing my blog with my friend Kim Prosek for reports on her project. I am pleased to welcome another of my friends this year as well, Carole Ingram, who will also be sharing her NaMoPaiMo progress with us! Without further ado, let me hand the screen over to Kim for her pre-NaMoPaoMo post! My NaMoPaiMo entry for 2018! Maggie Bennett’s Furia, customized into a threatening Pegasus. She is mostly prepped and primed here. I hope to paint her similar to a Ferruginous Hawk. Let the madness begin!! Isn't that Peggy awesome?? Kim did the CMing on her, of course, managing to find a bird figurine the right size for MM wings! Kudos, my friend, for wrangling wings onto such a small pony!! & now for a word from my friend Carole on her chosen victim! I just signed up (Jan. 7th), I'm going to do a PAM in chestnut. Here is where I am now (Jan. 15th) on this snow globe snowy day here. I do have an issue; balance. I was hoping the apoxie/mane would throw her weight to that side. Nope. Tried to add to hoof. No good. I hate to have to peg front hoof. Got the mare pegged (Jan. 18th) and worked more on her neck. I had a hoof edge and didn't want to mess up her frog so it turned out to be a trench. I glued it and next day used apoxie to even the hoof wall again. Just trimmed the peg to even all hooves, yay!! Have lots of time to prep so here is where she is now. I added to her ears and cheeks too. Yay! Glad she is standing steady now Carole! She is such a sweet looking mare! She should look great by the end of Feb!! As for my NaMoPaiMo horse, I have wanted to do a tutorial on how to paint the basic color bay ever since NaMoPaiMo last year. So when looking for a prospect for this year's NaMoPiaMo, that was on my mind. I found a Nocturno by Kitty Cantrell for a song, & I think he would just rock a deep & dappley bay! He is second hand, his mold having been released in 2002! (Good Lord, was that really 16 years ago?!?) He had a basic prep job, a coat of white primer, & a layer of airbrushed acrylic. He had also suffered a cracked tail which had been repaired. His great price more than made up for any of this though. My! I never realized how BIG this sculpt is!! He's quite a hunk! Even though he was packed really well in a box that was a good size for him, that tail didn't agree & completely broke in shipping (much to the dismay of his seller!). I was fine with this though; I had planned to reinforce it anyway, to prevent just such a brake from happening in the future. So I was not in for any more work than I had already planed to do. It also gives me the excuse to share with you how to reinforce breaks! Reinforcing Breaks With Wire Or Brass Rod I have used this technique many times on weak & broken legs, tails, ears, & hair tendrils. It gives the weakened piece much better support than simply gluing it back together does. 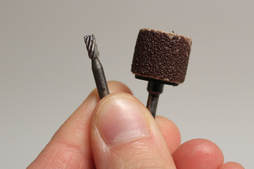 You will need: *A Dremel *A high speed spiral flute cutter bit (I had to look that up! I have no idea what size it is, I've had it forever.) ...Or whatever size & shape bit will work for your project *A 1/2" sanding drum ...or files & some elbow grease 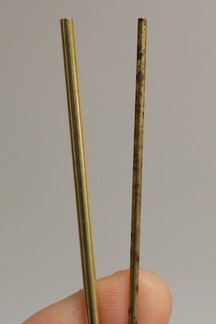 *A respirator & safety goggles *Wire cutters & two pairs of pliers in a size hefty enough to cut & bend whatever gauge you are using *Wire or brass rod in a gauge suitable for your brake (I used brass rod from the hardware store, in 2.38 mm & 1.57mm.) *Locktite super glue gel control *Baking soda *Epoxy, I used Aves Fixit, which is a very dense & sturdy epoxy *Sand paper, my preferred grit being 220 *Any sculpting tools needed to resculpt lost details Regardless of where the break is, the approach is pretty much standard: With your chosen bit, mine being the cutter bit, Dremel a groove deep enough to inlay your wire across the break. I often draw a line where I want to Dremel, just to keep myself on track. For this break, with it being such a pressure prone spot, I decided to add three lengths of rod. The more wire you inlay at more locations around the break, the stronger the result. As you can see, this is dusty work, so be sure to wear dust & eye protection! Cut your wire & test it for a snug fit. I am using the bigger 3/32 (2.38mm) rod here. Then with pliers, bend it to fit the contour of where it will be inlayed. Being a nice straight tail, this wasn't too difficult. If you are doing a leg though, it can sometimes take quite a bit of tinkering to get it to flow with the bends & shape of the leg. If your break has a gap, glue the two pieces together as best you can before you add the wire. Once that is done, lay down a line of super glue in the groove you made, sprinkle a very little bit of baking soda on top, & carefully lay in your rod. Pliers come in handy here to place the rod & to force it down snuggly into the groove. You may wish to wear gloves to keep from getting glue on your fingers. Add a bit more glue around any gaps between the wire & the resin/plastic, wipe off the excess, & then pack it with baking soda. You can press it down firmly with a paper towel, but be aware that some of it may get glued to the horse (or you). Scrape off any wayward glue/baking soda before it sets well, I used a carbide scraper. After doing all three rods, the tail was much sturdier but I felt it could use a little more support. Best I could, I Dremeled a groove under the tail as well. I inlayed a length of 1/16 (1.57mm) brass rod the same way as the other three. I used the finer rod just to simplify it considering the awkward place it was needed. Sometimes the rod winds up being a bit above the level of the sculpture. That is where the sanding drum &/or files come in: grind down any wire that would show above your sculpture until it is level with the surface or even a smidge below it. Once all the brass rod was laid & ready to go, I mixed some Aves Fixit epoxy & pushed it into any crevices remaining, then resculpted the lost details. I chose Fixit since it is a very dense, hard epoxy once cured. I often use A + B epoxy which is even harder, for the more breakable areas like this. But it is more difficult to work with. Since I needed to sculpt hair here, I opted for the easier-to-use Fixit. Here is the repair after sanding the entire horse good & hitting him with some primer. The repair still needs sanded & worked a little more before I am totally happy with it, but it is now sturdy enough for me to hold him by the tail! I have used this technique for many scales, the finest being a LB scale foal, a Spark AR. She was a second, missing a wire in one of her fine little baby legs. I used, I'll guess 32 gauge, steel wire meant for the foundation of frames in a bee hive. Being steel, even as fine as it is, it is sturdy enough to use as reinforcement (works great for tail tendril armatures too!). I have also repaired the leg of a Lrg SM AR, Sherbert Lemmon, with a steel paperclip! So as long as you can Dremel a groove & find strong enough wire, this technique can be used on many scales & for many weak pieces! Stay tuned through the end of this month & all of February for many more reports on & tutorials for NaMoPaiMo! Cheers all! Today I want to let you all in on what I think is a far too well hidden trick in our hobby: Foam! Expanding foam insulation to be exact, also known as space invading foam. This stuff is fabulous for filling holes (read "CMers dream")! I learned of this trick from Bluebird Studios blog & had to try it myself. That was several months ago & it has definitely been added to my 'toolbox' of techniques. The foam I found right off the bat was Touch 'n Foam No Warp Window & Door Sealant which is awesome because it is reusable; most foams are once you open it, use it or loose it because you can't store it. Albeit this one doesn't last forever; you do have to use it up in about three weeks, but that's a heck of a lot better than all in one day! I'd just gotten a new can for some projects, so I can show you a, pretty, brand new can. It has a trigger gadget that you screw onto the top & a straw that fits over that, & your ready to roll. You WILL need to wear gloves (I always go powderless since I use them for finishing too & you don't want dusty hands when finishing your perfect paintjob!). This stuff is like the best glue on the planet & you will not be getting it off your hands! You also must have a respirator since the stuff smells horrid (I think the can said something about c02. Don't be doing this around any flames regardless!), & eye protection since I don't even want to know what this stuff could do to eyes if is managed to splatter or something. This is my Darth Vader get up! I highly suggest you invest in a pair of goggles & a respirator, not merely a dust mask; they have a tendency to just trap dust & fumes under them. A respirator & goggles really do come in handy for everything. I use mine when Demeling, heat-&-moving (since the plastic has a tendency to smoke a bit), foaming, & sometimes (probably should be on a regular basis actually) sanding & spraying primer & finish. In my defence, I do do both of those in good outdoor ventilation, but I still probably should wear them. You'll also need some sort of a 'drop cloth', news print or something. I used a torn open paper grocery sack. Trust me, you don't want to have to try to get this foam off of any flooring you may care about. The primary victim of the day was a Cantrell 'Rastus' that is here for a hair do. He will be a mold master, so I was given the less than perfect cast since all he has to do in life is be molded. But he had a thinner-than-I-was-comfortable-with head so I wanted to fill it with foam before I was handling him for sculpting hair. Since you do have to use the foam up in a few weeks I grabbed a couple others that have been hanging around; A Baby Flo who's getting a moved head/neck, the other is a Smart Chic Oleana who is getting a whole new neck. So nothing all too major today (actually this was a few days ago). I have used this foam for some really drastic stuff that I'll get to in a mo. }:] Position the straw where you'd like to foam & pull the trigger. It will come out fast & immediately start to expand. Let the trigger go before you have as much as you want, the foam will continue to come out for a few seconds after you let go. Do make an effort to not get it anywhere you don't want it. It is far easier to get it off of a model than your skin, but why make more work for yourself? When you're finished with the foam for the day, gently bend the straw back over itself & pop it over the knob on top. Voila! Saved for a later date! Back to the horses, after an hour or two you can touch the foam, but don't do anything to it yet, the inside is still not cured; wait 'til the next day. Once it's sure to be cured you can rip it off, cut it off, or push it in. (TIP: I've been saving the excess & using them as packing peanuts!!) You can trim it down & leave enough to be part of your armature, or you can take it all off. With the CMs I will trim most of it down, attach the supportive wire into the foam, & once the glue & epoxy is set I will sculpt over it as usual. For Rastus I just need to fill in the hole I made to add the foam. Now, you can go pretty crazy CMing with this stuff on your side. These were the first victims I ever tried using the foam on (below). They are a couple of Merrylegs, heat-&-moved to be pulling ponies (like the drafties but in pony size; look it up!). All these cuts make the model very unstable since some places only have a small bit of plastic yet connecting it to the model. Add foam & this is the evil looking creation I got! But it worked very well! It held everything together & supported the more fragile parts. I was able to sculpt right over the foam & move on with my CMs lickety split. With the success of these guys, I have been using it for filling anything that needs it such as tail wire holes & the gaps left from cutting out manes & tails. But I was curious; how crazy COULD you get?? Answer? Extremely! Yes my friends, that is an Imperador das Aguas JM from BF. I adore Marchadors, I have been a fan of them since I learned of the breed in 2011. But this sculpt fell short of my expectations. I really do love Mink's sculpts, but this guy is not on my top favorite list. To me, he looks far too short in the back & barrel, way too long in the neck, a smidge too short in the leg, WAAAAAAAY too skinny, & that funky head gets me. So, I decided to make it better! I cut him down his mold seam, took off his tail & head, then put his body back together widening it with bits of popsicle sticks to prop it up (removing them once the foam cured) & packing-taping it together long enough to foam away! Once that cured I cut his barrel in two to lengthen his back & barrel, braced it together with a dowel rod inside, taped the halves together & foamed that too. I heated his head to straighten the odd dip in his jaws, then foamed it together with the popsicle sticks & tape to widen it as well, then wired it back onto his neck. I heated & straightened his fetlocks to lengthen his legs, wired on his tail at a lower set, Dremeled off here, & epoxy added there. He is not finished, but her looks MUCH better to me now! SO! Yes! The possibilities are endless for expanding foam! I hardly hear of anyone using it, so I wanted to share it with you all! P.S. The particular foam that I use is fire retardant. I wanted to put that to the test to know what I could get away with if I needed/wanted to heat-&-move anything after having foamed a horse. Back in December of 2016 I took a chunk of cured foam outside to a safe concrete patch, bucket of water at hand, & took the heat gun to it. I used the heat gun much closer, for much longer, at a much higher temp than I ever EVER would on a model horse. It burnt up, as in toasted brown & black & shriveled up to a nasty looking wad, smoked like heck (I certainly would not suggest heating it indoors), but it never actually caught fire. I did not try an actual flame on it since that would never be something that I would need to do. I won't be held accountable if you burn your house down or asphyxiate yourself on fumes, but my conclusion has led me to be able to do a little heat-&-moving afterwards on some models. BE SURE to wear a respirator (which I do regardless because of the smoky fumes that can come off of the plastic): it is not a pleasant odor that the foam emits when heated & it's probably seven different kinds of terrible for you too. Also be aware that the fumes from the foam can are very flammable too. I tested this on a cured piece of foam, not anything fresh from the can. PLEASE NOTE: Some expanding foam absolutely IS flammable!! My experiment was only on 'Touch n' Foam No Warp Window & Door Sealant' & NO OTHERS. Heat it & any others at your own risk. ...Isn't it lovely how many different ways our hobby can kill you? ;) Press Release 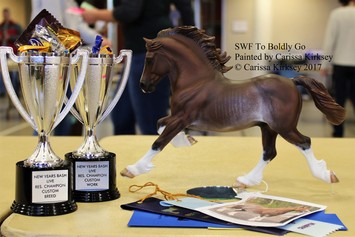 Had to mention that my CM Copperfox Cob, SWF To Boldly Go, is in the spotlight on the CF blog. :) Go 'Foxy'! http://www.copperfoxmodelhorses.com/our-blog/copperfox-in-the-show-ring-swf-to-boldly-go Thank you Becky for a lovely write up! Spring Is In The Air Can't leave you without a dose of nature! These happy little flowers are Spring Beauties, blooming off the corner of my house. I couldn't resist photographing them with my new camera. This picture is deceiving; these guys are actually a smidge smaller than my fingerprint! & THIS is a Polyphemus moth cocoon! Mom found it on Monday in a bunch of daylilies she was moving, it's been living in my workroom ever since. S/he's been rat'lin' 'round in there!! I can't believe it hasn't come out yet! But sometime soon, I'm sure, I'll have a moth picture for you guys!
|
AuthorRamblings & tutorials of a model horse artist. NOTE
Just a 'public service notice' to any of my blog readers; Since there's not really any way to 'follow' a weebly blog, if you shoot me an email (sprucewoodfarmsstudio at gmail dot com) I will add you to my blog announcement list & will send you an email when a new post is added. :) Categories
All
Archives
June 2024
|


 RSS Feed
