Today I want to let you all in on what I think is a far too well hidden trick in our hobby: Foam! Expanding foam insulation to be exact, also known as space invading foam. This stuff is fabulous for filling holes (read "CMers dream")!
I learned of this trick from Bluebird Studios blog & had to try it myself. That was several months ago & it has definitely been added to my 'toolbox' of techniques. The foam I found right off the bat was Touch 'n Foam No Warp Window & Door Sealant which is awesome because it is reusable; most foams are once you open it, use it or loose it because you can't store it. Albeit this one doesn't last forever; you do have to use it up in about three weeks, but that's a heck of a lot better than all in one day!
I learned of this trick from Bluebird Studios blog & had to try it myself. That was several months ago & it has definitely been added to my 'toolbox' of techniques. The foam I found right off the bat was Touch 'n Foam No Warp Window & Door Sealant which is awesome because it is reusable; most foams are once you open it, use it or loose it because you can't store it. Albeit this one doesn't last forever; you do have to use it up in about three weeks, but that's a heck of a lot better than all in one day!
I'd just gotten a new can for some projects, so I can show you a, pretty, brand new can. It has a trigger gadget that you screw onto the top & a straw that fits over that, & your ready to roll. You WILL need to wear gloves (I always go powderless since I use them for finishing too & you don't want dusty hands when finishing your perfect paintjob!). This stuff is like the best glue on the planet & you will not be getting it off your hands! You also must have a respirator since the stuff smells horrid (I think the can said something about c02. Don't be doing this around any flames regardless!), & eye protection since I don't even want to know what this stuff could do to eyes if is managed to splatter or something.
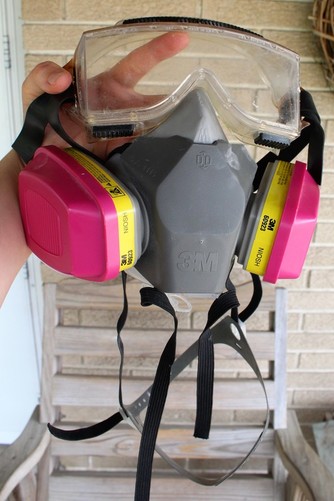
This is my Darth Vader get up! I highly suggest you invest in a pair of goggles & a respirator, not merely a dust mask; they have a tendency to just trap dust & fumes under them. A respirator & goggles really do come in handy for everything. I use mine when Demeling, heat-&-moving (since the plastic has a tendency to smoke a bit), foaming, & sometimes (probably should be on a regular basis actually) sanding & spraying primer & finish. In my defence, I do do both of those in good outdoor ventilation, but I still probably should wear them.
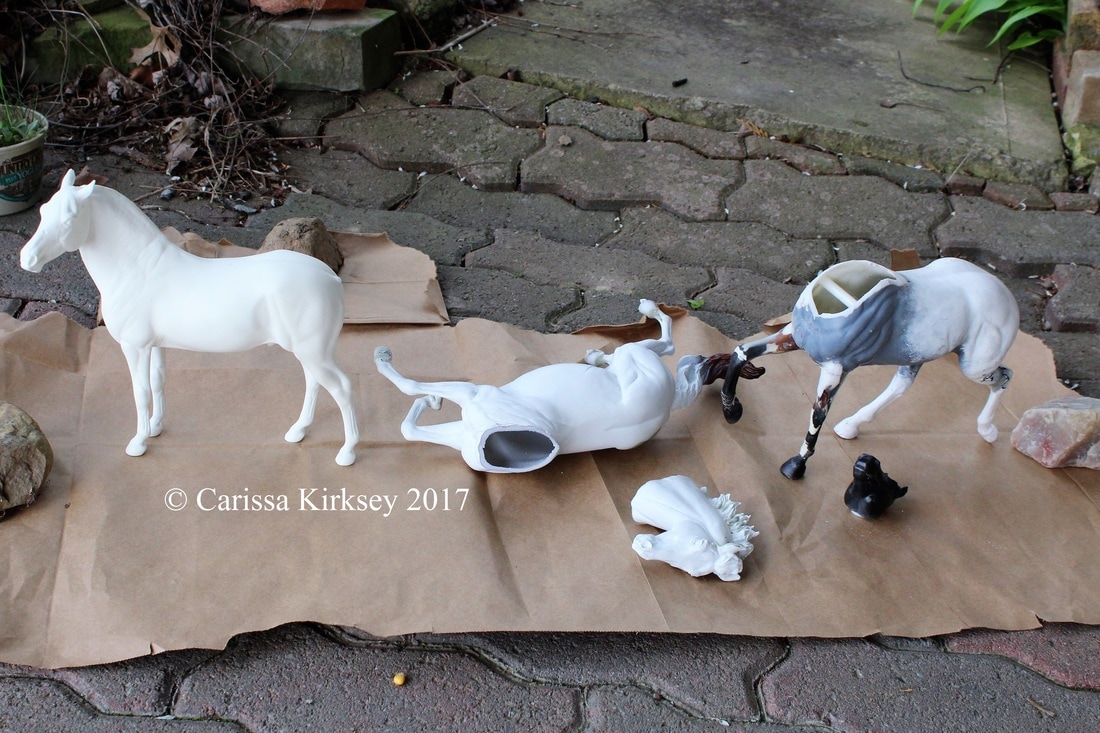
The Victims!
You'll also need some sort of a 'drop cloth', news print or something. I used a torn open paper grocery sack. Trust me, you don't want to have to try to get this foam off of any flooring you may care about.
The primary victim of the day was a Cantrell 'Rastus' that is here for a hair do. He will be a mold master, so I was given the less than perfect cast since all he has to do in life is be molded. But he had a thinner-than-I-was-comfortable-with head so I wanted to fill it with foam before I was handling him for sculpting hair. Since you do have to use the foam up in a few weeks I grabbed a couple others that have been hanging around; A Baby Flo who's getting a moved head/neck, the other is a Smart Chic Oleana who is getting a whole new neck. So nothing all too major today (actually this was a few days ago). I have used this foam for some really drastic stuff that I'll get to in a mo. }:]
The primary victim of the day was a Cantrell 'Rastus' that is here for a hair do. He will be a mold master, so I was given the less than perfect cast since all he has to do in life is be molded. But he had a thinner-than-I-was-comfortable-with head so I wanted to fill it with foam before I was handling him for sculpting hair. Since you do have to use the foam up in a few weeks I grabbed a couple others that have been hanging around; A Baby Flo who's getting a moved head/neck, the other is a Smart Chic Oleana who is getting a whole new neck. So nothing all too major today (actually this was a few days ago). I have used this foam for some really drastic stuff that I'll get to in a mo. }:]
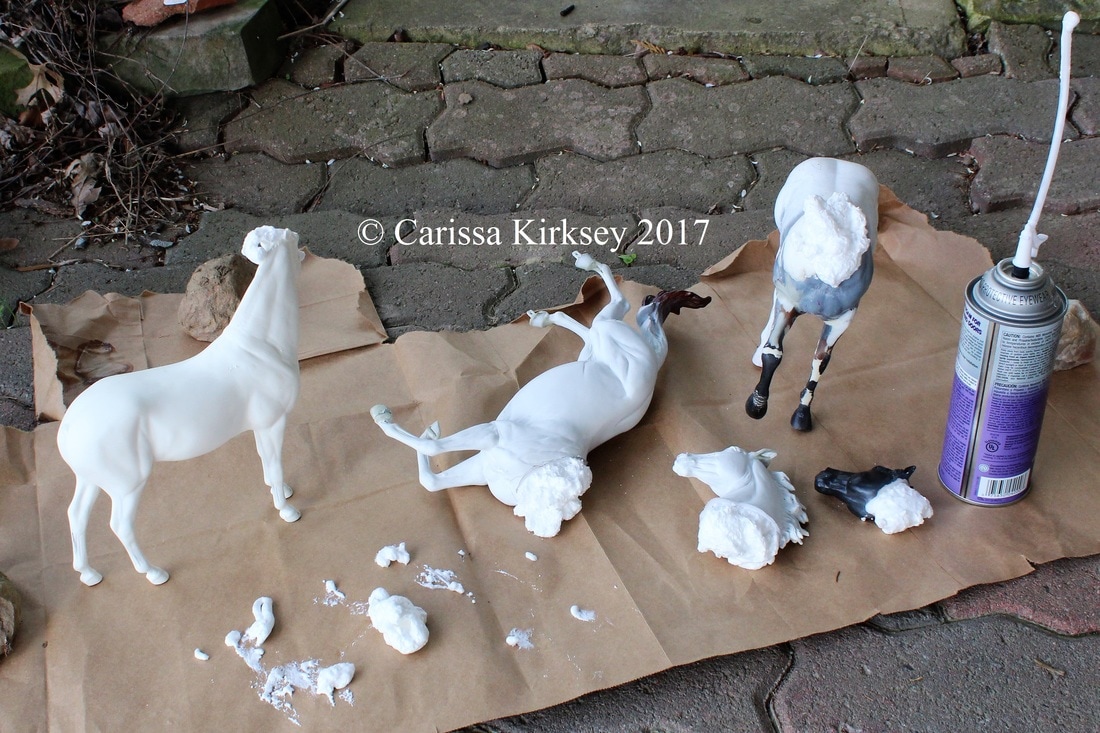
I didn't fill the whole of any of these horses, just enough to fill the gaps on the CMs, & the head of the resin.
Position the straw where you'd like to foam & pull the trigger. It will come out fast & immediately start to expand. Let the trigger go before you have as much as you want, the foam will continue to come out for a few seconds after you let go. Do make an effort to not get it anywhere you don't want it. It is far easier to get it off of a model than your skin, but why make more work for yourself?
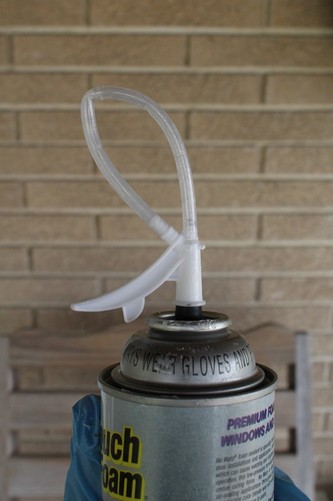
When you're finished with the foam for the day, gently bend the straw back over itself & pop it over the knob on top. Voila! Saved for a later date!
Back to the horses, after an hour or two you can touch the foam, but don't do anything to it yet, the inside is still not cured; wait 'til the next day. Once it's sure to be cured you can rip it off, cut it off, or push it in. (TIP: I've been saving the excess & using them as packing peanuts!!) You can trim it down & leave enough to be part of your armature, or you can take it all off. With the CMs I will trim most of it down, attach the supportive wire into the foam, & once the glue & epoxy is set I will sculpt over it as usual. For Rastus I just need to fill in the hole I made to add the foam.
Now, you can go pretty crazy CMing with this stuff on your side. These were the first victims I ever tried using the foam on (below). They are a couple of Merrylegs, heat-&-moved to be pulling ponies (like the drafties but in pony size; look it up!). All these cuts make the model very unstable since some places only have a small bit of plastic yet connecting it to the model.
Now, you can go pretty crazy CMing with this stuff on your side. These were the first victims I ever tried using the foam on (below). They are a couple of Merrylegs, heat-&-moved to be pulling ponies (like the drafties but in pony size; look it up!). All these cuts make the model very unstable since some places only have a small bit of plastic yet connecting it to the model.
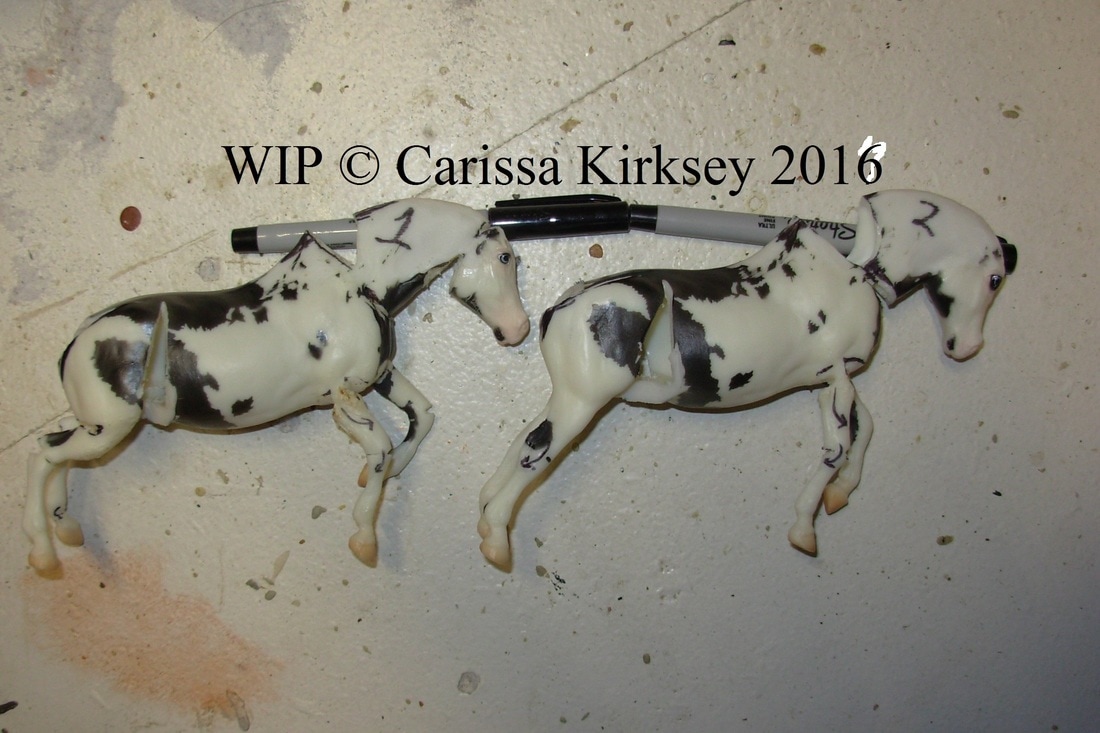
Add foam & this is the evil looking creation I got!
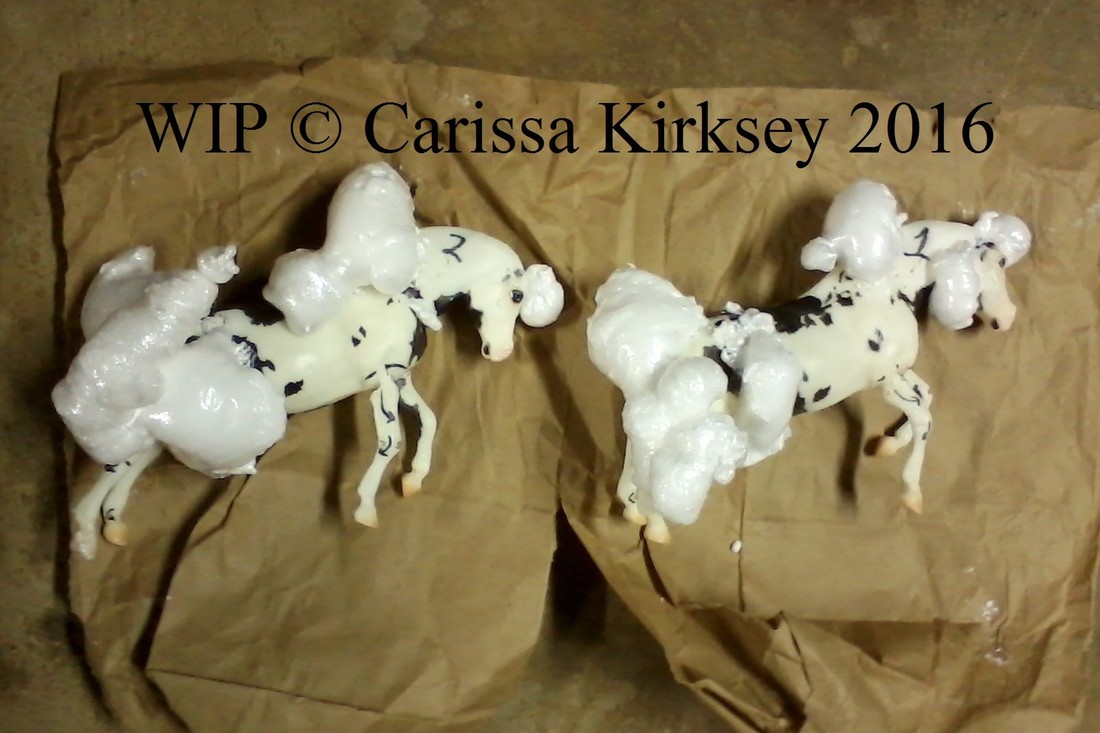
But it worked very well! It held everything together & supported the more fragile parts. I was able to sculpt right over the foam & move on with my CMs lickety split.
Eventually these dudes will get clear rod to stand. Until then they get propped on whatever is available.
With the success of these guys, I have been using it for filling anything that needs it such as tail wire holes & the gaps left from cutting out manes & tails. But I was curious; how crazy COULD you get??
Answer? Extremely!
Answer? Extremely!
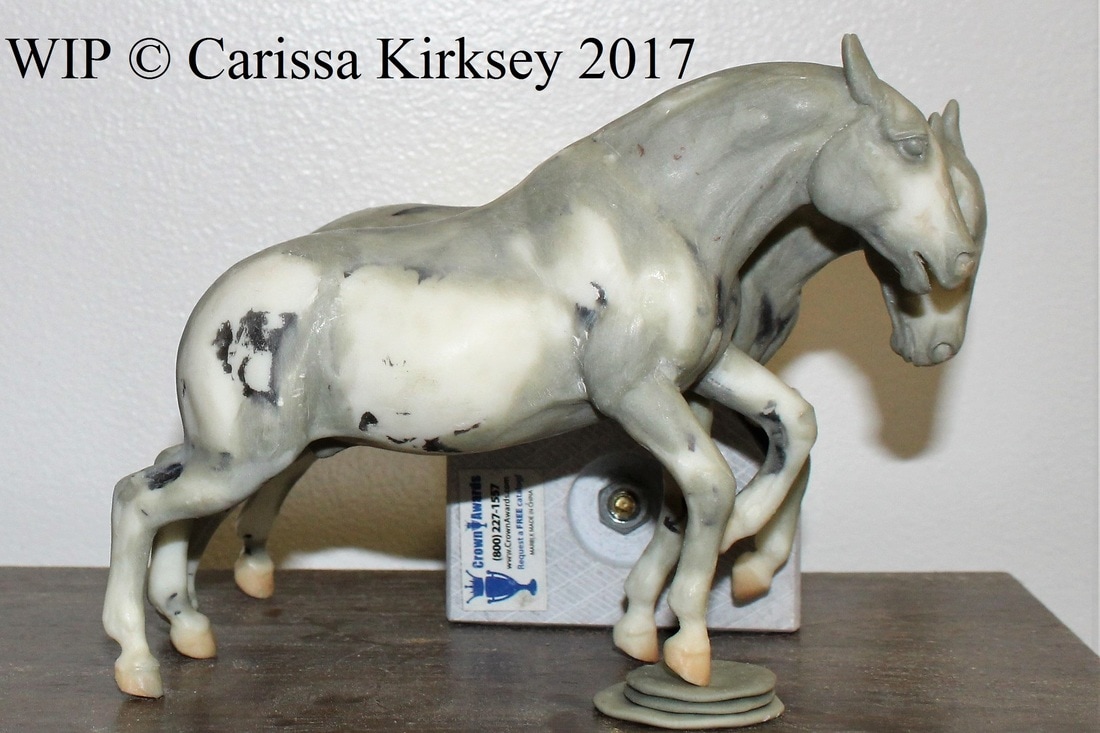
Yes my friends, that is an Imperador das Aguas JM from BF. I adore Marchadors, I have been a fan of them since I learned of the breed in 2011. But this sculpt fell short of my expectations. I really do love Mink's sculpts, but this guy is not on my top favorite list. To me, he looks far too short in the back & barrel, way too long in the neck, a smidge too short in the leg, WAAAAAAAY too skinny, & that funky head gets me. So, I decided to make it better!
I cut him down his mold seam, took off his tail & head, then put his body back together widening it with bits of popsicle sticks to prop it up (removing them once the foam cured) & packing-taping it together long enough to foam away! Once that cured I cut his barrel in two to lengthen his back & barrel, braced it together with a dowel rod inside, taped the halves together & foamed that too. I heated his head to straighten the odd dip in his jaws, then foamed it together with the popsicle sticks & tape to widen it as well, then wired it back onto his neck. I heated & straightened his fetlocks to lengthen his legs, wired on his tail at a lower set, Dremeled off here, & epoxy added there. He is not finished, but her looks MUCH better to me now!
I cut him down his mold seam, took off his tail & head, then put his body back together widening it with bits of popsicle sticks to prop it up (removing them once the foam cured) & packing-taping it together long enough to foam away! Once that cured I cut his barrel in two to lengthen his back & barrel, braced it together with a dowel rod inside, taped the halves together & foamed that too. I heated his head to straighten the odd dip in his jaws, then foamed it together with the popsicle sticks & tape to widen it as well, then wired it back onto his neck. I heated & straightened his fetlocks to lengthen his legs, wired on his tail at a lower set, Dremeled off here, & epoxy added there. He is not finished, but her looks MUCH better to me now!
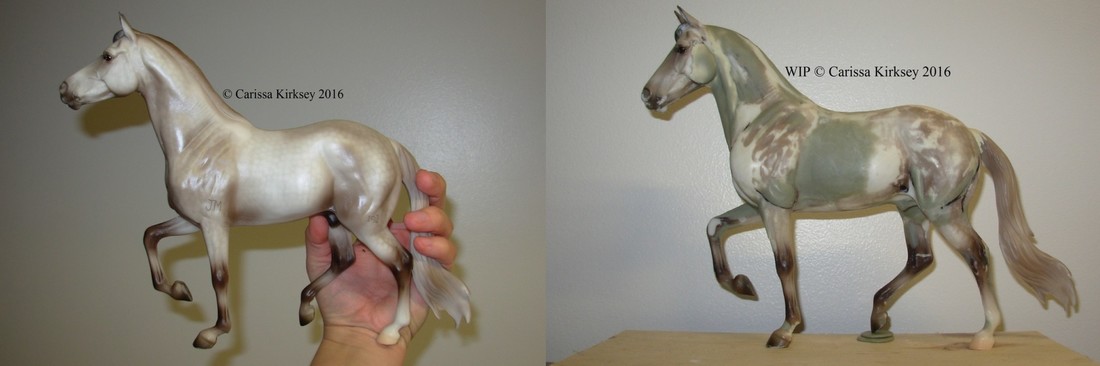
What a difference!!
SO! Yes! The possibilities are endless for expanding foam! I hardly hear of anyone using it, so I wanted to share it with you all!
P.S.
The particular foam that I use is fire retardant. I wanted to put that to the test to know what I could get away with if I needed/wanted to heat-&-move anything after having foamed a horse. Back in December of 2016 I took a chunk of cured foam outside to a safe concrete patch, bucket of water at hand, & took the heat gun to it. I used the heat gun much closer, for much longer, at a much higher temp than I ever EVER would on a model horse. It burnt up, as in toasted brown & black & shriveled up to a nasty looking wad, smoked like heck (I certainly would not suggest heating it indoors), but it never actually caught fire. I did not try an actual flame on it since that would never be something that I would need to do.
I won't be held accountable if you burn your house down or asphyxiate yourself on fumes, but my conclusion has led me to be able to do a little heat-&-moving afterwards on some models.
BE SURE to wear a respirator (which I do regardless because of the smoky fumes that can come off of the plastic): it is not a pleasant odor that the foam emits when heated & it's probably seven different kinds of terrible for you too.
Also be aware that the fumes from the foam can are very flammable too. I tested this on a cured piece of foam, not anything fresh from the can.
PLEASE NOTE: Some expanding foam absolutely IS flammable!! My experiment was only on 'Touch n' Foam No Warp Window & Door Sealant' & NO OTHERS. Heat it & any others at your own risk.
...Isn't it lovely how many different ways our hobby can kill you? ;)
Press Release
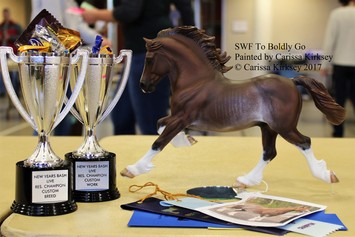
Had to mention that my CM Copperfox Cob, SWF To Boldly Go, is in the spotlight on the CF blog. :) Go 'Foxy'! http://www.copperfoxmodelhorses.com/our-blog/copperfox-in-the-show-ring-swf-to-boldly-go
Thank you Becky for a lovely write up!
Thank you Becky for a lovely write up!
Spring Is In The Air
Can't leave you without a dose of nature!
These happy little flowers are Spring Beauties, blooming off the corner of my house. I couldn't resist photographing them with my new camera. This picture is deceiving; these guys are actually a smidge smaller than my fingerprint!
These happy little flowers are Spring Beauties, blooming off the corner of my house. I couldn't resist photographing them with my new camera. This picture is deceiving; these guys are actually a smidge smaller than my fingerprint!

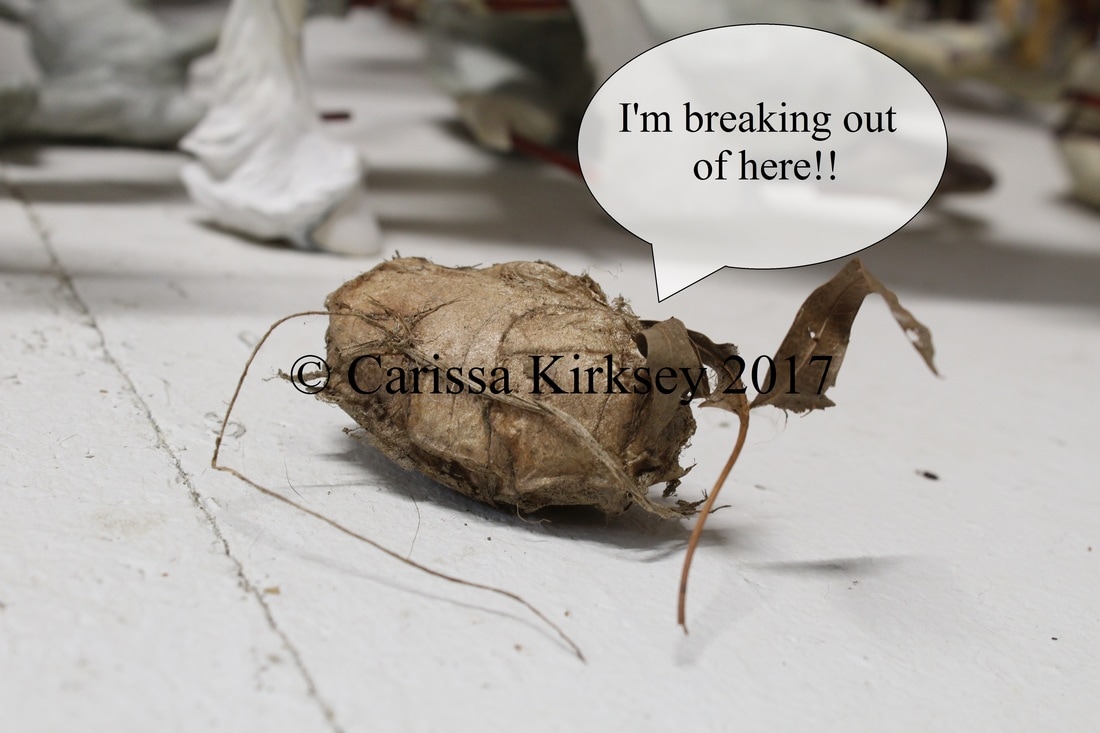
& THIS is a Polyphemus moth cocoon! Mom found it on Monday in a bunch of daylilies she was moving, it's been living in my workroom ever since. S/he's been rat'lin' 'round in there!! I can't believe it hasn't come out yet! But sometime soon, I'm sure, I'll have a moth picture for you guys!
 RSS Feed
